In the book, Little Town on the Prairie, Laura goes to work in town helping Mrs. White to sew men’s shirts. This led me to wonder if I could Sew A Shirtwaist In A Day.
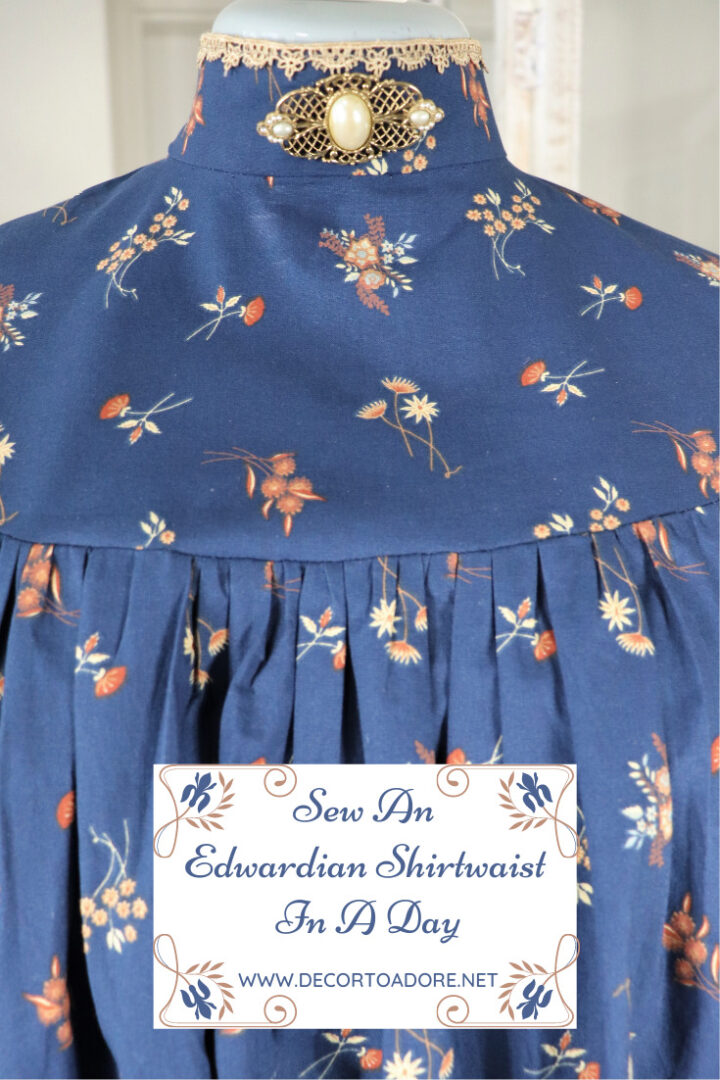
Sew A Shirtwaist In A Day
In chapter 5, Working In Town, Laura and Mrs. White sewed four shirts in two hours.
In two hours they finished the four shirts. Laura basted the collars carefully; collars are hard to set properly onto a shirt. Mrs. White sewed them on the machine. Then there were the cuffs to set on the sleeves, and the narrow hems all around the shirt bottoms to be done. Then the fronts, and the cuff openings, were to be faced. There were all the small buttons to sew firmly on, and the buttonholes to be made.
The image was drawn by the amazing Garth Williams.
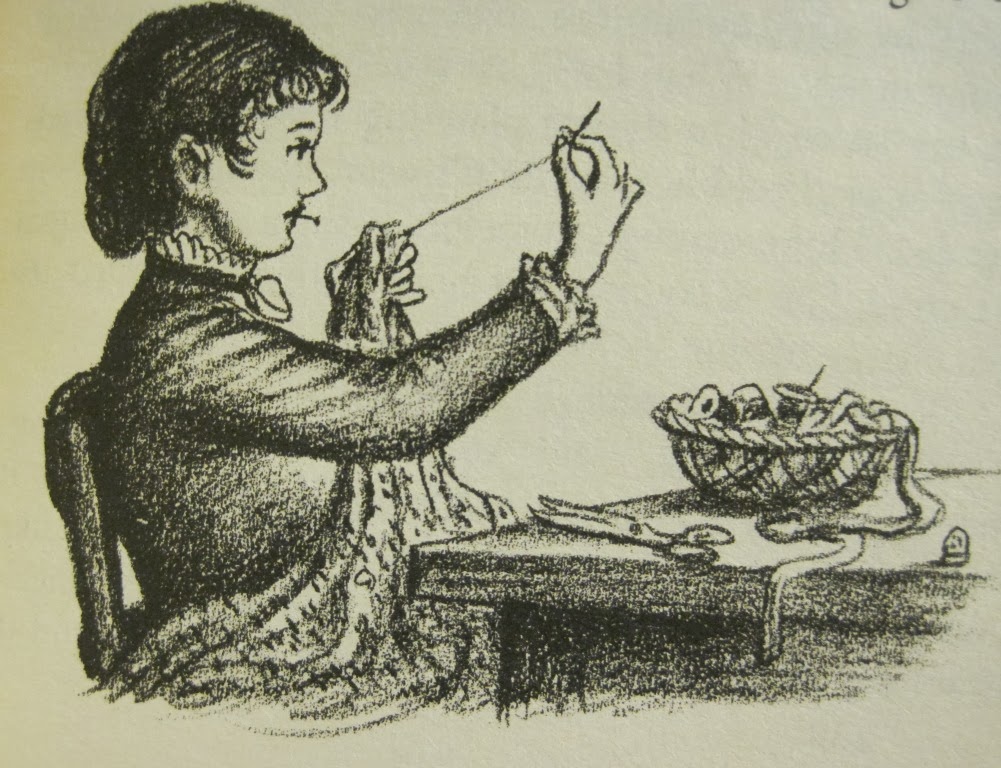
Let me stop for a moment and say, This is an amazing feat!
Just like today, there were various men’s shirt styles available in the 1880s. A simple man’s shirt could be made up of a series of rectangles and squares.
- One rectangle for the front and one for the back of the shirt.
- Two for the collar
- 2 for the shoulders
- Two for the sleeves
- 2 for the cuffs
- Two for the placket
- Two square underarm gussets
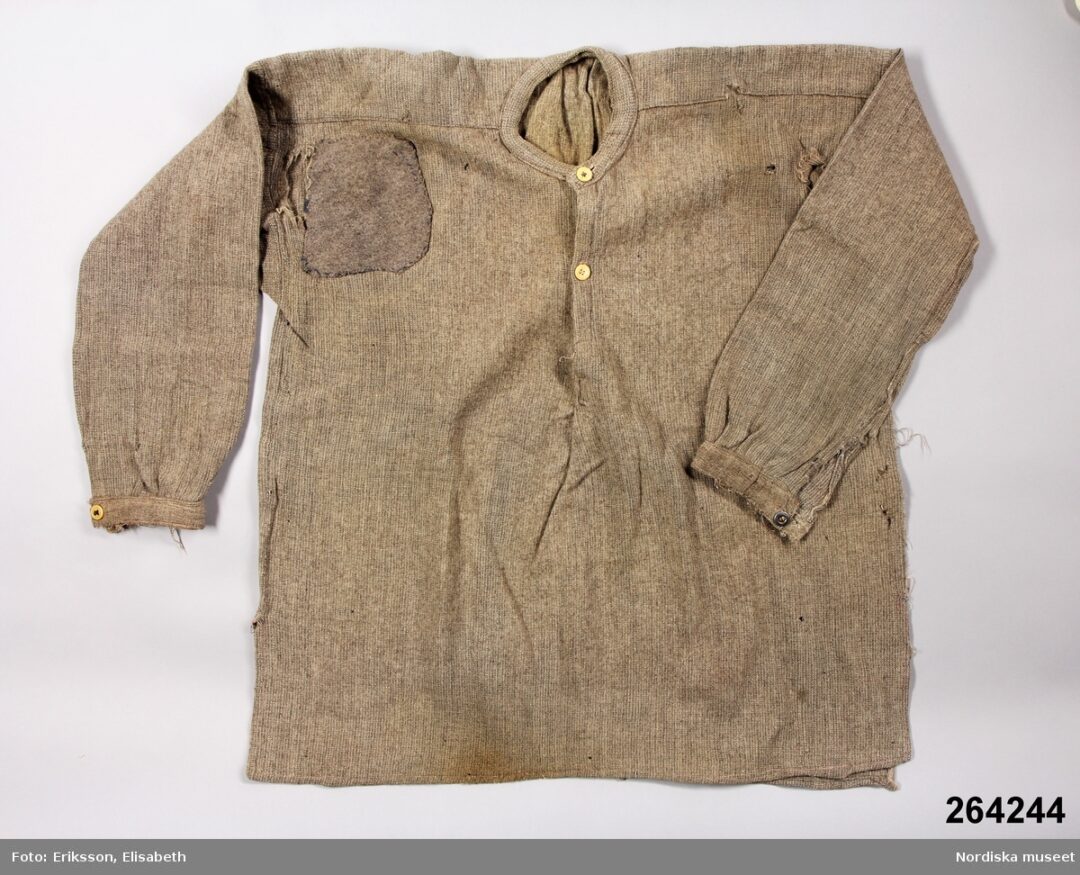
The only gathering would be at the cuffs and upper back of the shirt to help fit the collar and provide more room in the upper back and shoulder area.
But this is still a tremendous amount of sewing for two women.
Click on the image to view the original source.
What Is A Shirtwaist
A shirtwaist is simply what we now call a blouse or top. Over the years Laura was photographed wearing various shirtwaists.
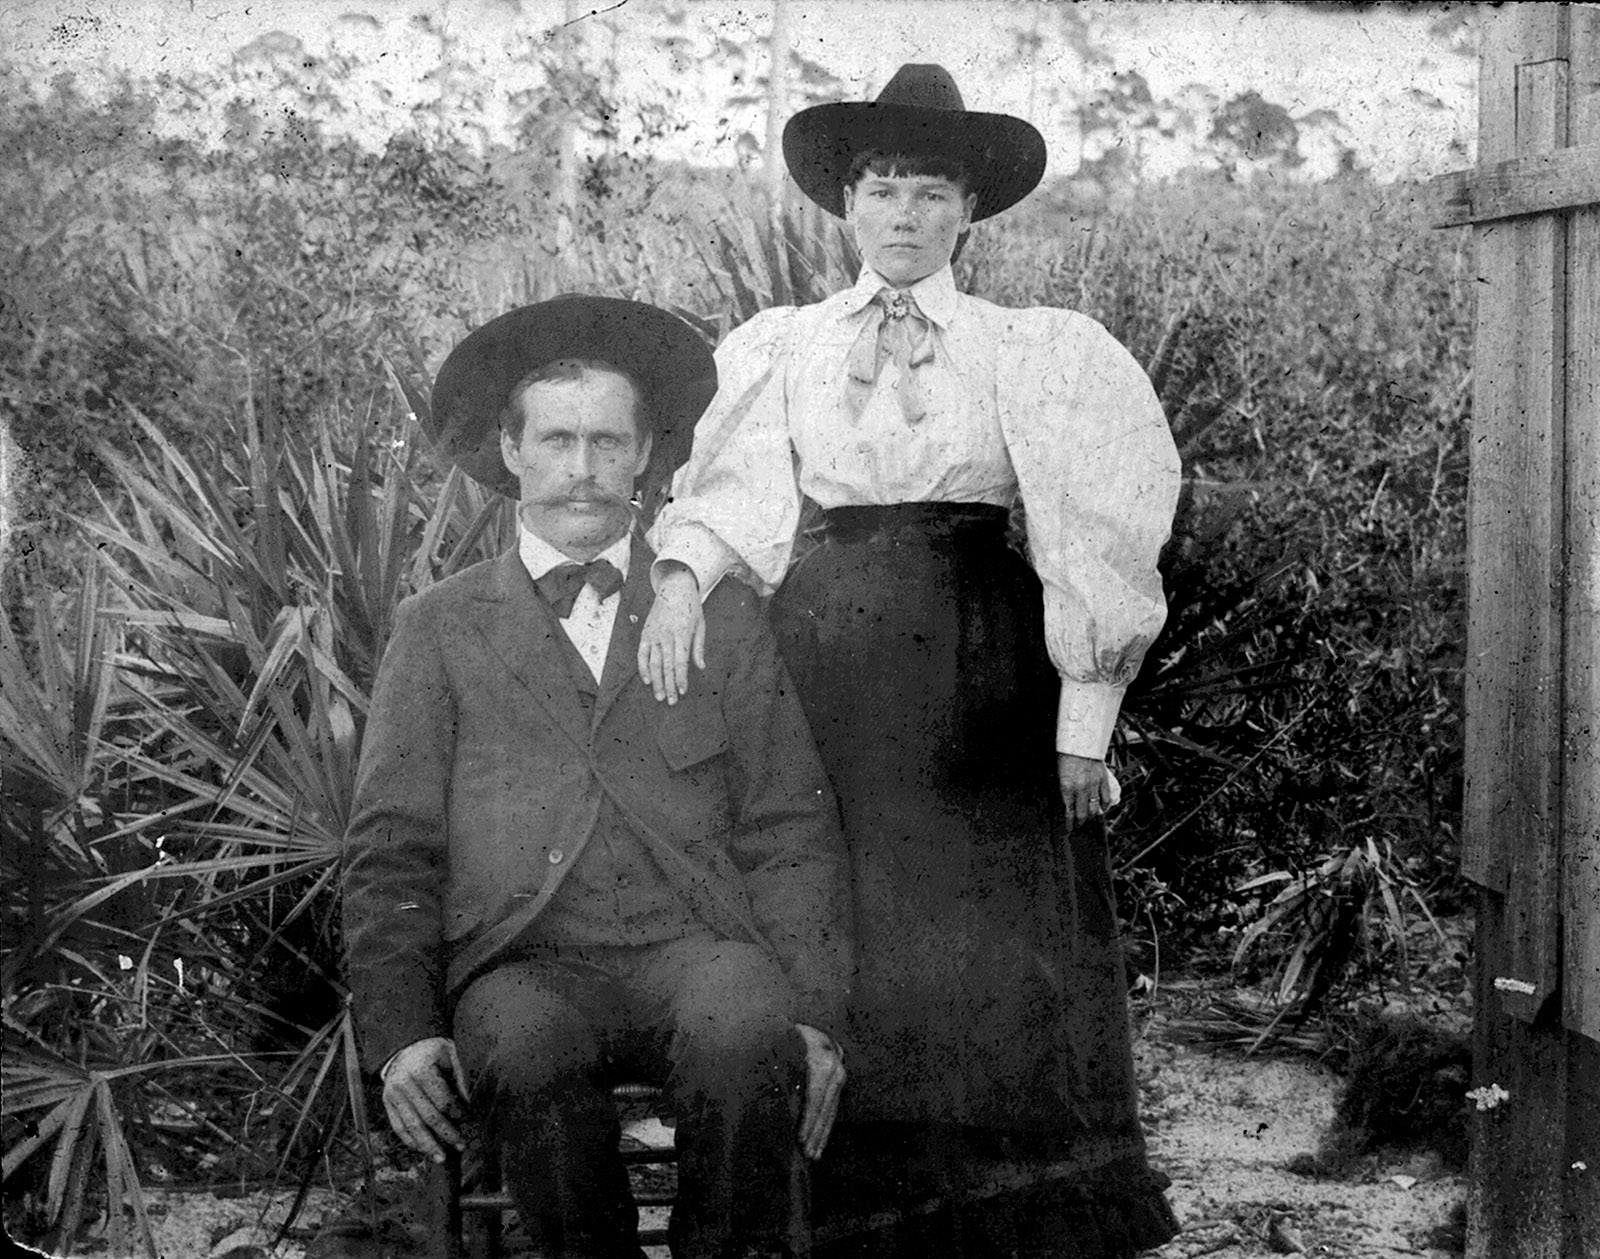
Laura was quite stylish in her leg o’ mutton sleeves when she posed with Almanzo in Florida, 1891. I suspect that this blouse had separate collars and cuffs that she could change out.
Such a blouse is on my must-make list.
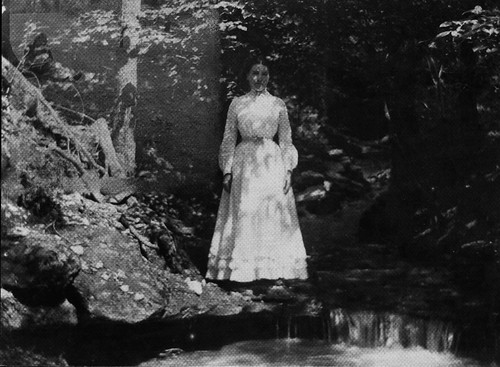
Laura was photographed in a lovely summer blouse and skirt at the Rocky Ridge Farm ravine in 1900.
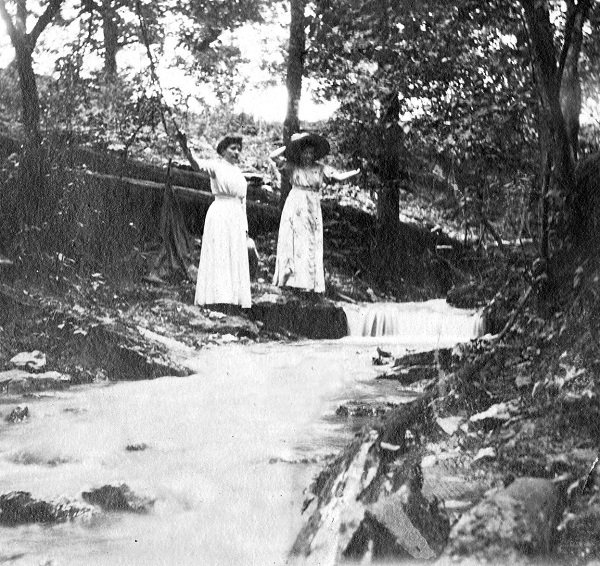
Laura (on the left) and Rose (on the right) once again standing in the ravine at Rocky Ridge Farm.
Image courtesy of the Herbert Hoover Presidential Library.
I can’t wait to attempt to recreate this striped blouse Laura wore for this portrait taken in 1918 since we are of similar ages.

Selecting A Shirtwaist Pattern
Women’s shirtwaists are a bit more complicated to sew as women are curvier than men. They require details such as gathering, darts, etc to fit properly. Women at the turn of the century also needed clothing that could accommodate pregnancy and provide access to nursing babies.
Clothing was made to last. While an older woman could have a blouse that buttoned up the back she would probably create a garment that would allow for the changing of shape that occurs with time, gravity, and weight gain.
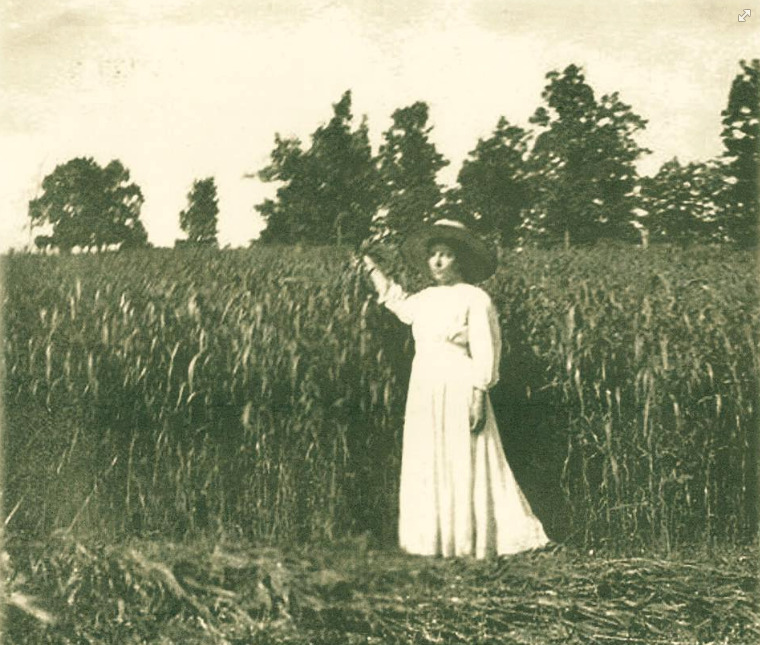
I studied the blouse that Laura wears while showing off her corn crop in Mansfield, Missouri.
The sleeves were fuller for ease but shorter in length and cuffed. This style would be perfect for working on a farm as it would allow movement and keep the hands free.
When enlarging the photo I could see that it does have a higher neckline consistent with the style of the day. It is hidden in the shadows of her wide-brimmed hat.
There is gathering at the waist.
The Pattern
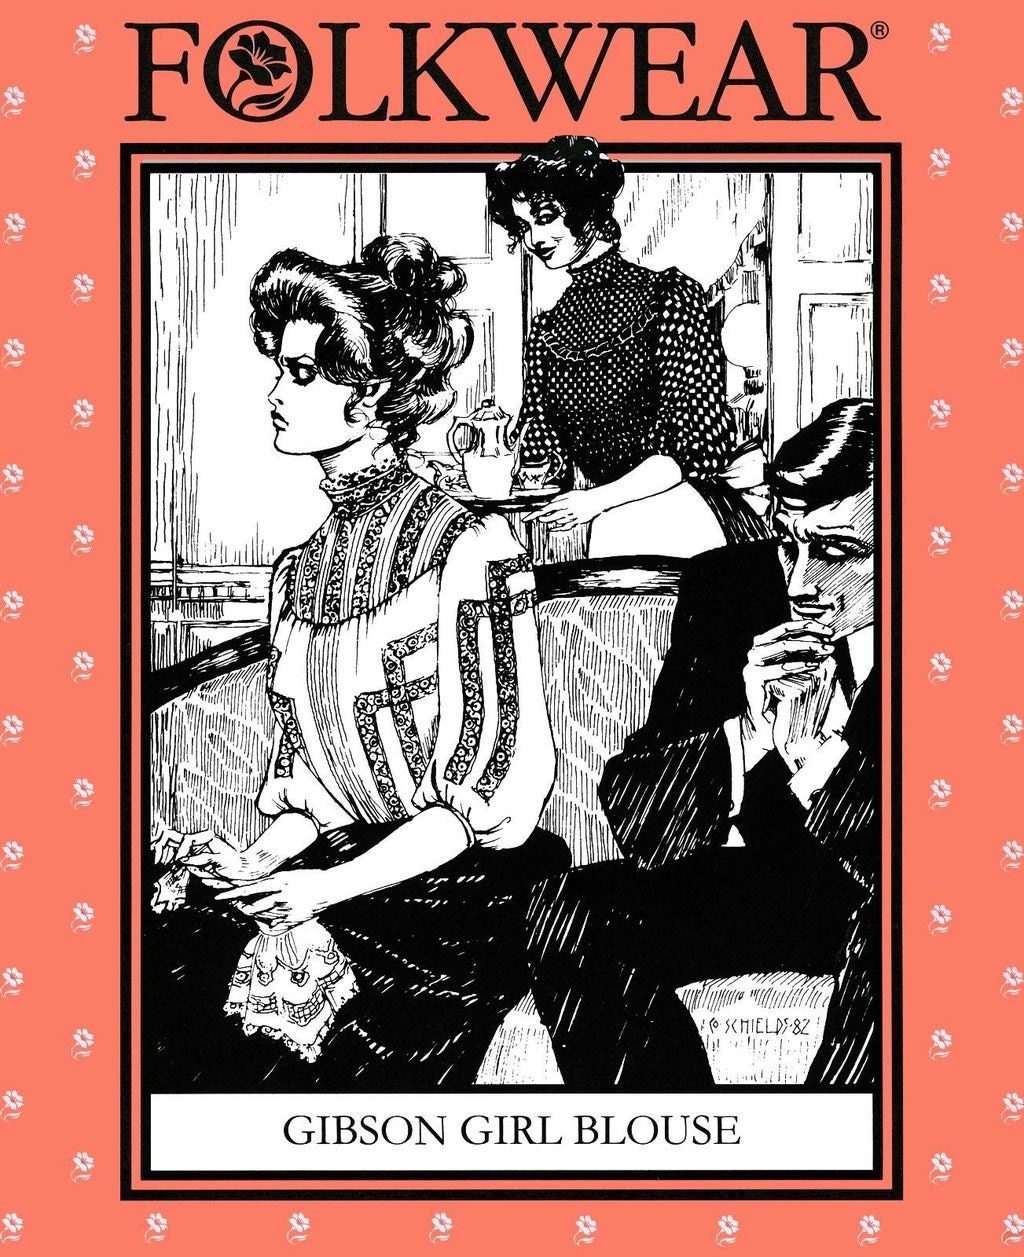
I selected the Folkwear Gibson Girl Blouse #205.
Style A is a basic blouse with very little embellishment. Perfect for this project!
Style B is made with insertion lace which is a very time-consuming process.
I’ve made two blouses that feature insertion lace. This green gem.
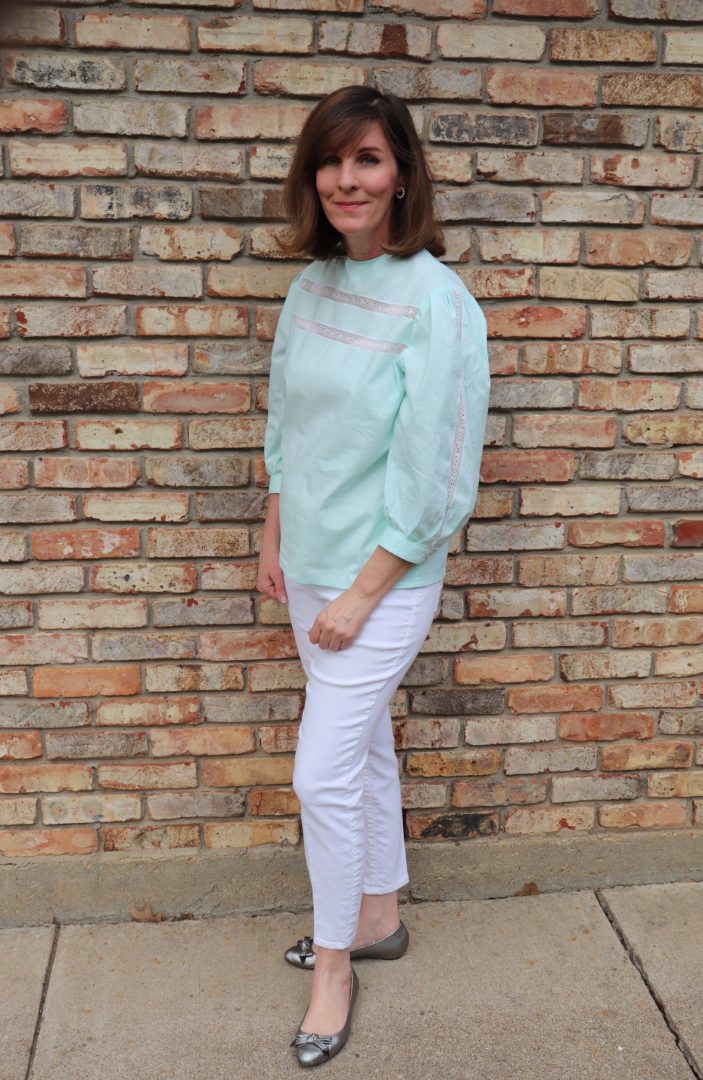
As well as this blue beauty.
Preparing To Sew
In trying to sew a blouse in a day there were a few things I did that made it possible.
First and foremost I gave myself permission to fail. While this seems counterintuitive it takes the pressure off. There is no sense in stressing yourself out over a blouse.
- The day before the fabric was washed and ironed.
- On the day I woke at 5:30 am to look at work emails, return messages, etc.
- A hearty breakfast was consumed.
- Lunch was made and put in the refrigerator so I could grab it and go.
- Dinner was put in the crockpot.
- I showered and dressed to be ready to start by 8 am.
Most importantly I shut down my computer and social media. I am sure you know that even looking at Facebook or Instagram “For a minute” can easily turn into 40 or more minutes. I also turned my phone ringer off. (It was checked during my two 10 minute breaks and lunch hour. No surprise, the only calls missed were from Mr. Scam Likely.)
Timeclock
- 8 am It took an hour to lay out the pattern and cut all the pieces.
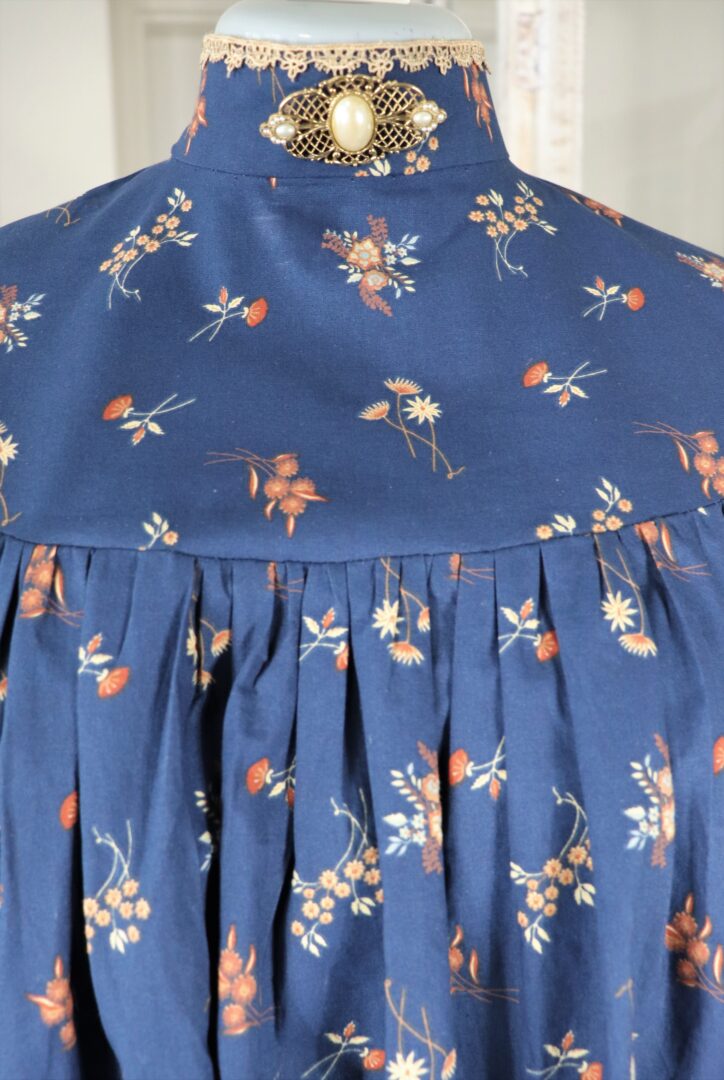
- 9 am I followed the instructions and was able to sew the yoke to the bodice (all those gathers!) and attach the collar. The interior of the collar was handsewn closed.
- 11 am A 10-minute walk with Gracie was a much-needed stretch.
- 2 pm Lunch was eaten while I hand sewed the interior of the sleeve cuffs.
- 3 pm I tried the blouse on and it did not look great on my body type. Too much fullness.
Even though I would probably wear this blouse tucked into a skirt I wanted the option of it looking nice if paired with pants.
So I broke a rule and fired up the computer. Getting on Pinterest I searched for “Edwardian shirtwaist with waistband”.
Hello gorgeous!
I have written about this before but with black and white photography our modern eye assumes that no color was worn.
Here is a shirtwaist that supports my color choice.
You can click on the image to view other angles of the blouse.
Back To Work
Yep, so that Pinterest distraction took an hour and a half.
- By 4:30 I was back trying to attach a waistband to the blouse. This required cutting two new pattern pieces, gathering the bottom of the bodice, and then fiddling with it until it laid nicely. The interior of the waistband was also hand-sewn shut.
- At 5:30 pm the Mr. came home so I stopped to greet him.
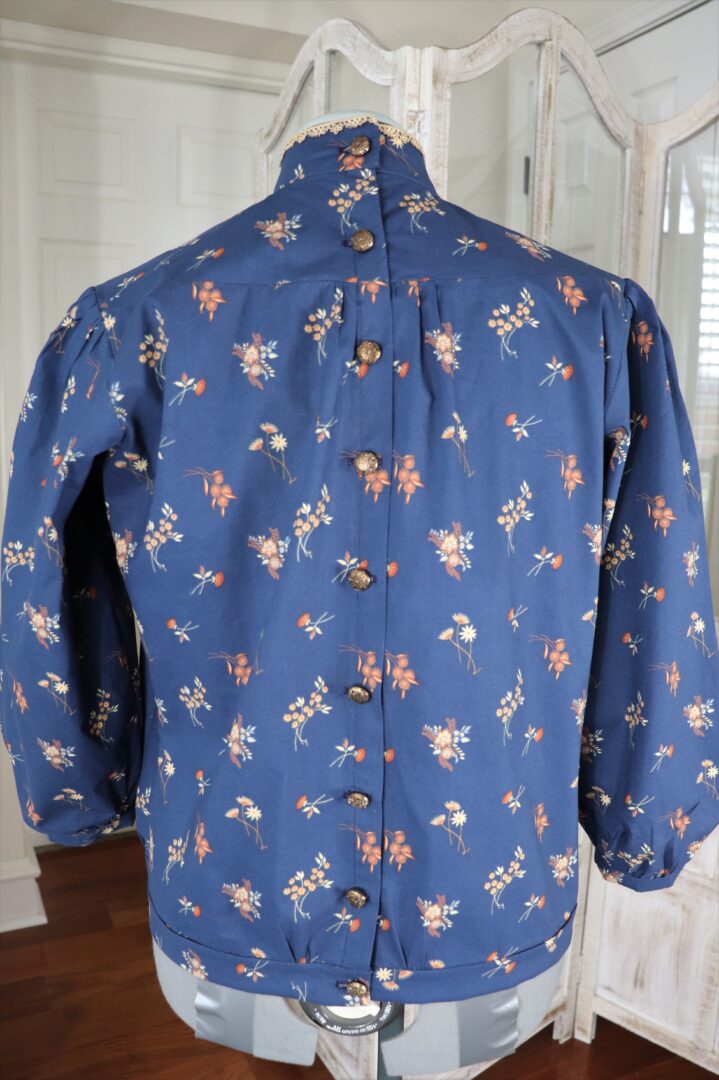
- 6 pm The machine and I sewed 9 buttonholes up the back of the blouse. The machine had decided it was done for the day and messed up three so they had to be ripped out and redone. Sigh.
- 7 to 7:50 pm Nine metal buttons are sewn on.
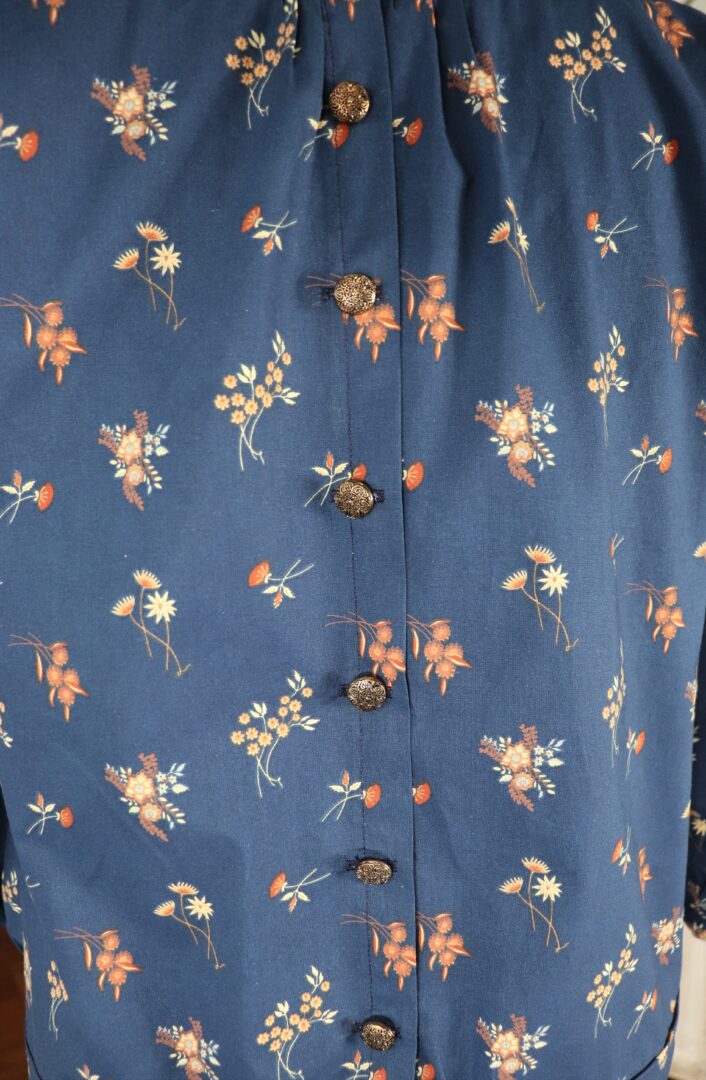
But she was done!
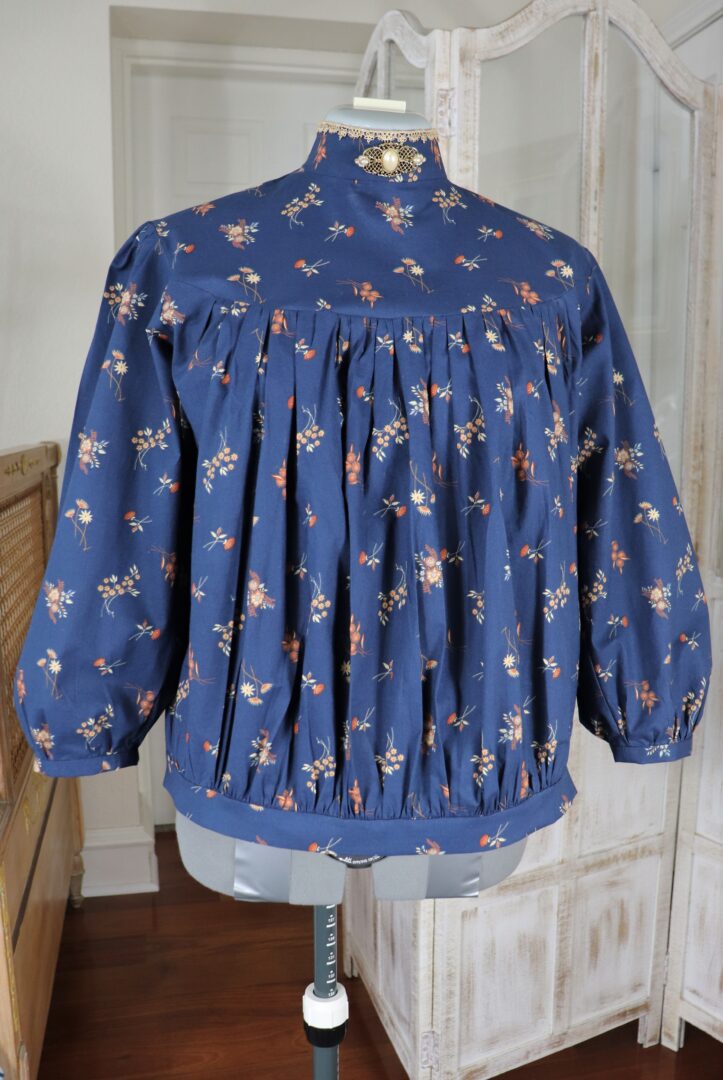
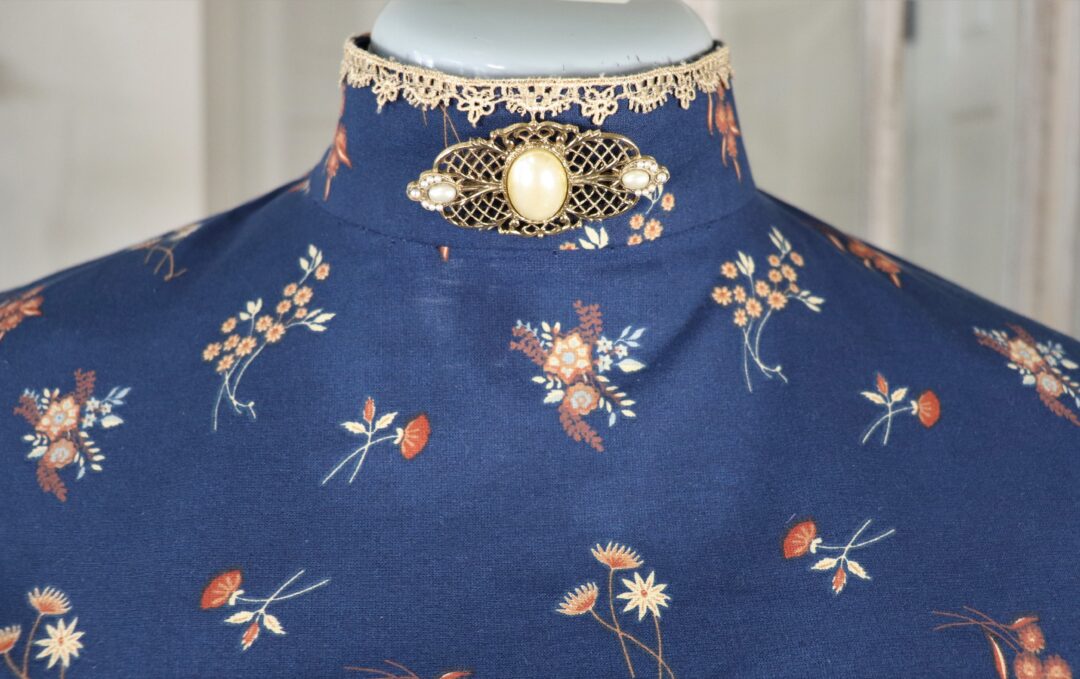
Like most of my historical makes, I always try to add an antique element to it. This time around it was a small scrap of lace to embellish the collar.
The vintage bar pin I have had for many years.
I am so glad that the waistband was added. Even though it added about 3 hours more to the time. Although most of it was research.
No Corners Were Cut!
I’ve seen other “made in a day” projects where the interior finishing was not completed as a time-saving measure.
That’s absolutely ok!
But I do plan on wearing and washing this blouse many times so I wanted to finish all the seams in the interior. It will help the garment to wear better and look nice while doing so.
Many of the Victorians and Edwardians finished their seams. Even if it was a stab and poke technique. Smile.
.jpg)
You can learn so much about the construction of a garment by looking at the interior seams.
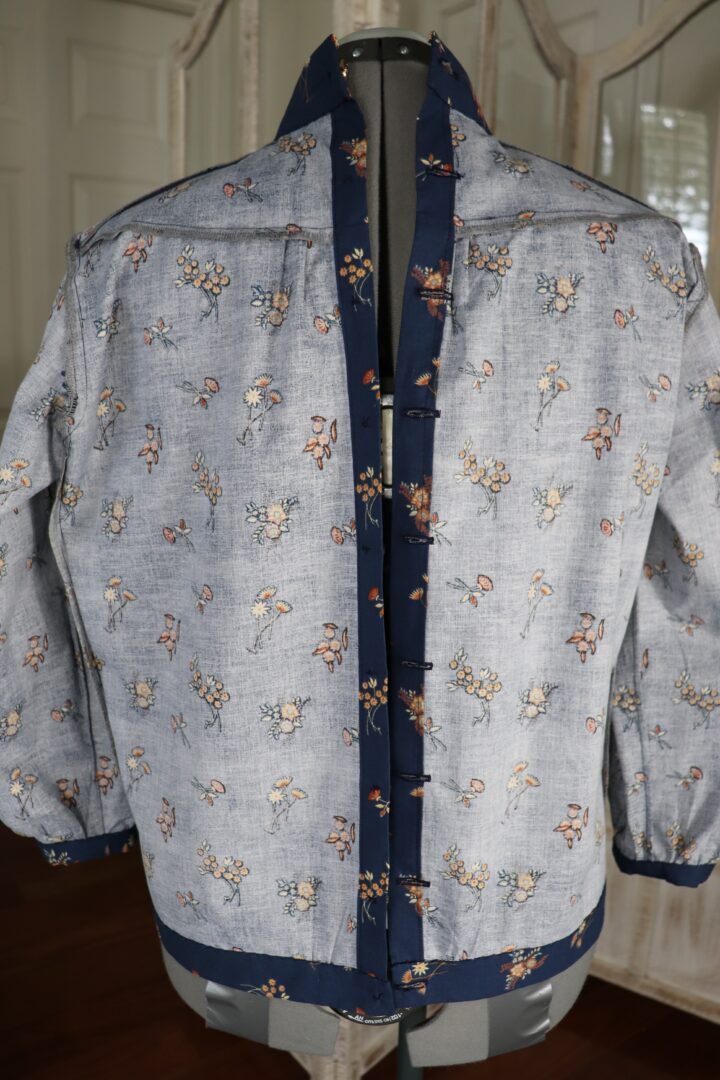
As I mentioned before the interior of the collar, cuffs, and waistband of my shirtwaist were all hand-sewn. I personally think it looks better than machine stitching. Both inside and out!
The remainder of the seams were finished with a serger. Obviously this is not historically accurate. For that, you would want to flat fell or create French seams. French seams were used on the sleeves. This was done as I don’t like the feel of serged seams on my arms.
She Did The Best She Could
She felt she should have worked faster, but she had done the best she could.
Laura had never sat still so long. Her shoulders ached, her neck ached, her fingers were roughened by needle pricks and her eyes were hot and blurry. Twice she had to take out bastings and do them over. She was glad to stand up and fold her work when Pa came in.
This Laura knows exactly how she felt!
Drawing by Garth Williams
Laura repeated this process for six weeks earning nine dollars. I couldn’t do this every day. Granted she was 15 and I am ahem, quite a bit older.
It took me 9 hours total. So what would be the total cost?
$72 If I worked for minimum wage (which I wouldn’t). An educated and skilled worker should earn more. Most professional sewists start at $20 an hour. So that would be $180. But of course, I made this for myself.
The materials were $19.
- 100% cotton fabric (2 1/2 yards from Joann’s on sale) $9.
- Cotton thread $2
- Vintage buttons from estate sale $2
- Used pattern from estate sale $5
- Antique lace estate sale $1
It’s easy to see why handcrafted garments are priced the way they are. But this blouse is a bargain for me.
I will attempt to sew the matching skirt in a day next week. Fingers crossed that will go much better. Then I will make two men’s shirts. One for practice and one for Mr. Decor to wear to the upcoming Laura Ingalls Wilder Day.
Just keep sewing, just keep sewing.
Laura



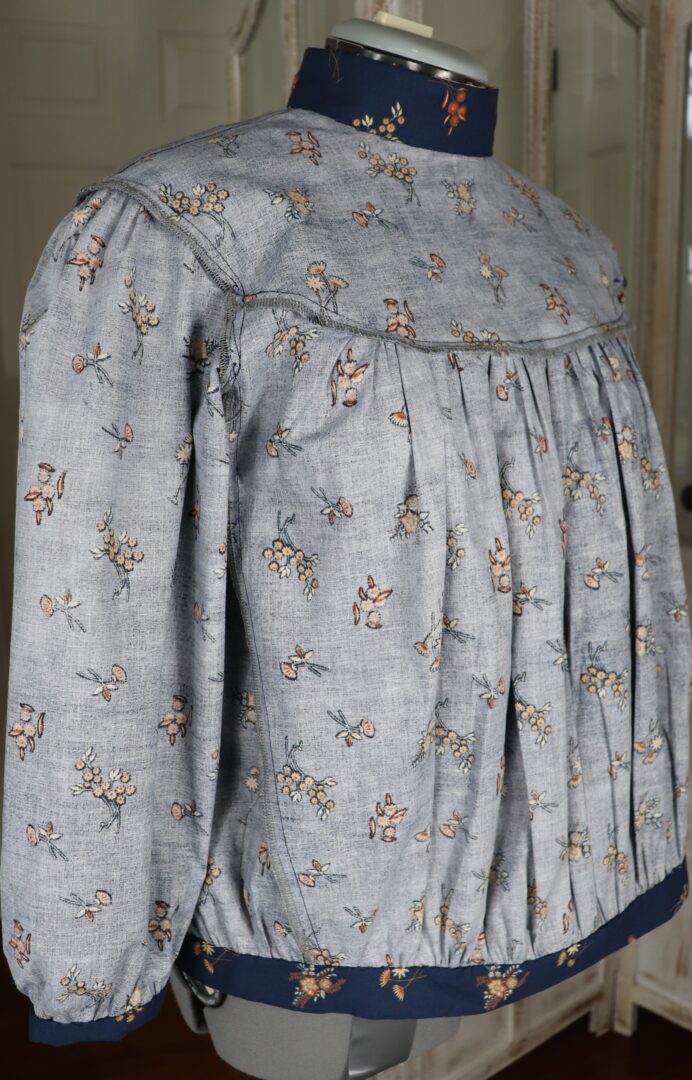
This turned out so pretty and I just love the fabric! I’m so slow, I don’t think I could make it in a day!