Hello sweet friends! Today’s pot contains two fast and fun projects for you to create. I hope you enjoy Jo’s Scribbling Cap & Crafting Mini Artbooks.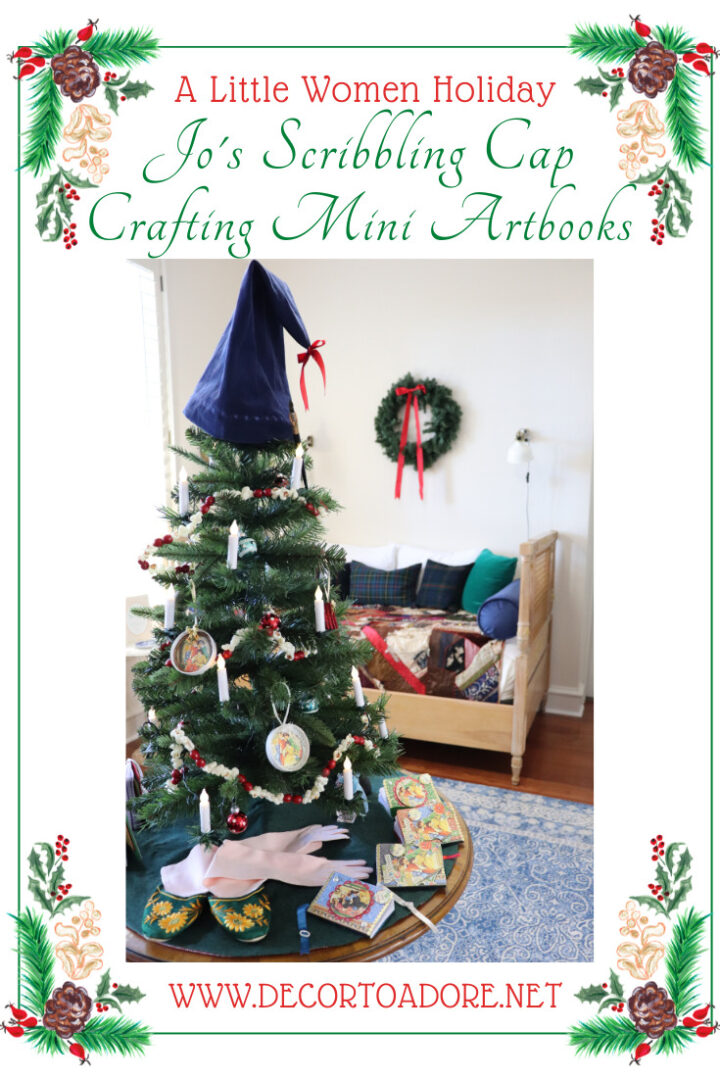
Jo’s Scribbling Cap
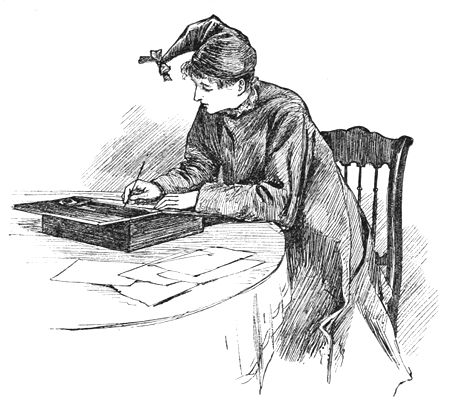
In Little Women, Chapter 27, titled Literary Lessons, readers learn of Jo’s Scribbling Suit.
“Her “scribbling suit” consisted of a black woolen pinafore on which she could wipe her pen at will, and a cap of the same material, adorned with a cheerful red bow, into which she bundled her hair when the decks were cleared for action. This cap was a beacon to the inquiring eyes of her family, who during these periods kept their distance, merely popping in their heads semi-occasionally to ask, with interest, “Does genius burn, Jo?” They did not always venture even to ask this question, but took an observation of the cap, and judged accordingly. If this expressive article of dress was drawn low upon the forehead, it was a sign that hard work was going on, in exciting moments it was pushed rakishly askew, and when despair seized the author it was plucked wholly off, and cast upon the floor. At such times the intruder silently withdrew, and not until the red bow was seen gaily erect upon the gifted brow, did anyone dare address Jo.”
A Velvet Cap
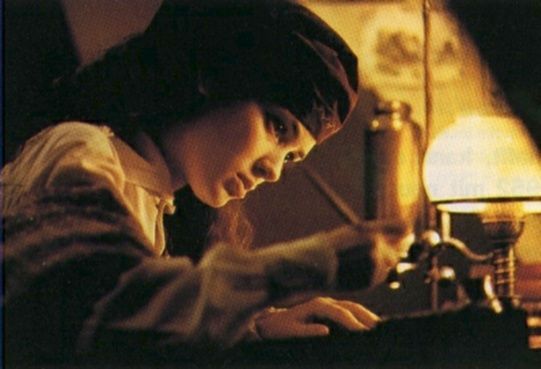
In the 1994 film version the character of Jo, played by Winona Ryder, wears a burgundy velvet cap that features a bit of scrollwork embroidery.
I decided to base my scribbling cap design on this style but in a navy blue velvet as I wanted the red bow to pop!
The pattern I created is basically a rectangle with a rounded tip.
This week’s video shows a corresponding visual step by step tutorial to these written instructions.
Pattern Instructions
- First measure the circumference of the person’s head at the forehead. My head was 26″. You then divide this number in half.
- Using scrap paper draw a straight line of the above divided measurement. This line will be the straight bottom edge of the cap pattern. My measurement was 13″.
- Starting in the center of that bottom line draw another line straight up for however tall you would like your cap to be. My cap is shorter at 17 1/4″ in length.
- Create a triangle starting from the top of the center line to either side of the bottom line.
- Cut out the pattern. You can soften the triangle with a rounded top to the cap if desired.
- Place the pattern on your fabric that is folded in half. Pin on your pattern and cut it out at just 1/2″ wider all around to allow for a sewing seam allowance.
- Repeat the step with a lining fabric. You will have altogether 4 triangular pieces of fabric.
- Pin right sides together of your exterior fabric and sew around the triangular edge using a 1/2″ seam allowance. The straight bottom will remain open.
- Repeat with the lining. Press all seams open.
- Try the cap on to make sure it fits before joining the lining to exterior fabric.
- Turn the lining inside out. The exterior fabric is then slid inside of the lining. The exterior fabric is right side out.
- Pin the two fabrics, with right sides together, at the base. Leave an opening big enough so you will be able to turn the fabric inside out after you sew a 1/2″ seam.
- After stitching pull the interior lining all the way out from the small opening. It will be one long piece of the exterior and lining fabrics joined at the base of the hat.
- Push the lining inside the exterior fabric. Sew up the small opening. (I opted to hand stitch it closed but a machine can be used.) DONE!
- You can add ribbons, bow, or any trim you desire.
Crafting Mini Artbooks
This past weekend I hosted a party for some of my friends and family. All wore 1860s attire. (Don’t worry, that post and video of the party will be shared on December 23rd!)
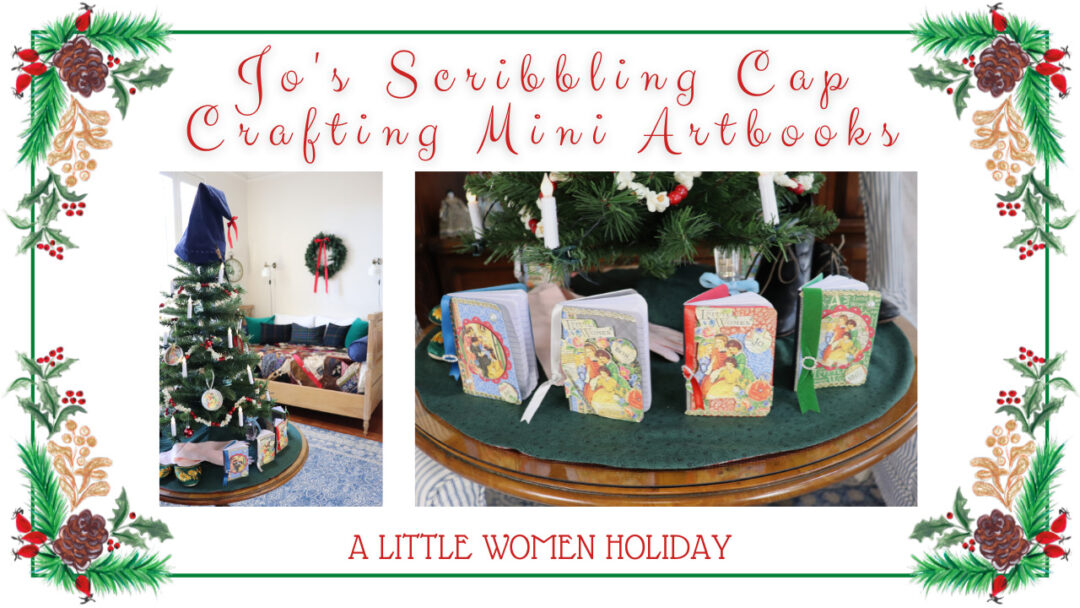
As a Thank you! for their extra efforts I created some small artbook party favors using scraps of paper, ribbon and other trim. This was very much in the spirit of the March sisters who always made due with what they had.

No two books are the same. You can choose any theme or color to suit your own tastes.
Jo’s Scribbling Cap & Crafting Mini Artbooks
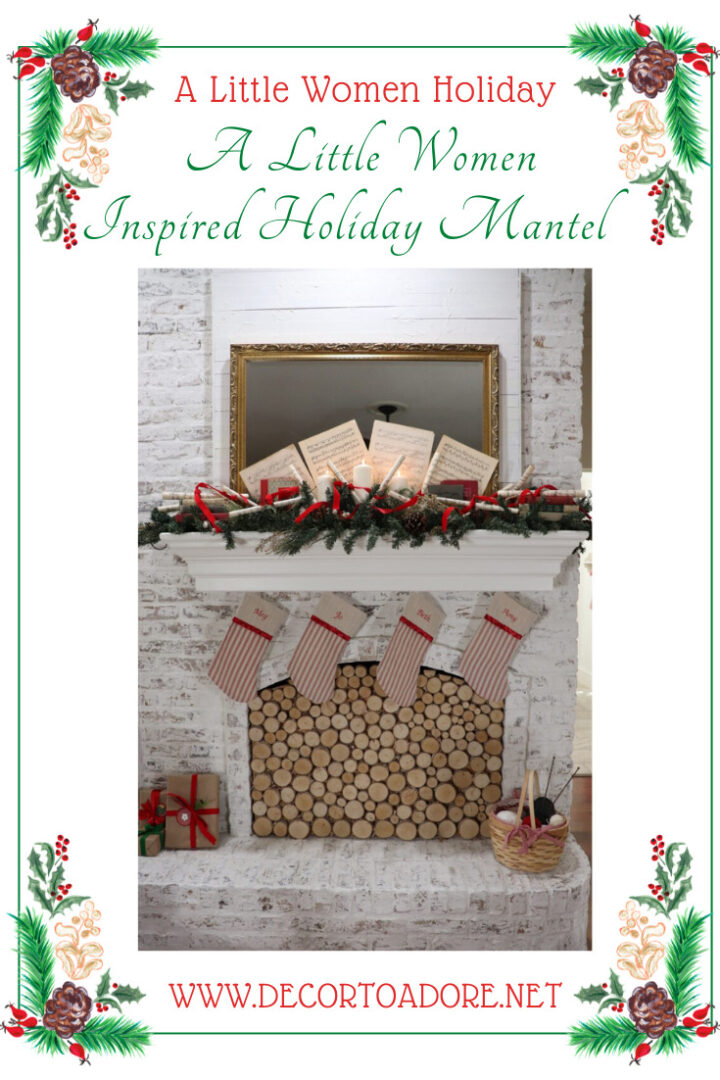
Here’s a sneak peek of the March inspired sitting room. A full reveal will be next week during my holiday home tour.
This Week’s Video
I hope you enjoy the two Little Women inspired projects in this week’s video.
I’ll be back on Sunday,
Laura
A Little Women Holiday Series
A Little Women Holiday Inspired Mantel
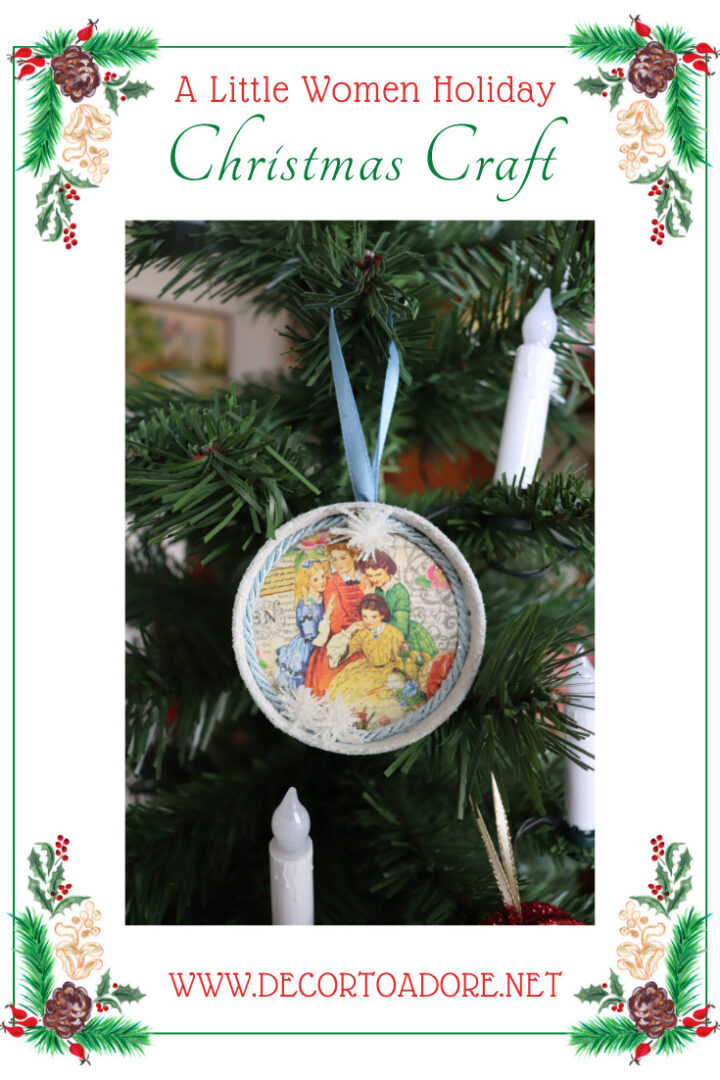
Little Women Inspired Christmas Craft



The little books are inspirational! I can’t reveal my theme, but thanks for the tip!
These are charming, Laura. I can’t wait to see you model your cap! Will there be a video?