I’ve been wanting a French Lantern for a few years. I have not been able to find one that I liked for a price that I was willing to pay. They tend to be fairly expensive. So I decided to make my own. You can also DIY French Lantern Chandelier.
DIY French Lantern Chandelier
I think lanterns look great in office spaces.
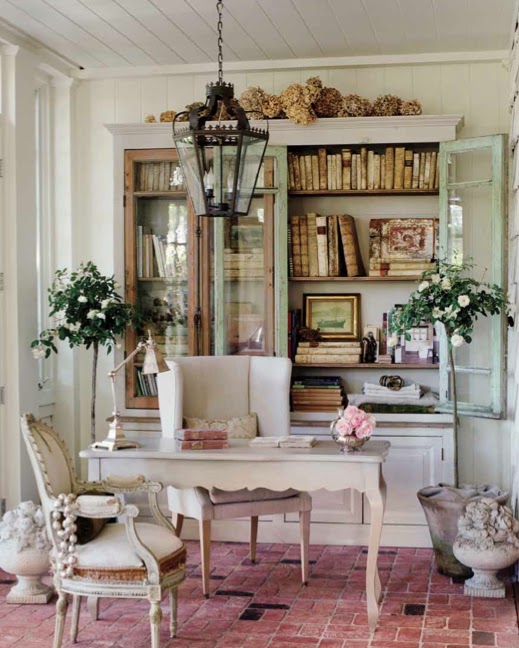
Velvet and Linen
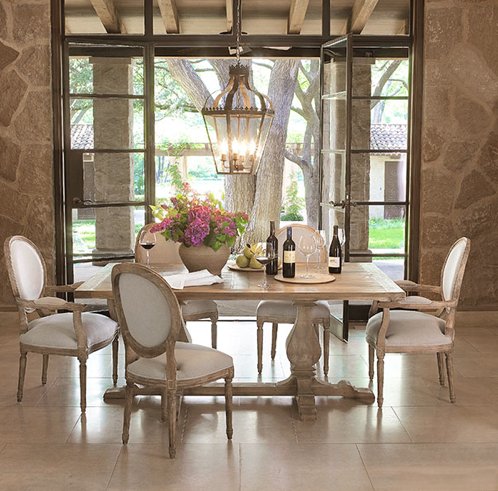
I really like them in the dining area.
They can make a living room look extra special.
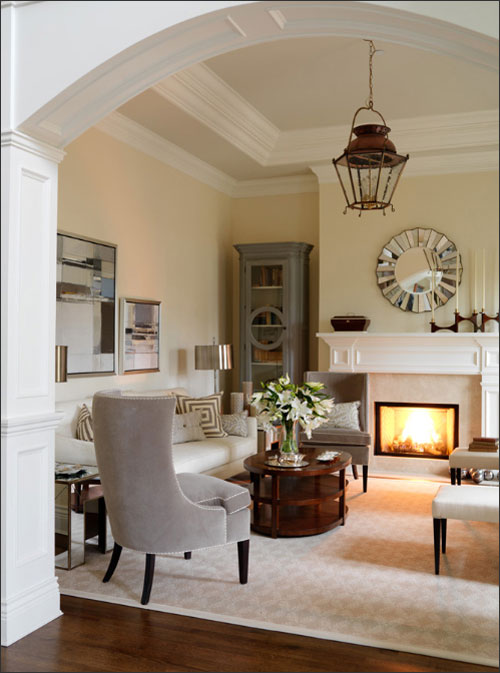
Sarah Richardson
But my favorite place just might be the kitchen.

How To Make A French Chandelier
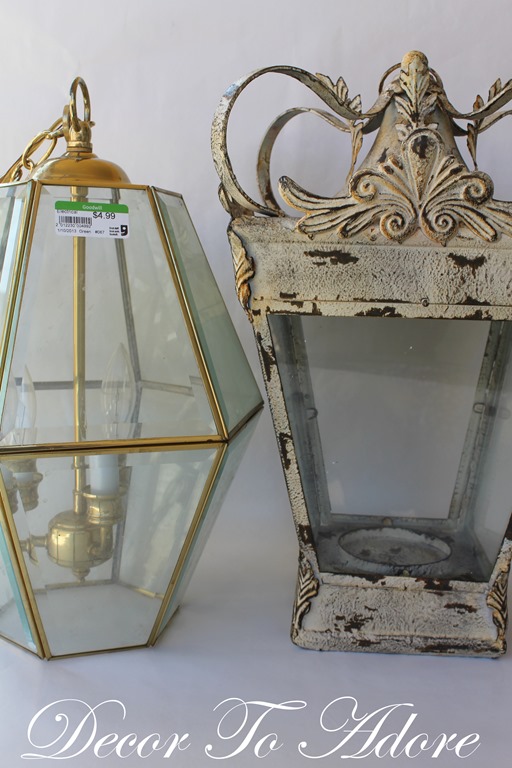
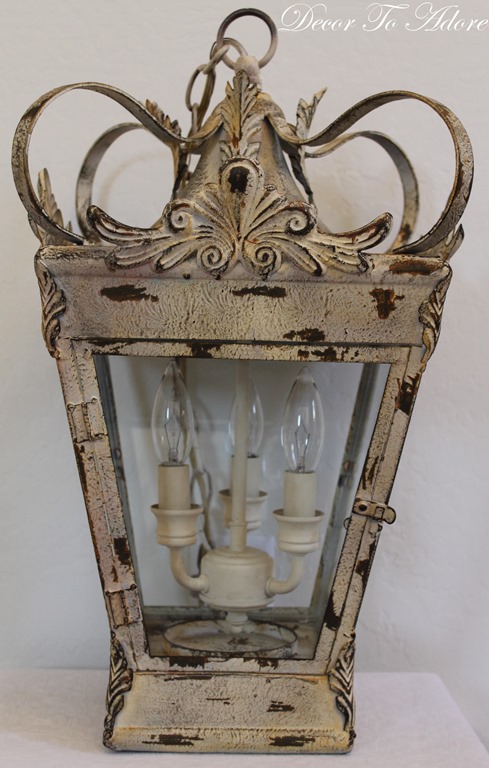
Last August I was meandering around HomeGoods. It just happened to be my birthday. I spied this candle lantern for $20.00. Happy birthday to me!!! My initial thought was to hang it outside. But it was too pretty. So I asked Mr. Décor can we electrify this? He said “Yes.” So I began looking for a chandelier that was the right size to use for parts. It took a few months but I scored this “beauty” at Goodwill on a half-price Saturday. Yep, $2.50.
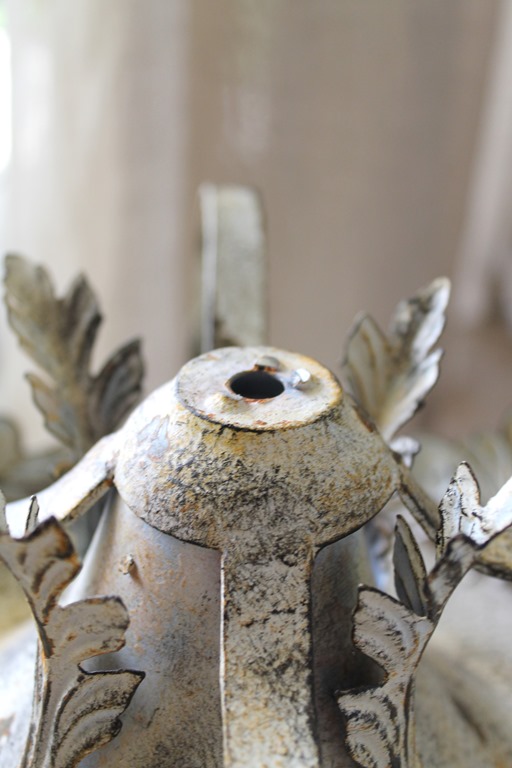
First, the top knob was removed with a hacksaw. This was where the electrical cord would be threaded through.
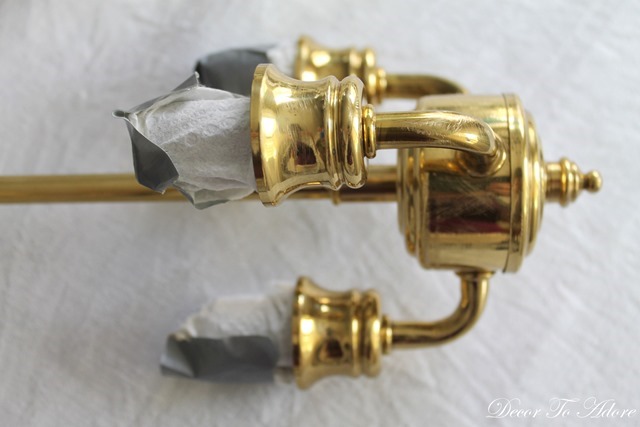
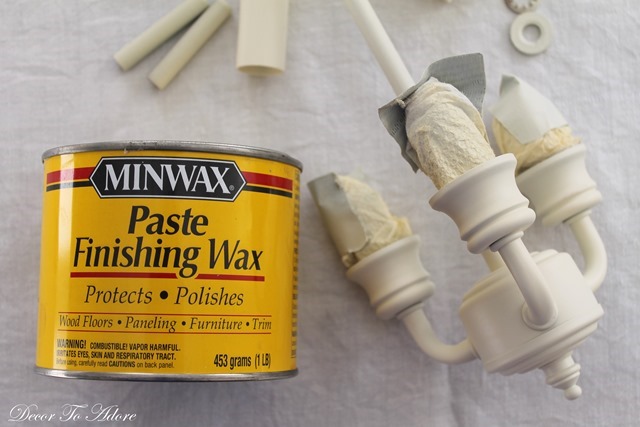
Then the brass interior was removed from the old light, sanded lightly, and the electrical parts were shoved full of paper towels and taped off.
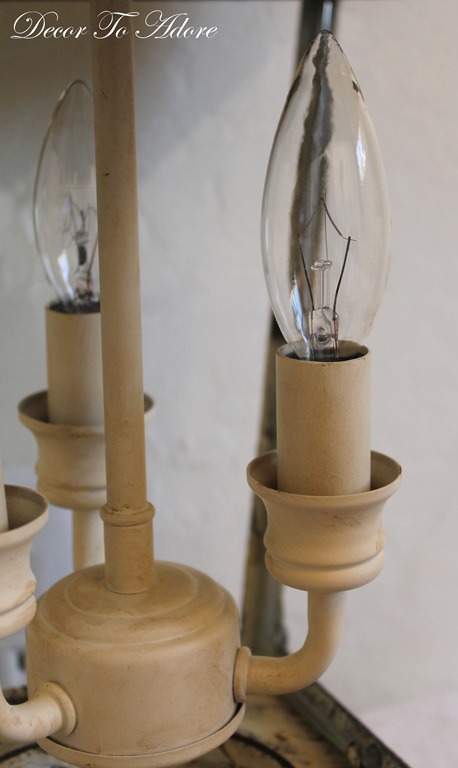
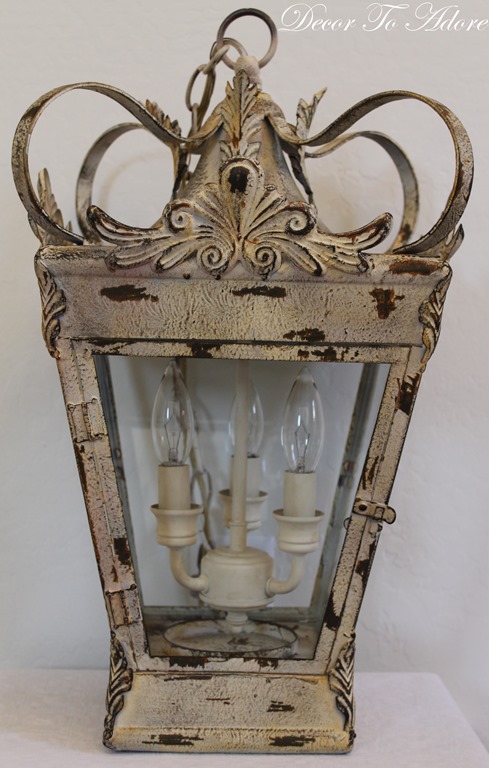
I used Krylon dual paint + primer in ivory satin. It covered the metal finish beautifully. Then, taking a leap, I used dark Minwax to create a patina.
I was pretty pleased with the results of both products.
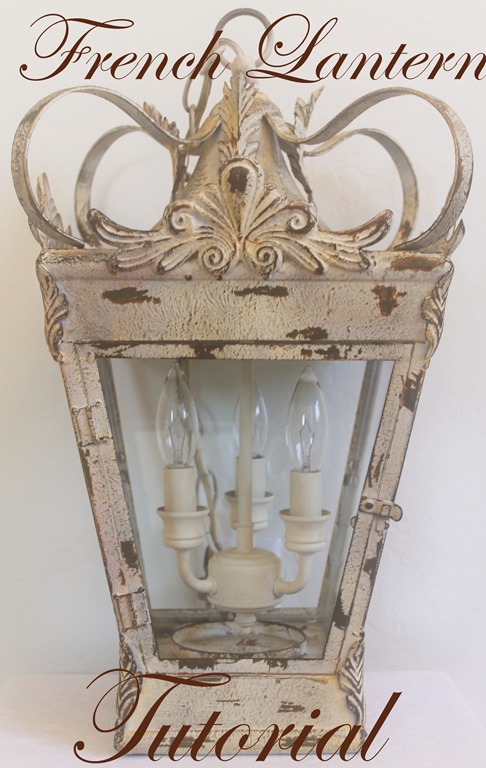
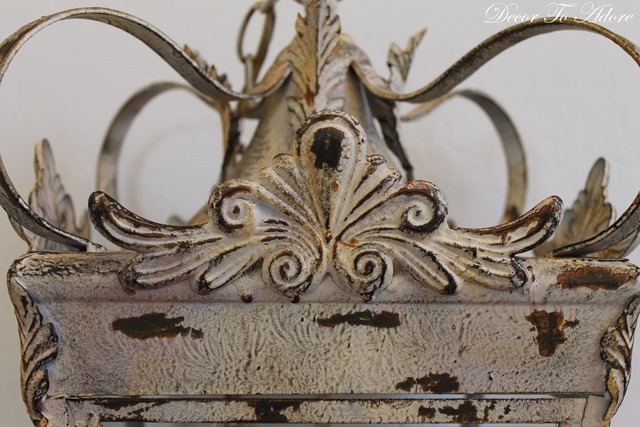
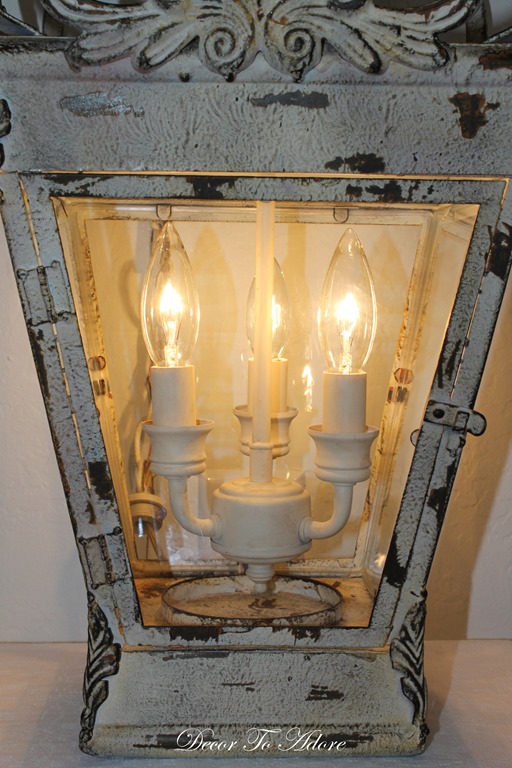
Here is a close up of the lantern finish.
Hanging Around
For the hanging chain, I also spritzed on a bit of Rust-Oleum hammered finish spray paint.
I think the chain finish works really well with the lantern finish.
Keep in mind you won’t see the bottom candle holder area once it is hung.
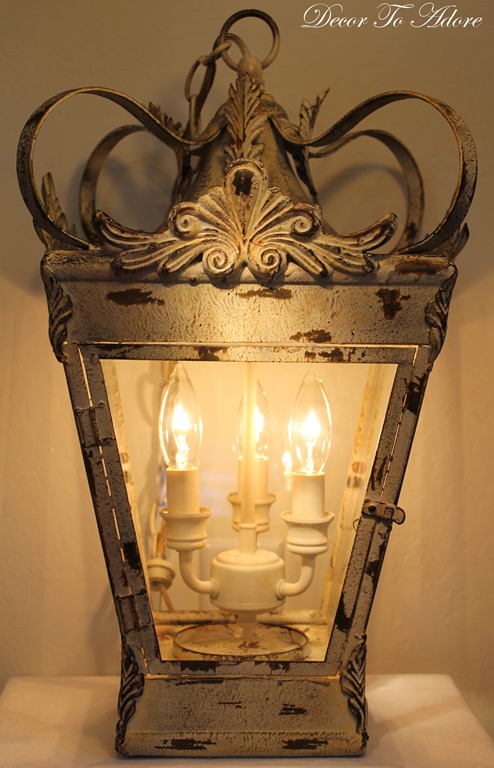
The lantern was temporarily wired to a plugin cord to show you what it looks like at night. We are still deciding if we are going to hang it in the entry or dining area.
I am also wondering if I should add some rusted accents via acrylic paint to the electrical piece. My thought was that in nature it wouldn’t age that way as it is protected by the glass. But I would love to hear your thoughts on the subject. Paint or no paint?
I will share the final reveal in an upcoming post.
Until then, paint the interior or let it be?
Laura
You can see another lighting fixture transformation I created HERE.
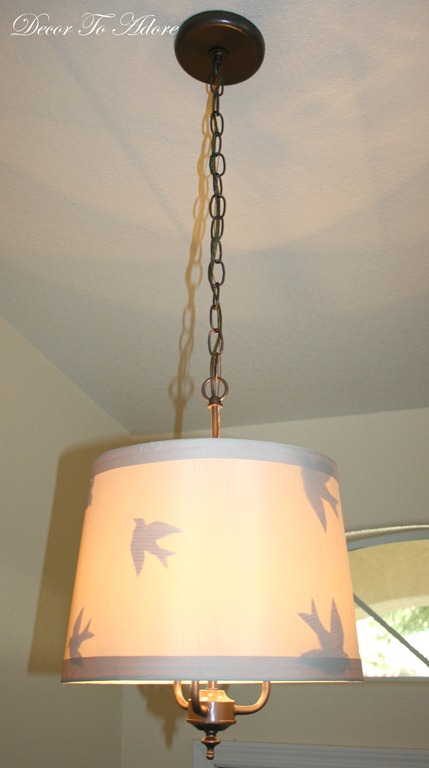

paint to age the fixture, yes….
This looks amazing!!! I think you should age the electrical part though…
It's beautiful – but, yes…Paint to age it!
WOW…so pretty! You are a clever gal!!!
Blessings,
Cindy
Laura,
You are amazing! Your French lantern turned out beautiful. Regarding, the aging of the electrical part…maybe a little wash to tone down contrast. Less is more, you don't want to detract from the pretty lantern.
Have a great week!
~Lynne
w/L.
This is just beautiful, Laura! What a great way to get the look you want within a budget. I would never have thought to try and electrify the lantern. I'm glad to know you can do that. I think the interior looks find just as pictured. Can't wait to see where you decide to put it!
You're fantastic! I love it just the way it is. If I did anything to it, I might just tone it down a bit as someone else mentioned, but regardless, it looks lovely!! ♥
Fantastic!
Gorgeous! It is perfect. I vote no for more paint.
Lucky lady! love it Laura! can't wait to see it in your room!
Lucky lady! love it Laura! can't wait to see it in your room!
It's so pretty and clever.
Wow, you did a fantastic job, looks fab and for so little money! I understand your logic that the electrical fitting wouldn't have aged as it was protected but dare I say it, I think a little ageing might look nice!?
Laura, what a great lantern! So clever how you made it and saved a bundle! It will be beautiful wherever you hang it. 🙂
That's a great lantern fixture. I think aging the electrical fixture would make it more a part of the whole look.
Have a good day, friend.
I vote no to more paint. I love the way the interior is fresh and bright and makes the whole interior look like the source of the light. Keep in mind I have no idea what I am talking about.
Because the inside of the bottom of the chandelier is aged, yes, I think I'd add just a touch of aging to the piece you painted. Especially because when the light is on the painted piece looks brighter than it probably is when the light is off. Really pretty – can't wait to see it hung up!
Fabulous transformation. I love it, Yes, I think I would paint the electrical parts to match the lantern. Hugs, Marty
It looks beautiful. What a great idea.
What a great idea! It looks awesome!
Paint! it just needs a little!Wonderful post, so inspiring.
Laura, this is so clever. I might paint the interior a nice robin's egg or some unexpected color that you love. I have a little chandelier in the bathroom, and one of the things I like best about it is the pop of unexpected color in it.
I want to thank you for your prayers and your sweet comments. I really appreciate both. I can't remember if I thanked you or not (I came on over the weekend and couldn't comment because I know you turn them off on Sunday), but I was thinking of you all the same and wanting to give you a hug in return.
Love you…
XO,
Sheila
I'm no expert here, but I'll throw in my two cents….I say age the inside, too. It looks like it has too much contrast right now.
This is fantastic! I've been playing around with this same idea, just have to find the right lantern.
As far as painting the inner parts, I probably would, but I can't ever leave anything alone. So I guess I'd say only do it if it'll really bug you if you don't, cuz it's beautiful as it is!!
Jeannine @ The Concrete Cottage
You are a genius. Wonderful transformation…and I think I would age the electrical components a little bit.
Your lantern looks wonderful, Laura! I have one that I've been wanting to convert to electric to make a table lamp- I have all the parts (I think), but just haven't done it yet. Maybe this is the push I need to just do it. 🙂
This is a terrific makeover and I'm pinning! I think I vote yes to a little more aging on the interior.
Love the lantern, great find, great project!
I'm absolutely pinning this, Laura. I love the finished product, and I really, really love that it is a DIY project so it was so cost effective.
Love your Beautiful lantern!!! They look so sophisticated and cast such lovely shadows.
Our son wired lamps along their long, curved driveway. At Christmas time they were amazing but look nice all year.
I am going to wade in and add my two cents worth about the patina. I think the electrical parts would look a little more natural with a bit more patina added. A real lamp would have probably had at least one glass broken out over time and even if it didn't the dampness would eventually seeped in and caused some deterioration. Especially around the edges. It's only paint so if you try it and don't like it, paint over it.
Thanks for sharing your great tutorial! 🙂
Oh that is beautiful, uh oh, I feel a project coming on LOL. Thanks for the great idea, I love this.
Your find was well worth the wait! It looks wonderful. I look forward to seeing where you end up hanging it. I could go either way with 'paint or no paint'.
Have a wonderful Day,
Suzanne
Pieced Pastimes
Rusted accents on the electrical piece would look great.
-Carol
Brilliant! What a beautiful lantern! Life to the full, Melissa @ DaisyMaeBelle
How about just a tiny bit! Really amazing what you did with it!
Oh wow what an awesome idea…
It looks beautiful,….
Smiles~
Mari
Smart, stylish, and deal savvy- that was a Happy Birthday to you moment! The lantern looks sensational, and the paste wax created a nice patina(love paste wax!). I'm looking forward to the big reveal!
Laura,
I prefer your lantern to those I've seen at high end home decor shops. We have a pair of exterior antique lanterns that are original to the house and they look much like the one you've created — less worn on the interior. Let us know where you decide to hang it
Your Friend,
Deborah
FairfieldHouseNJ.com
Lovely lantern and beautiful transformation!!!!
Amazingly I think I may have the twin to the older fixture. Purchased mine also at a Thrift store reasonably priced as I wanted it namely for parts. (Posted it on Houzz.com as a salvaged lighting project.)
Used the main 'shaft' to add it on to another one for a longer drop and created a drum shade, five light pendant with no evidence of a chain or exposed wiring.
-Brenda-
P.S: I really like the way the older fixtures come easily apart so you can interchange them.
That's such a clever idea! I love lanterns too 😉
Jamie @ somuchbetterwithage.com
laura what an amazing project! You have now inspired me. Your lantern turned out perfect and I think you should just leave the electrical just the way it is.
I love it Laura! I'd age the inside a little I think – although I'm a little late – you probably already have it decided!
Awesome! Now I want to make one!
Thank you for inspiring!
Great idea Laura! It has to be more affordable than the light fixture too, they are so expensive!
Sherry
What a fantastic before and after! Such a creative project – thanks for sharing your idea!
What a BRILLIANT idea! small rusted accents on the electrical would be great.
What a fantastic idea!!
Do more thinking outside the box!!
Love this! Isn't it great when all the “parts” just work together to create something wonderful? It's very pretty as is, but I think the electrical part could be aged a bit. Such a great project!
Jeanette
your lantern looks amazing now. however i'd definitely age the electrical part.
happy easter
rita
Absolutely charming. (Commenting a year after the fact, but just stumbled upon it). There's such a grace to older pieces, and such an art to seeing the secret elegance and bringing it to its best.
Exquisite, and though I do not usually covet, for THIS, I'd be prepared to sin.
rachel
Your French lamp is gorgeous, Laura! You and your sweet husband did a wonderful job in wiring it up. How smart you are to have seen the potential in it right away.
I hope your Easter will be perfect!