Hello sweet friends! Welcome to a transformative journey occurring in Storybook Cottage. Today’s post will cover the Kitchen Renovation Week 2 Laying New Groundwork.

Kitchen Renovation Week 2 Laying New Groundwork
For those who may be new to DTA last week we began the process of remodeling our almost 50 year old kitchen. The demolition of the kitchen cabinetry was swift and easy due to rot caused by a previous flood that occurred sometime before we moved in seven years ago.
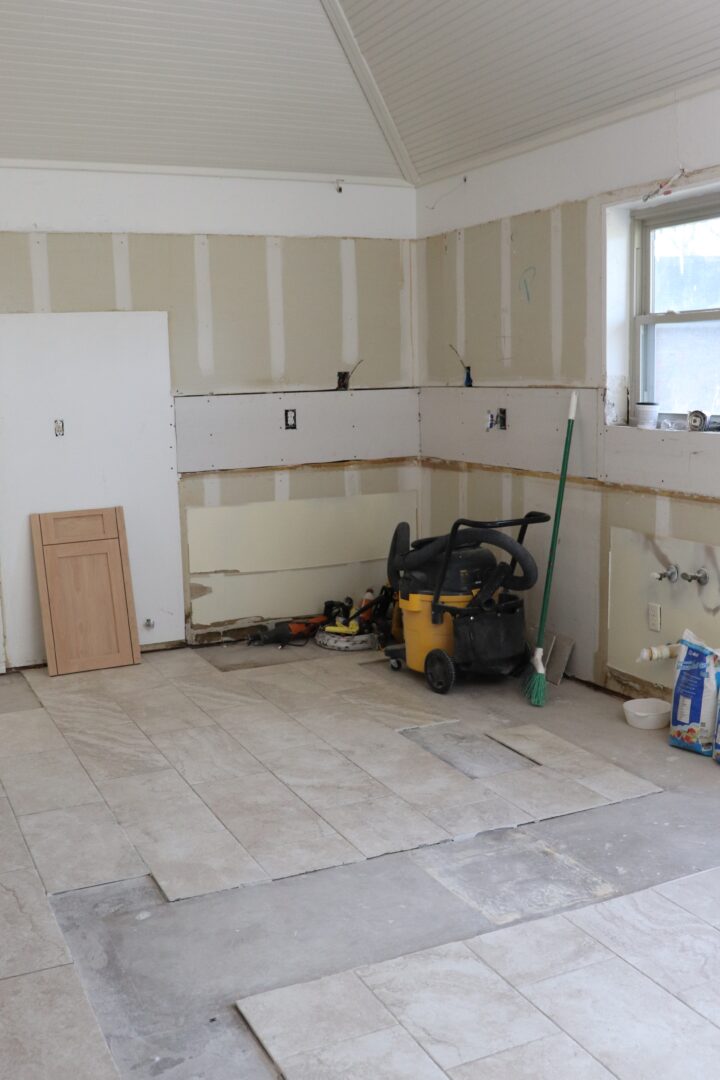
After demolition additional matching tile pieces were laid down by a work crew where they had previously not been installed.
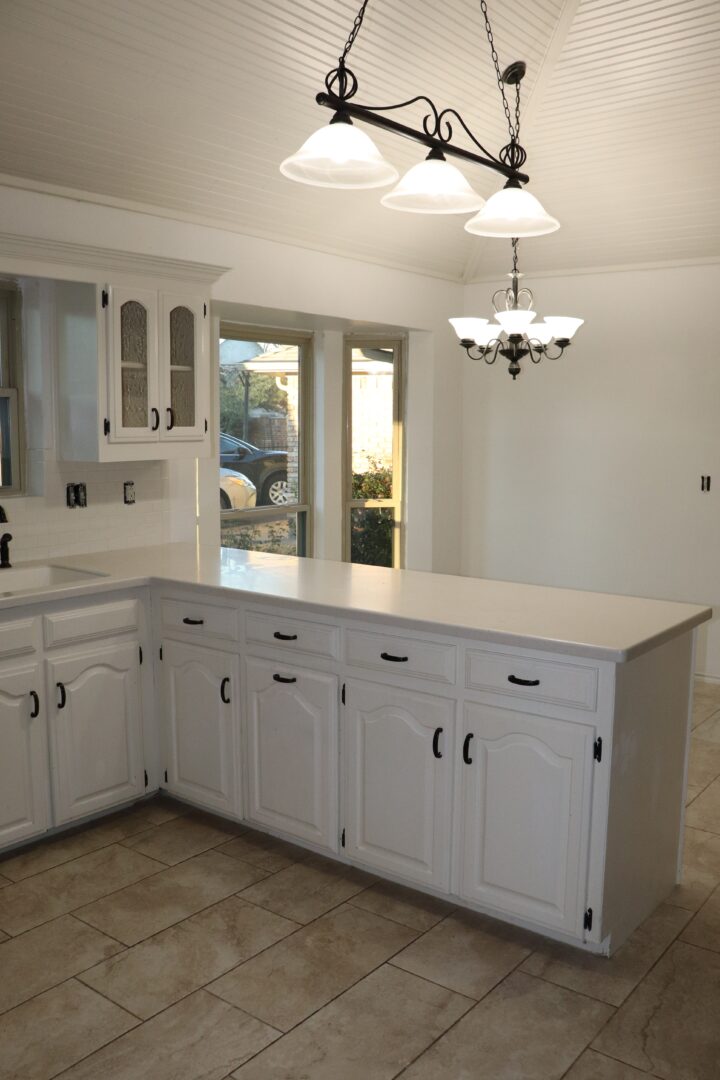
The existing lighting was also removed.
The lighting had come with the house. There was absolutely nothing wrong with it. It has already been quickly sold on Craigslist.
I wanted it removed because:
- It caused a design conflict. The elongated style of the countertop that was positioned in the opposite direction always fought with the direction of the lighting. (The lighting was placed in that direction due to a large ceiling beam.)
- It was very visually heavy.
- Which leads to reason three. Many of my longtime readers said they had never noticed the beautiful peaked ceiling covered in beadboard.
- The lighting wasn’t anything I personally would have selected. You can see styles I like HERE and HERE.
A Bright Idea
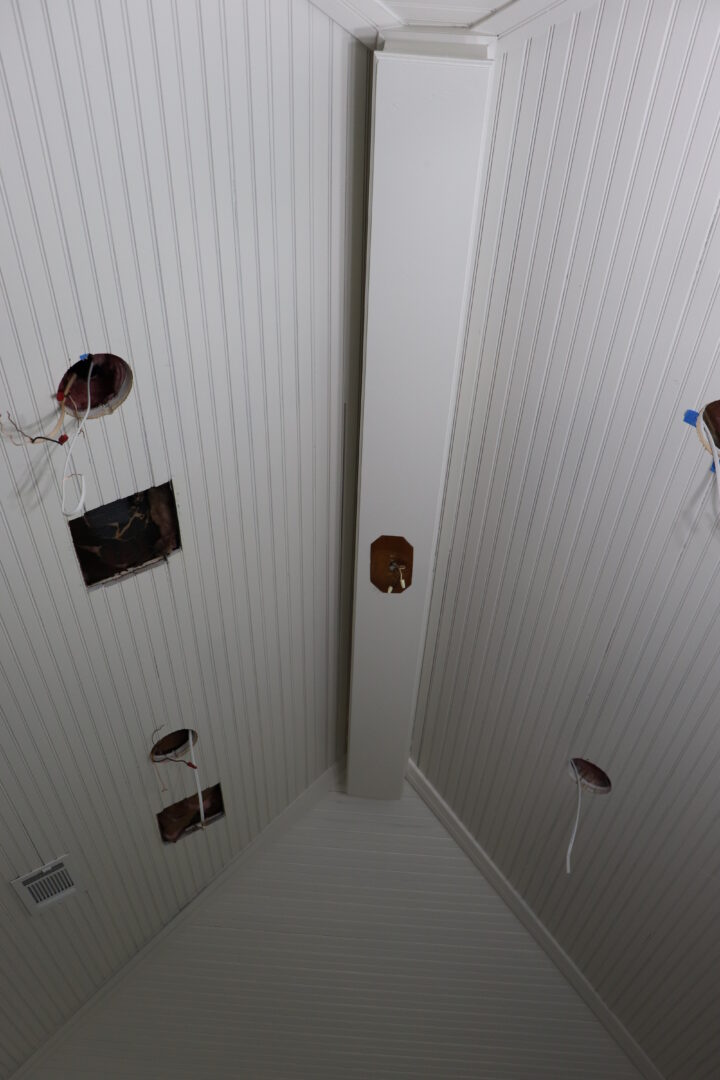
I wanted to showcase the beautiful architectural structure of the ceiling so we opted to have new lighting installed. There had been two oversized square ceiling lights that were original to the house. In addition to the lights being installed off center they were extremely dated and didn’t work very well. You need good lighting in a kitchen to cook safely.
You can see them on the left in this “before” photo.
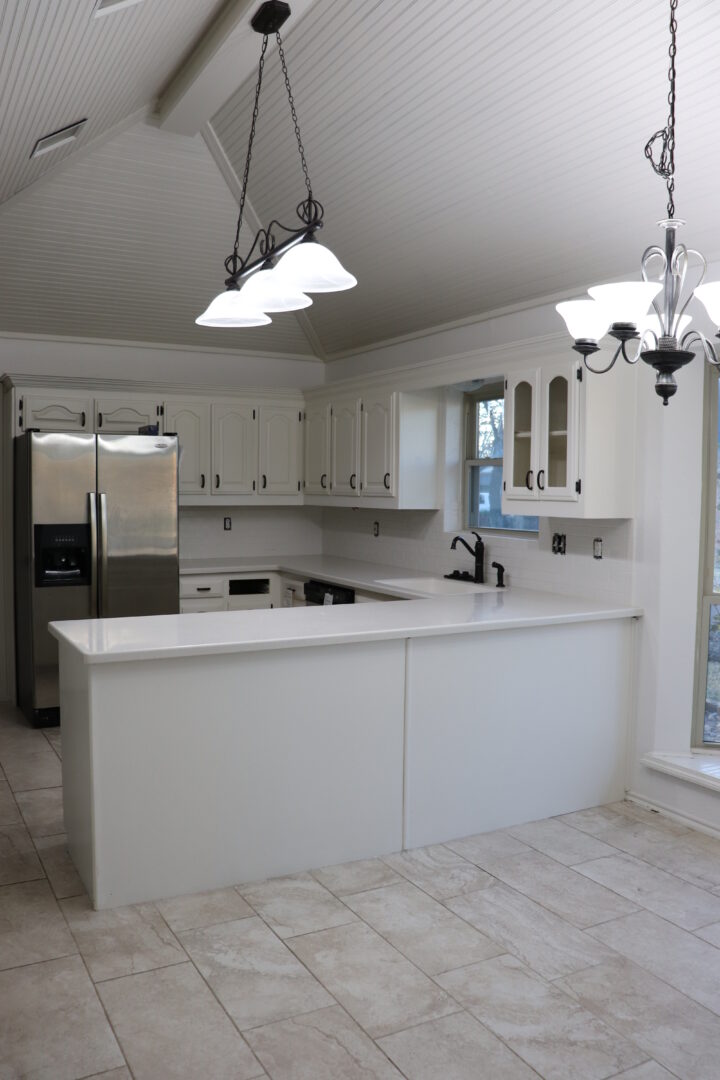
So they were removed which of course left us with two fairly good sized gaping holes in our ceiling. (You can also see the round holes where the new lighting would be installed.)
You can also see the direction of the beam where the large oversized lighting used to hang. (The unpainted area.) That hole will be filled in and the beam (along with the ceiling) will be painted.
Beadboard Bedlam
Now the beadboard installed in the ceiling is close to 50 years old. The quality of this beadboard is vastly superior to what is produced today. But, never fear a great solution was achieved.
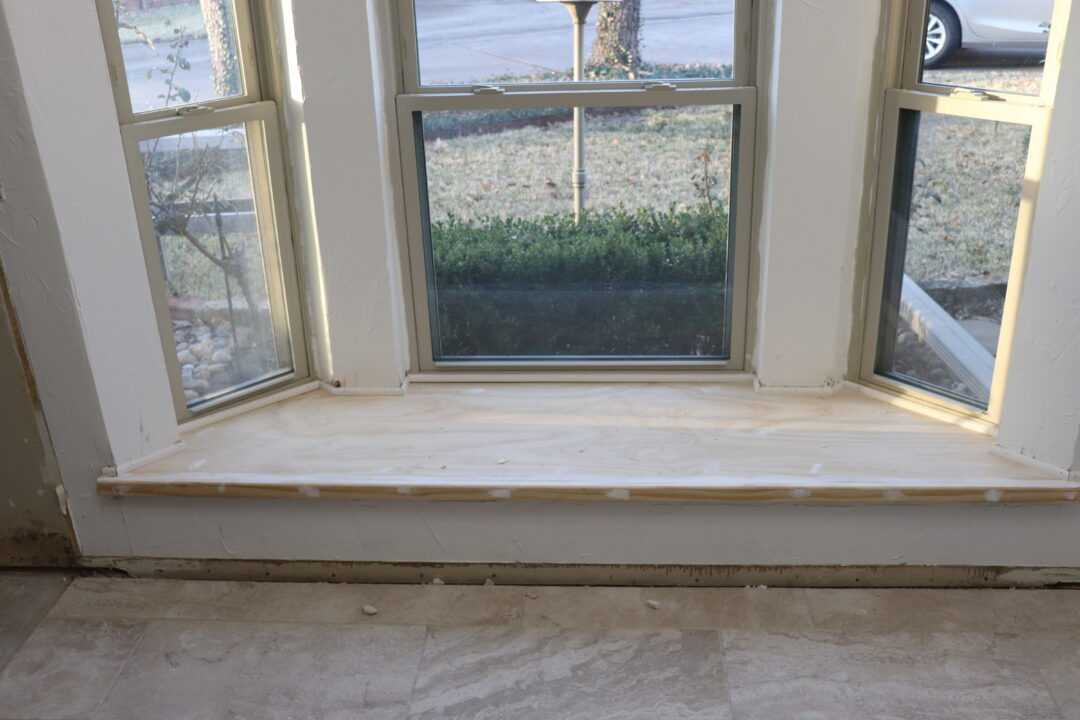
There is a bump out (bay) window in the kitchen dining area. I have shared it decorated many times before.
But what I haven’t pointed out was that the base of the window was covered in the same 50 year old beadboard as the ceiling.
Beadboard on the ceiling is great!
Beadboard as a flooring solution is not.
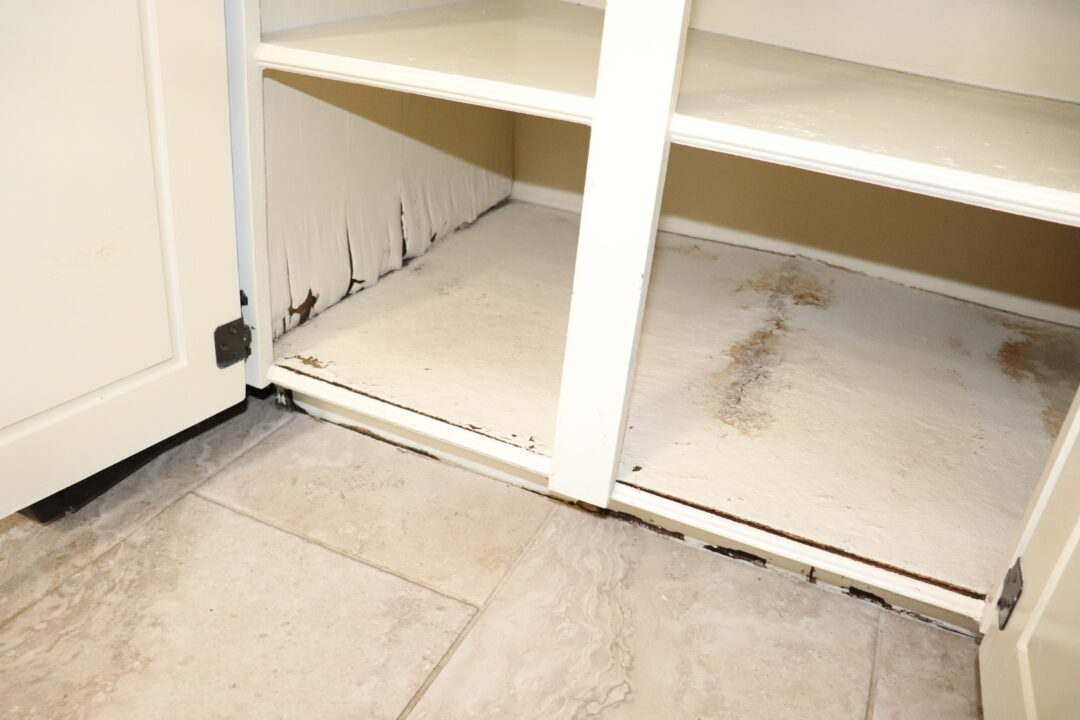
Dust, dirt, pet hair and more got trapped in the crevices. The image shown below was taken right after we had originally had painted the unfinished beadboard white. But over the course of seven years it just looked gross and filthy. No matter what I did I couldn’t get it clean.
So when the beadboard was removed it was placed in the SAVE pile.
A good sturdy solid wood base was installed instead. It will be painted and should be much easier to keep clean.
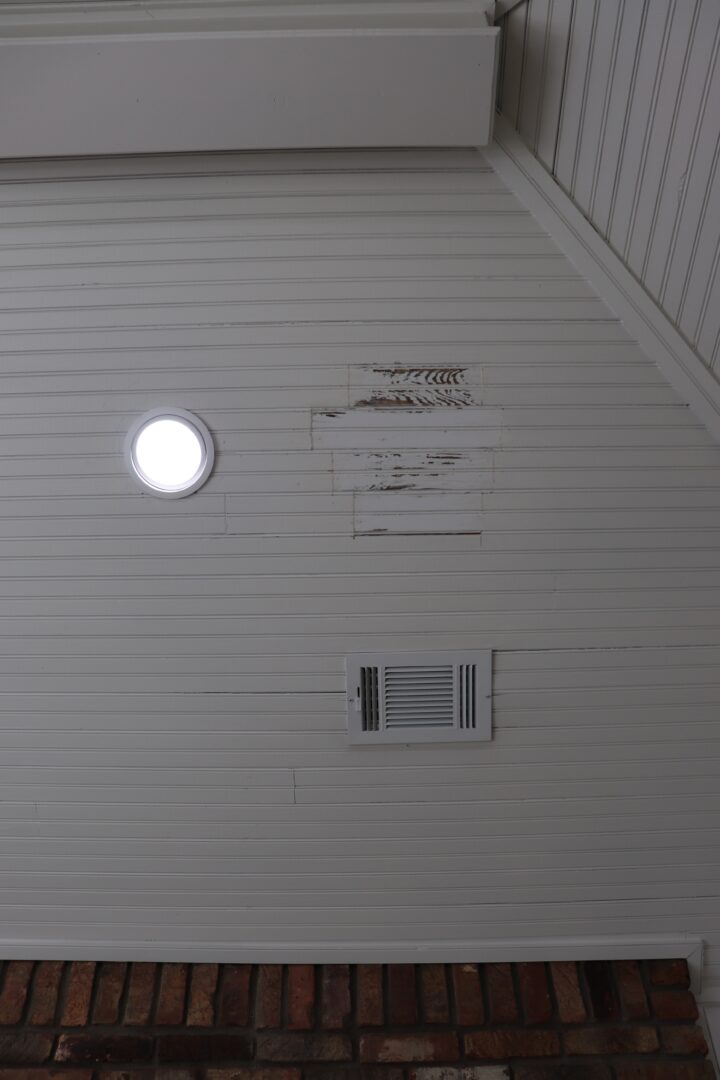
The beadboard from the SAVE pile was used to patch the ceiling holes.
Once the area is caulked, sanded and painted I doubt very much it will be very visible.
It’s Electric
Additional undermount and overmount cabinet lighting was also installed by our professional work crew.
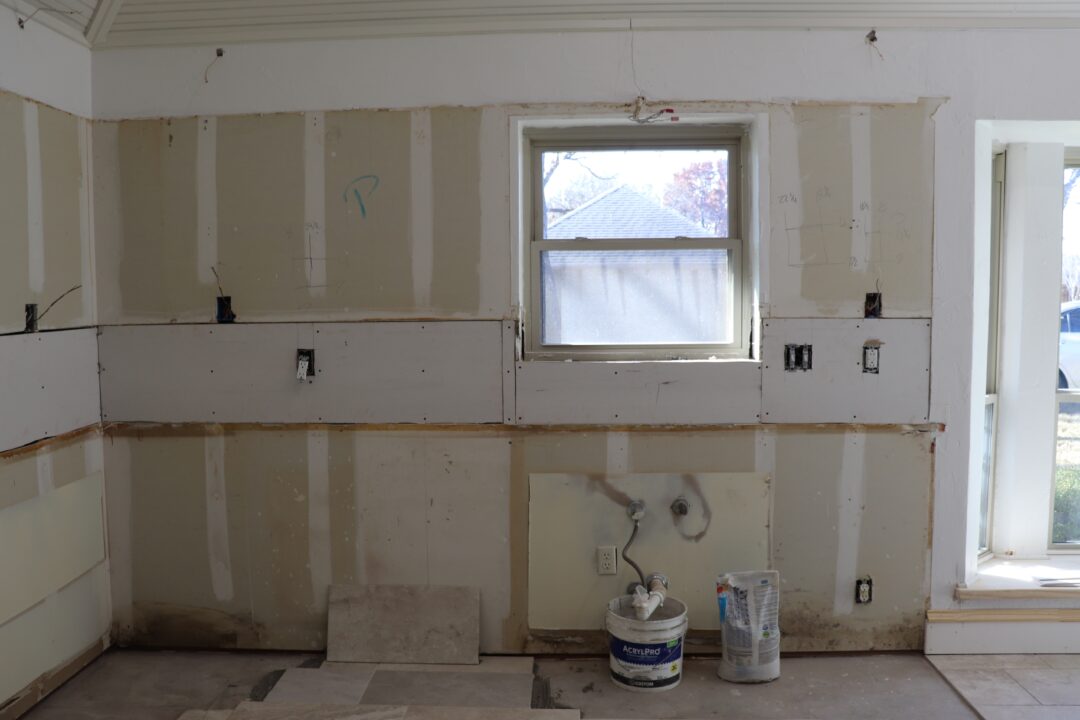
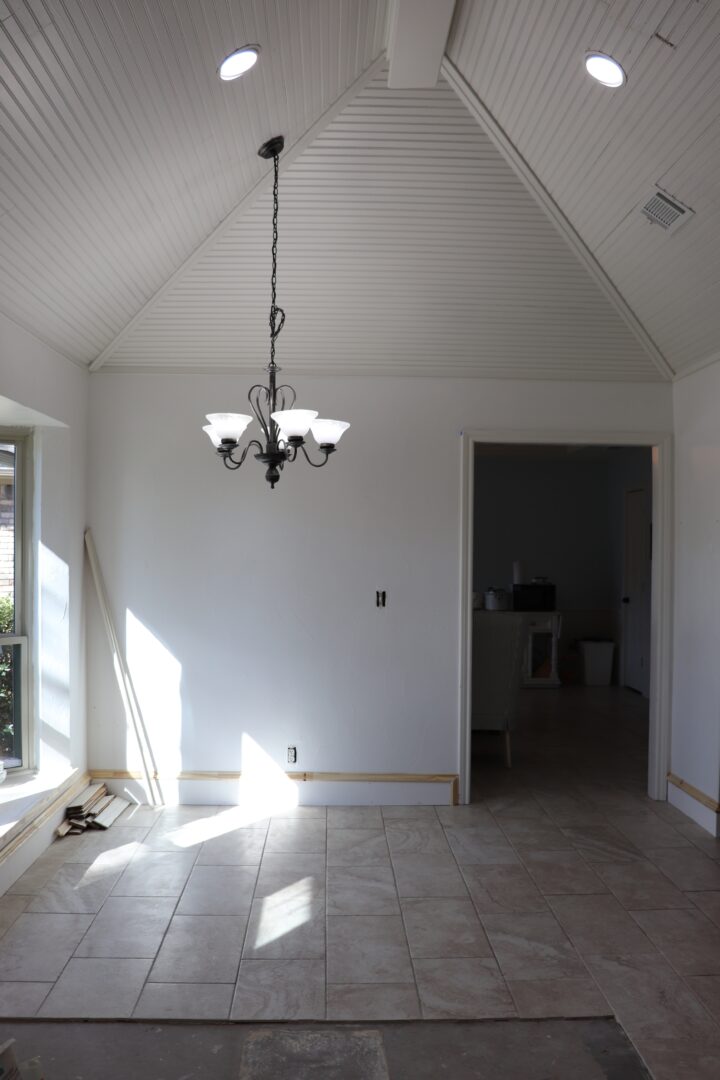
A new lighting fixture for the eating area has been selected. It is very open and airy compared to the very visually heavy option that is shown below. It will not compete for attention. I want to save what was selected for the reveal photo.
This photo also shows that new baseboard was installed. It is a bit beefier to match the existing baseboard in the living and dining areas in the adjoining room.
This next week the new cabinetry will be installed. Painting should also begin.
I’ll see you Friday!
Laura
![[Little%2520House%2520Red%2520Mittens%2520027-001%255B3%255D.jpg]](https://lh3.googleusercontent.com/-ODqnihyfM8U/WEwx9nrSlLI/AAAAAAAAyeM/8fKxjs4HV68/s1600/Little%252520House%252520Red%252520Mittens%252520027-001%25255B3%25255D.jpg)
Smart decisions!
Looking good Laura….I can’t wait to see your new options.
Kari @ Me and My Captain
Exciting! It’s so neat there was matching beadboard to patch with.
That’s a wonderful ceiling and a terrific solution. Smart idea, saving the beadboard.
I hope you’re enjoying lots of take-out! A huge project but it will be so wonderful when done.
The kitchen redo is moving right along! Good thing you could use the bead board from the bump out. Quality is missing a lot of goods available today.
The window is going to be so much better. I can’t wait to see more!
So excited to see your storybook kitchen come to life. I missed the DIY lantern light—- I love it!!!