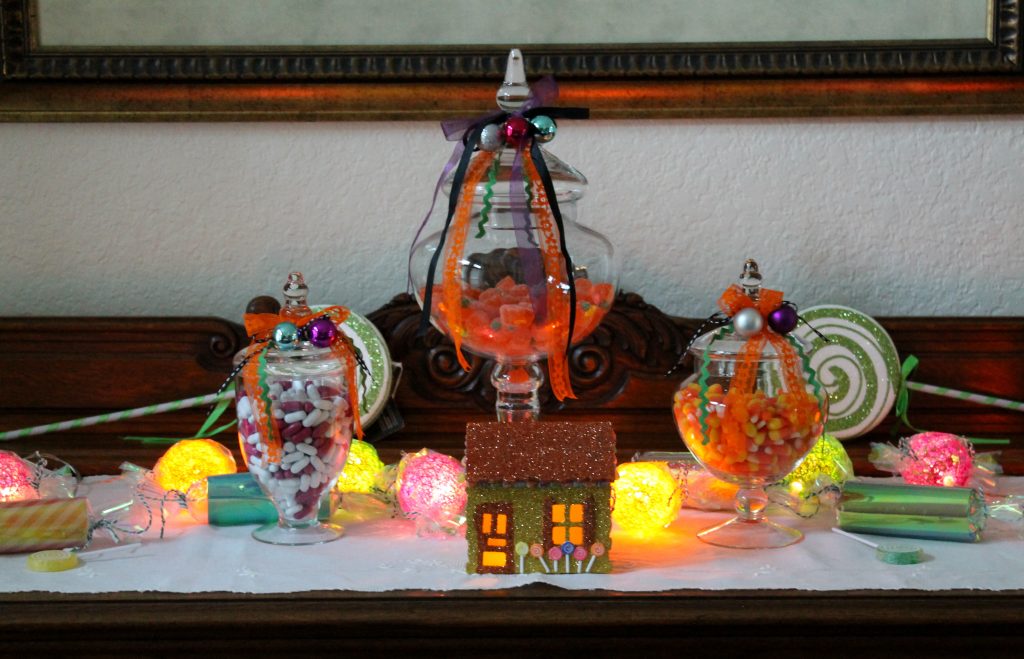
Thank you so very much for all your sweet comment on the Halloween Home Tour. As promised here is how to Create Hansel and Gretel Light Up Candy Garlands using Dollar Spot supplies.
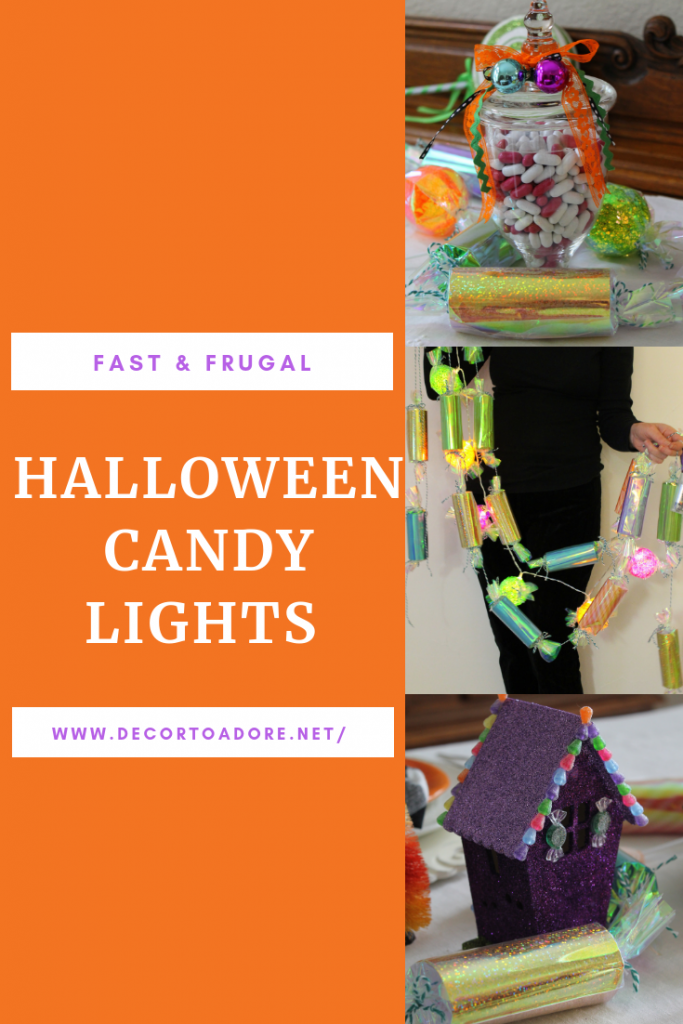
Create Hansel and Gretel Light Up Candy Garlands
I recently created two different candy garlands for the Hansel and Gretel tablescape.
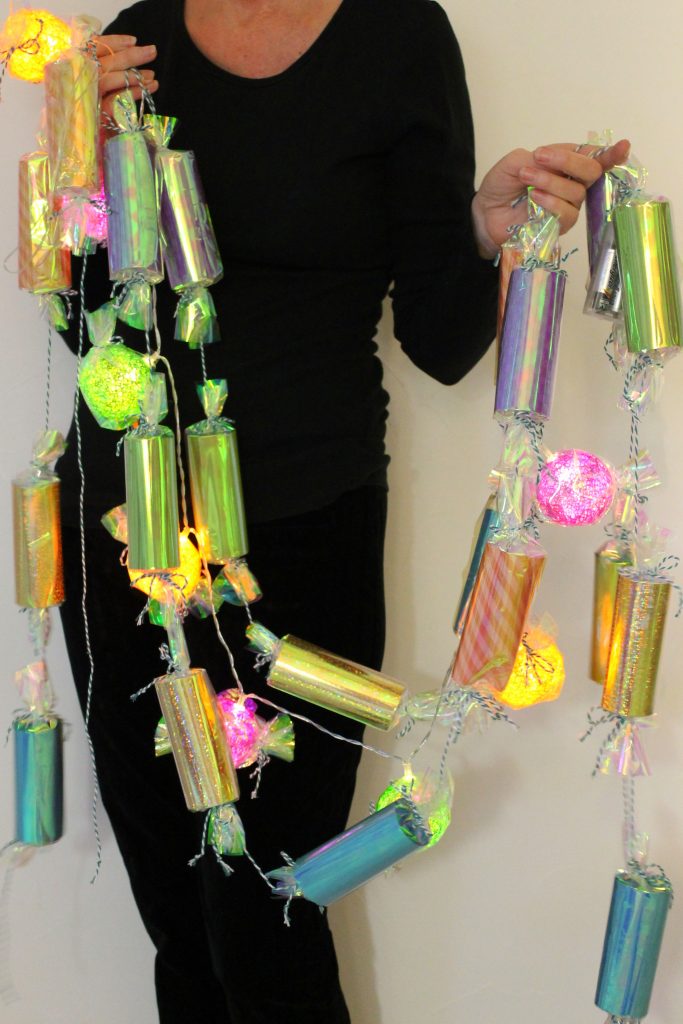
The first tutorial I will laughingly admit will be rather “sparse”.
Because many of my daylight hours are spent working/mothering/cleaning/cooking I often create at night when the light is not so good and my brain is rather foggy.
I had purchased a string of round lights at the Target Dollar Spot. They were not the color I needed but I believed I could paint them. For the price, I could take a chance.
You WILL NOT need glue. Again, foggy brain.
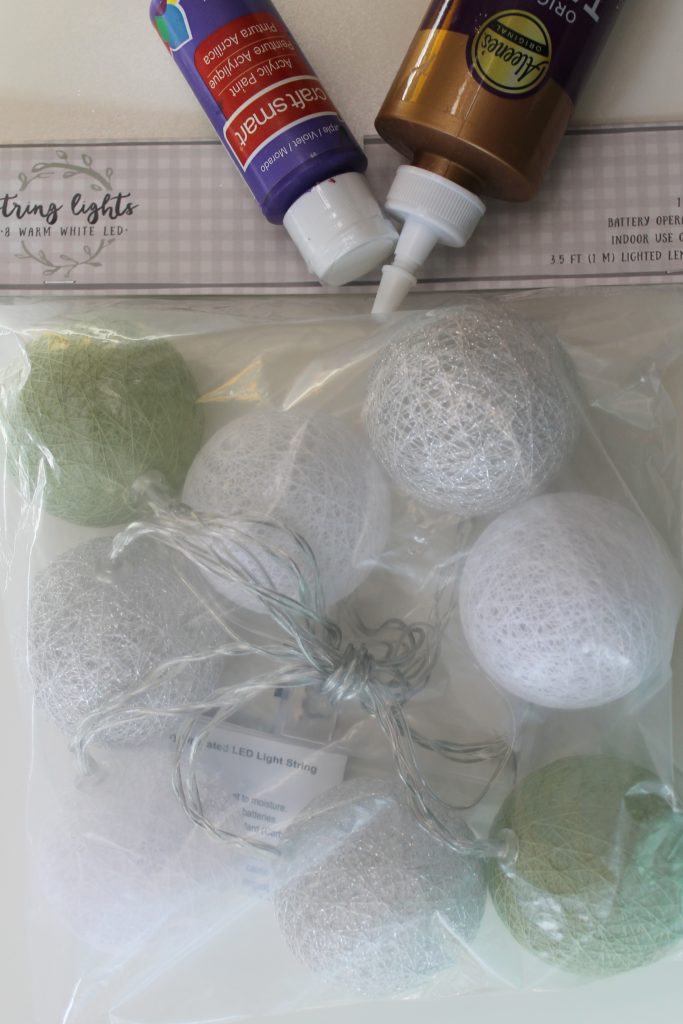
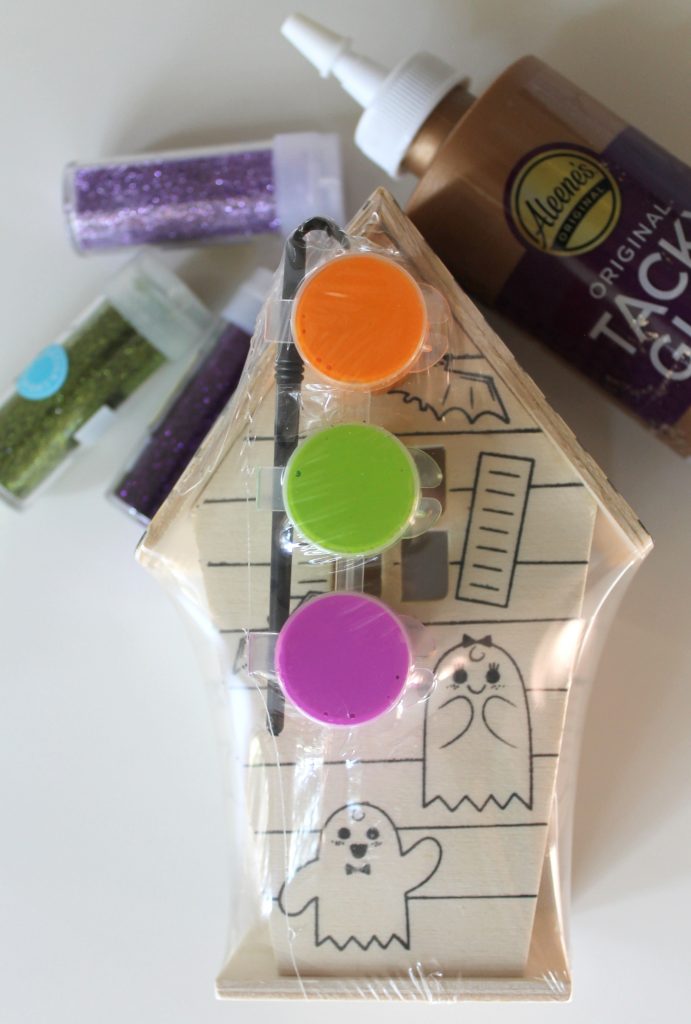
I primarily used the craft paints that came with the Halloween houses I made HERE. It took about two hours for the string lights to dry.
Once dry each ball aka “candy drop” was inserted into a cellophane bag. The closed end was cut off. Then each side was tied closed with bakers twine.
The Tootsie Roll Shaped Garland
This easy craft project was inspired by this tutorial. The instructions were followed fairly closely. I deviated only on 2 points which I thought resulted in an easier and faster construction phase.
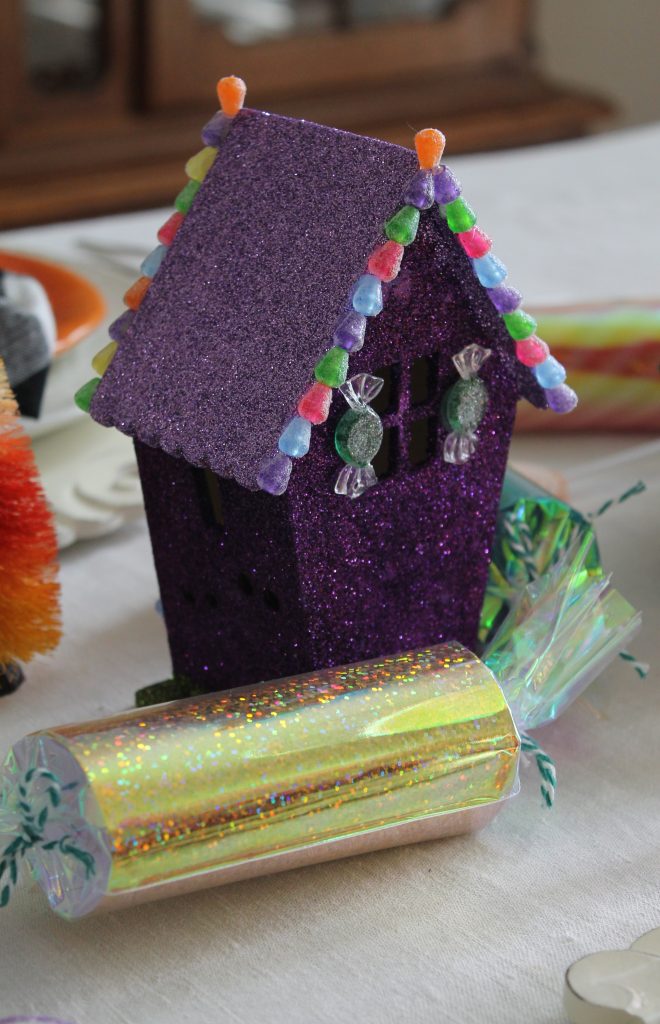
- I did not glue craft paper to toilet paper rolls. Instead, I selected a heavyweight scrapbooking paper cut to a size that would cover a toilet paper roll. The paper was simply held in place with a staple on each end.
- The other variation is that I did not purchase a roll of cellophane. I used small pre-made cellophane bags I had on hand and simply snipped the closed end open.
The last area that my candy roll differed is that I strung fairy lights through the paper tubes to create a soft glow before tying the ends closed with bakers twine.
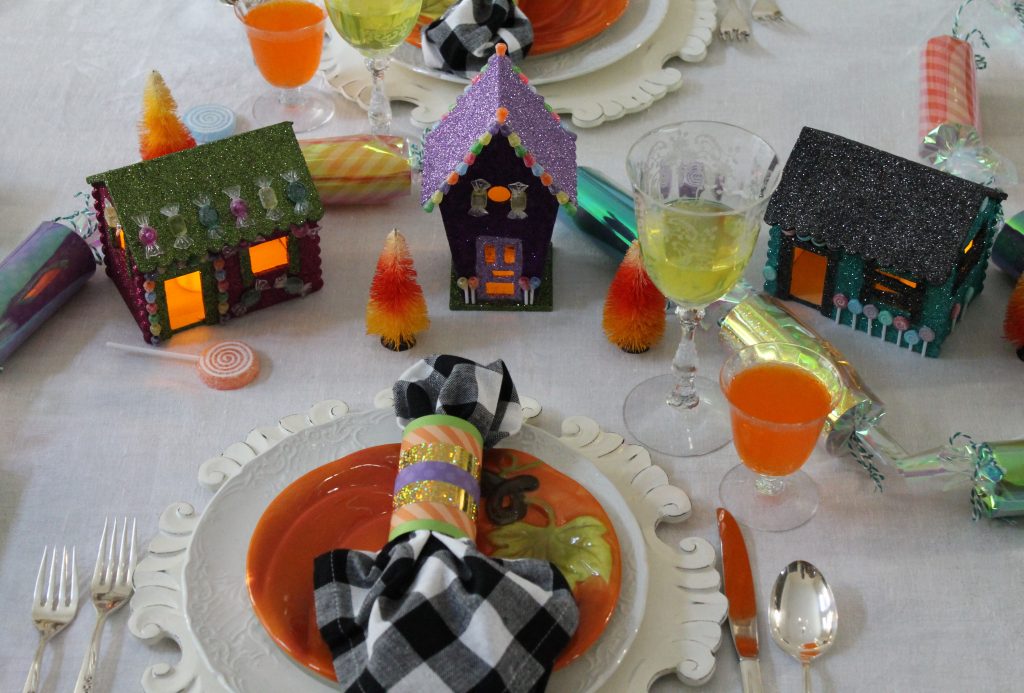
SAFETY TIP: I made sure to select low heat lights and actually turned them on while I was constructing the candy lights. Even when I got to the end, the very first candy roll that I had tied closed was still cool to the touch.
Even so, I do not leave the lights on unattended. They are primarily turned on while we have dinner and then turned off directly after.
Crafting Bonus
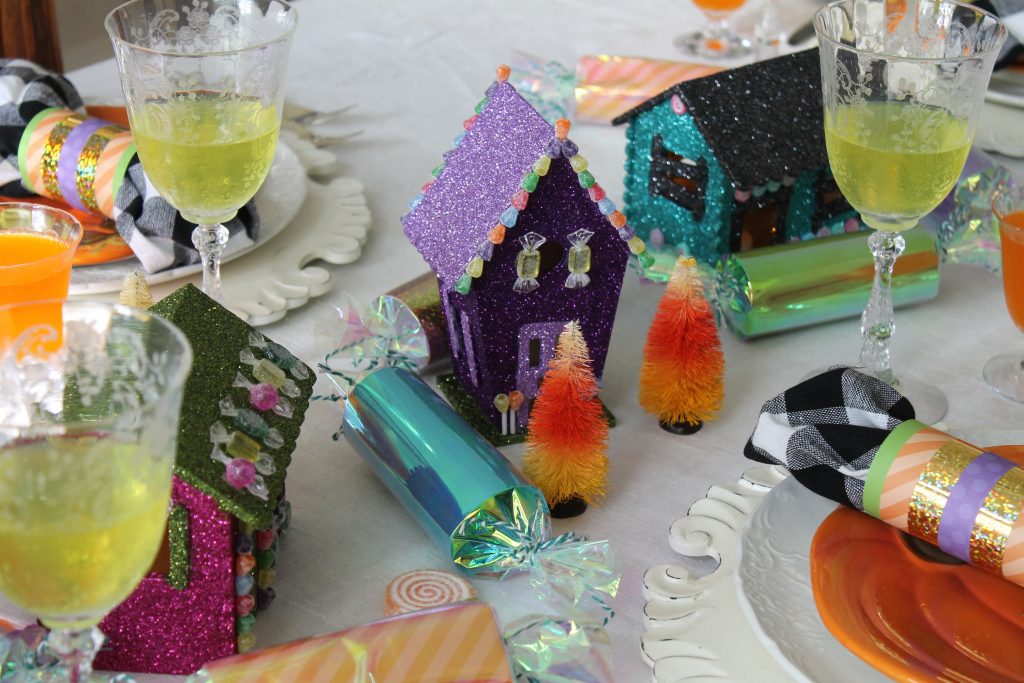
Because the scrapbook paper was cut to a specific size to make the candy lights I had some leftover scraps. Never one to waste I layered the paper on top of each other, stapled it into place and…
Voila! Color coordinated napkin rings.
I’ll be back on Friday with another craft!
Laura
Laura, you are so creative. What a fun table setting.
Oh i love it. What a fun idea. The lights are genius and I adore your cute glitter houses too. Great table setting.
Those lights would look lovely on a Christmas tree, too! They look like Christmas ‘crackers!’
This is so cute. Perfect craft to do with my grandlittles. Of course, they’d want candy in their rolls instead of lights. Cute any party idea! Thanks for the ideas.
This is so cute and pretty ingenious! Love all the shiny bright colors. I’ve never seen anything like it. xo Kathleen|Our Hopeful Home
Well if those are the cutest decorations!
Your garland is so fun! Save it to use at Christmastime. Visiting from Vintage Charm.
Loving this garland. Scheduled to share on Coastal Bohemian FB page. My peeps will love this.
Thanks for sharing at Vintage Charm! xo Kathleen|Our Hopeful Home