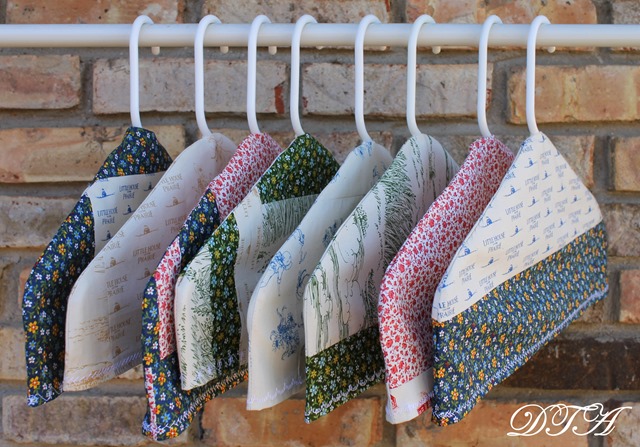
Last week I was faced with a challenge on how to create a one-hour historical presentation that would be interesting for both children and adults. I find that the best way to keep an audience interested, no matter what the age group, is to make it interactive. This includes looking at historically accurate clothing. To display the clothing I created a DIY Patchwork Fabric Covered Hangers.
DIY Patchwork Fabric Covered Hangers
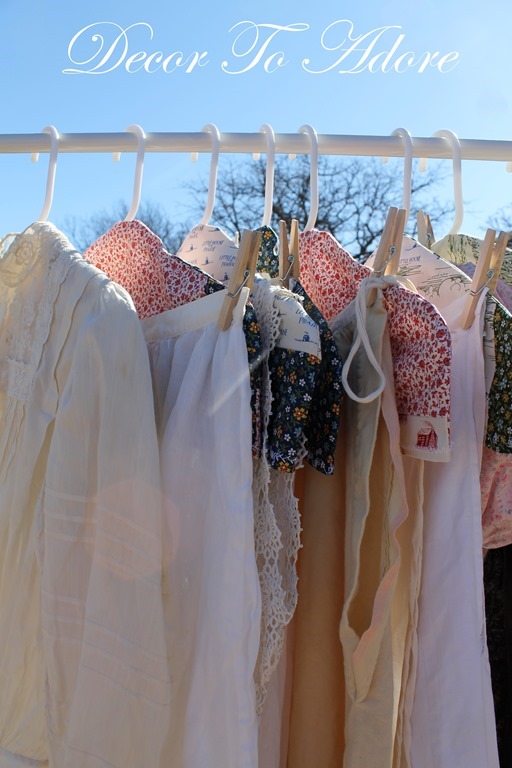
While the question and answer formula works well in presentations, I also like to appeal to the senses of touch and sight. This is accomplished by sharing my collection of antique clothing. But some of the pieces are quite delicate and I was racking my brain as to how to carefully display it without damage.
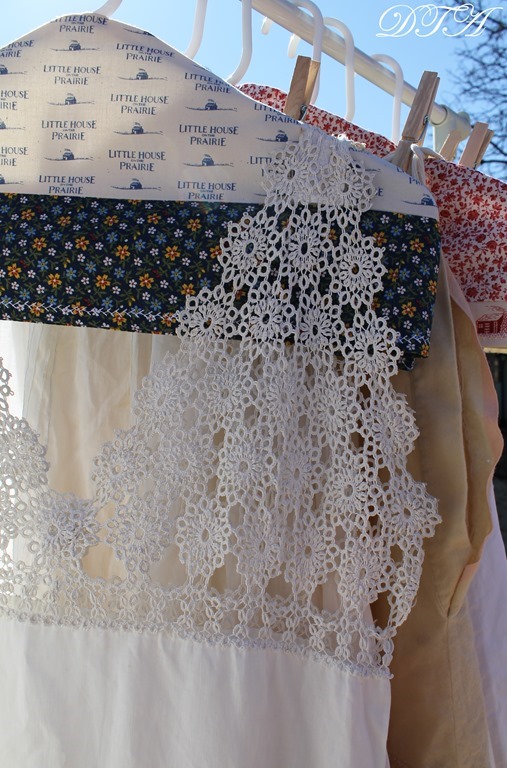
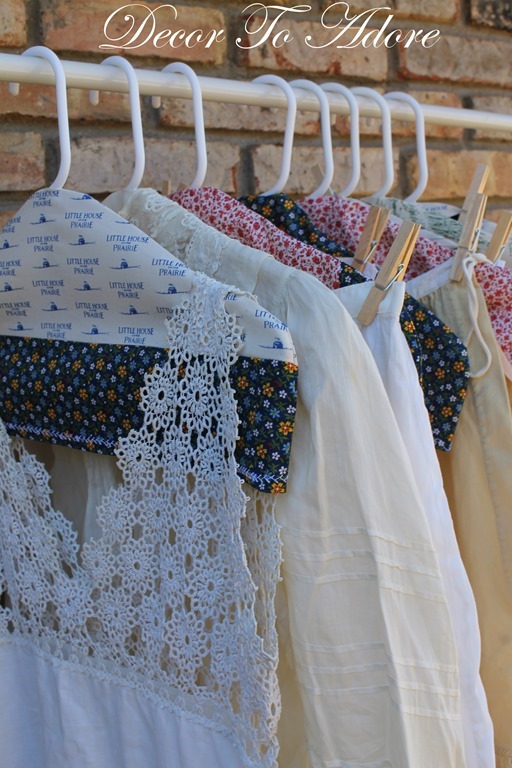
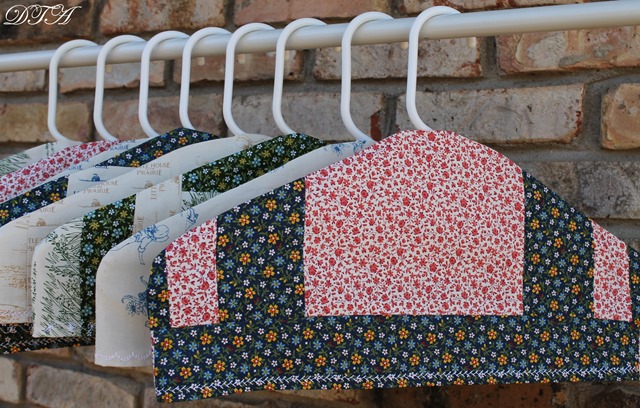
I came upon the idea of what is, in essence, a slipcover for hangers. It provides a soft foundation for fragile fabric.
(Some pieces needed additional support so I used clothespins for security as pins could possibly damage the fabric.)
Several recent projects such as a pioneer dress and patchwork napkins had left me with several large scraps of fabric that I was unsure of what to do with. There was not enough fabric for any type of large project but I didn’t want to just toss the lovely leftover Andover Fabric into the rubbish bin either.
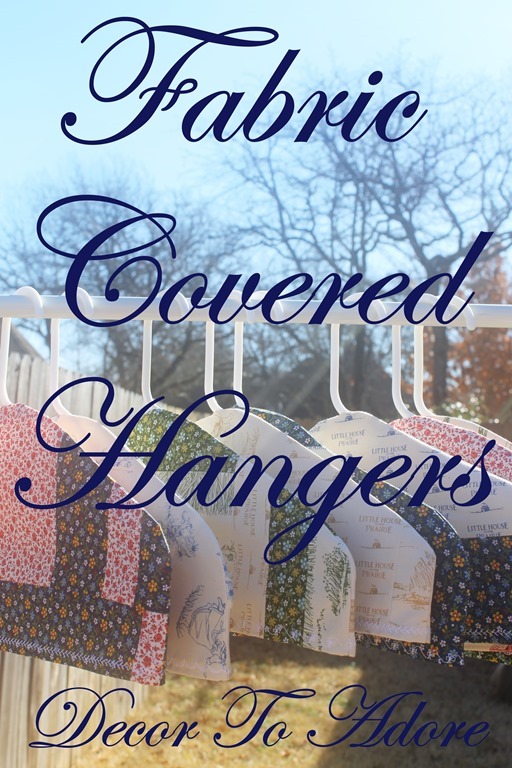
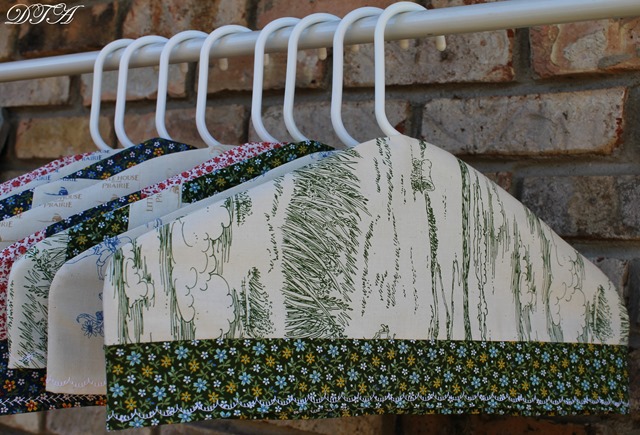
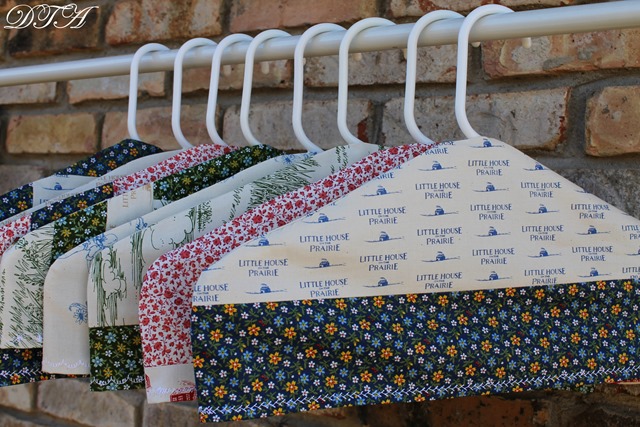
Hanger slipcovers, created in a patchwork design, were a perfect solution.
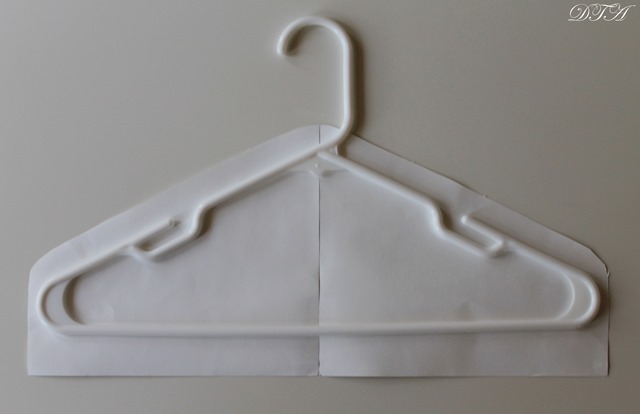
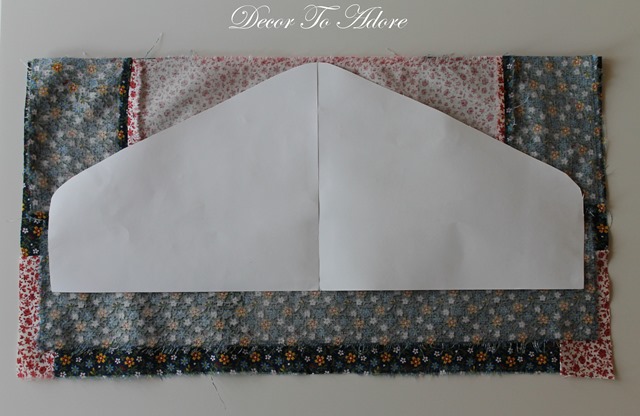
You simply tape two pieces of 8 1/2” x 11” printer paper together and generously trace around a hanger to create a pattern.
From there you get a good idea of what size fabric you will need.
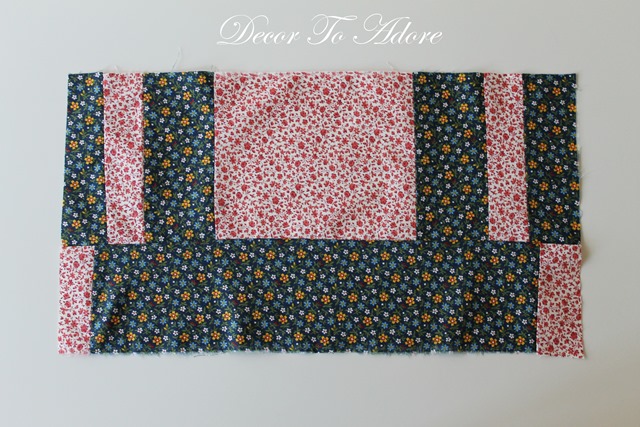
In this case, I wanted to create rectangles of fabric that measured 7 1/2” x 17”.
(This measurement will fluctuate depending on the size of the hanger used. )
You will need two rectangles per slipcover.
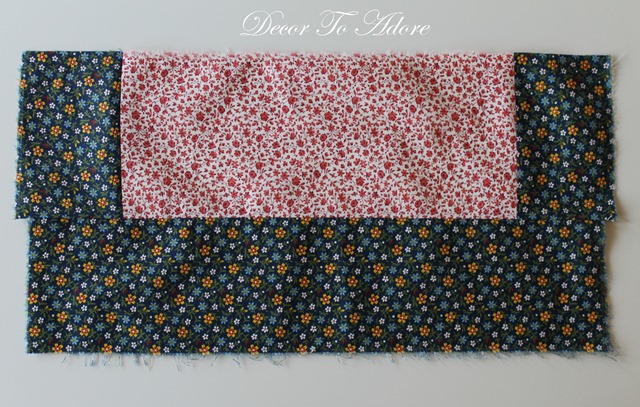
Let me state that you can absolutely use just one single piece of fabric. I created a patchwork base simply because I did not have enough fabric pieces that were long, or wide, enough.
From there you will place the two rectangles, with their right sides together, and pin the pattern to the fabric. Then simply cut out the shape.
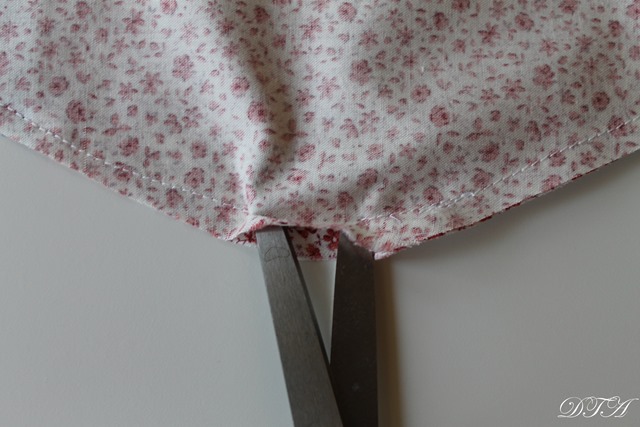
Remove the pattern, repin and then sew the two pieces of fabric together on the two curved sides. Leaving the bottom unsewn and a 1/2 inch gap open at the top for the hanger to slide through. I had done a simple stay stitch at the top prior to joining the pieces to prevent fraying but you can also just “pink” your fabric or use fray check.
(The scissors were inserted to show the top gap.)
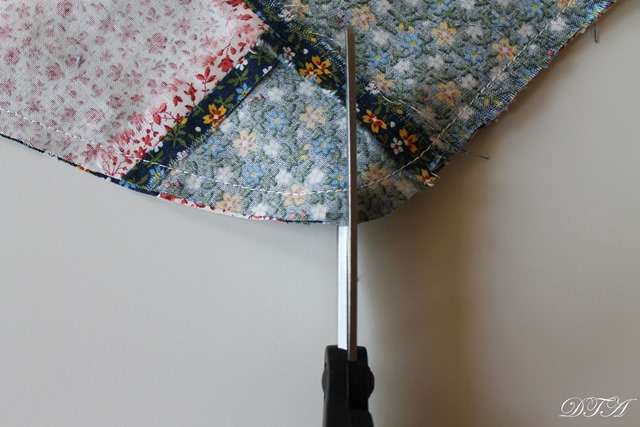
Clip the curves of the fabric so that they will lay more smoothly. Take care to not clip through the stitch.
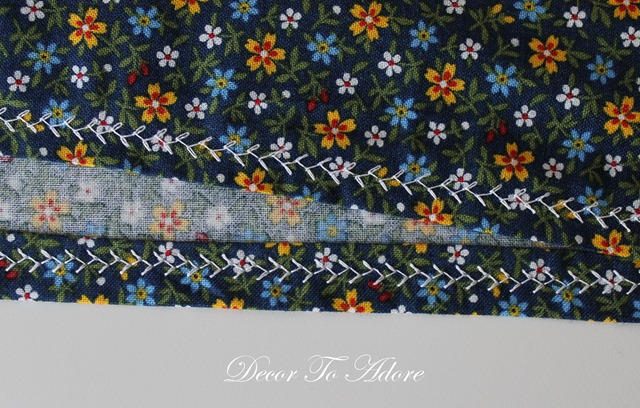
Flip the fabric right side out and make sure it fits over your hanger. If all is well, remove the hanger and iron the cover flat and then hem the bottom. I used a decorative stitch but a simple straight stitch will do.
Then once again reinsert your hanger and you are finished!
This was such a quick project. I was able to complete 8 covered hangers in approximately two hours.
No two are alike.
Yet they all coordinate quite well together.
It was a perfect solution to a problem.
Do you have special pieces of clothing that could benefit from this easy solution?
Laura
Oh your hangers are so pretty and wow a whole closet would be pretty, but man what a job.
I wish I could still sew! These are lovely and so utilitarian. I especially love your lacy creations; I remember how mother loved to “feel” of the crocheted hanky you sent her. God bless your day. xoxo Mildred
This is a great idea, Laura, and they really look terrific, too. Thanks for such clear instructions.
They are so pretty. I think you could make them a little bigger and use them for dust protectors when storing clothing too.
These are such a great use of scraps, Laura. Of those I have plenty! A pretty closet makes getting dressed (and putting things away) a lovely thing.
These hangers would make a wonderful hostess gift, they are lovely. I'll look forward to the lacy one.
Amalia
xo
Laura, your cloth covered hangers are beautiful! Thank you for the tutorial. I think I may give this one a try!
Oh boy I better get on finishing some of my projects so I can start making some of these! So Cute…
I just love this!. I have made fabric covered hangers in the past. I gave them away as Christmas gifts. Thanks for sharing.
The fabric covers were a great idea to display your clothing and protect them. You are a patient person to make patchwork ones but so appropriate.
I made covers and monogramed them many years ago. They are great to cover your clothes especially nice things to protect them from dust. It would be nice to have enough for all your clothes but that won't happen at my house.
Hanger covers and shoe bags make great gifts. It is a nice way to repurpose small amounts of fabric. You could sell them to.
Have a great week,Laura.