The main entrance at Storybook Cottage features a metal door with a long oval window. While this style of door would not be my first choice, I knew I could make it look better with a new paint job. Here is How To Create a Smooth Painted Finish on an Exterior Metal Door.
How To Create a Smooth Painted Finish on an Exterior Metal Door
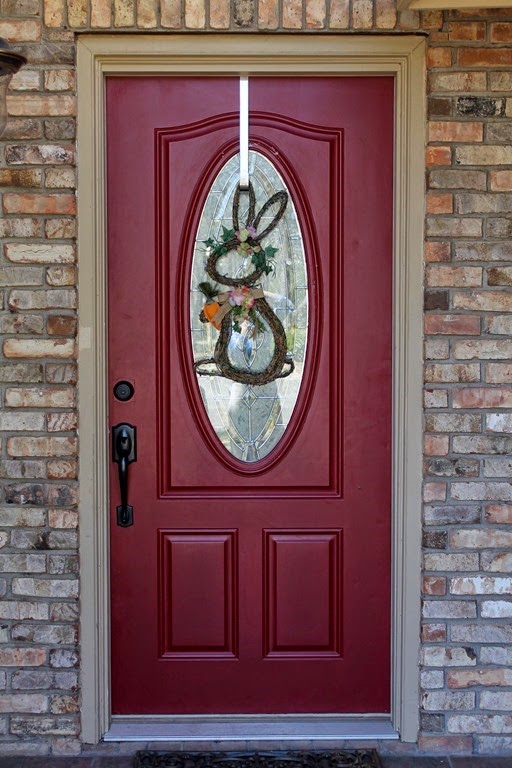
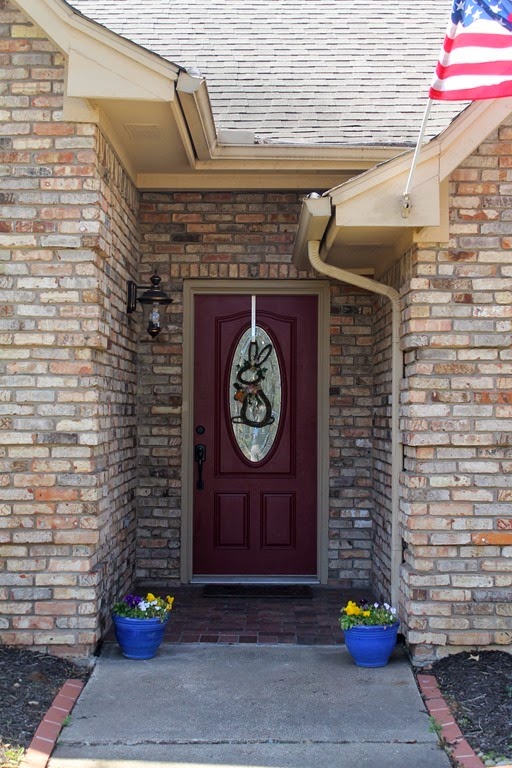
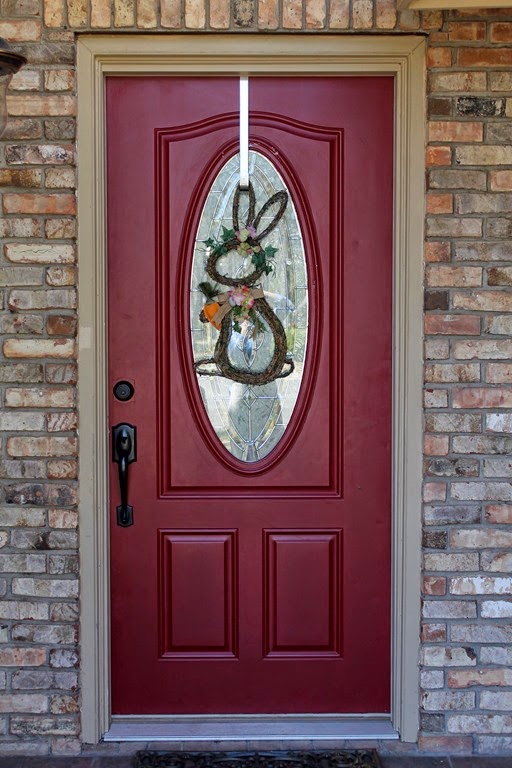
When we bought the house the door was painted a sort of “Cherries in the Snow” red. On it’s own it was a nice enough color. But it did not compliment the coppery pink brick that covers the house at all. It was a case of a cool color paired with warm colors.
Not to mention that as you moved further away from the house the entry became sort of a dark hole. It just didn’t feel friendly or welcoming.
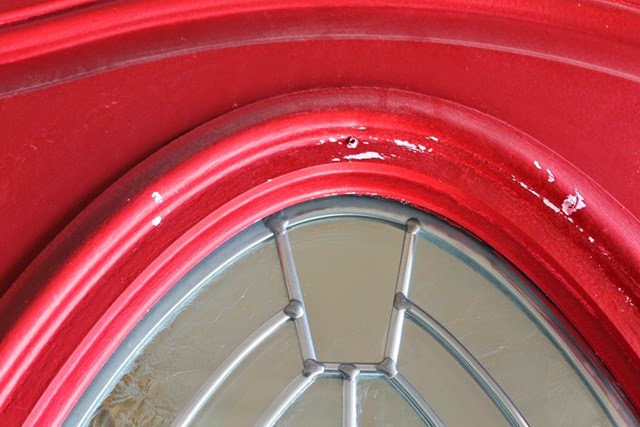
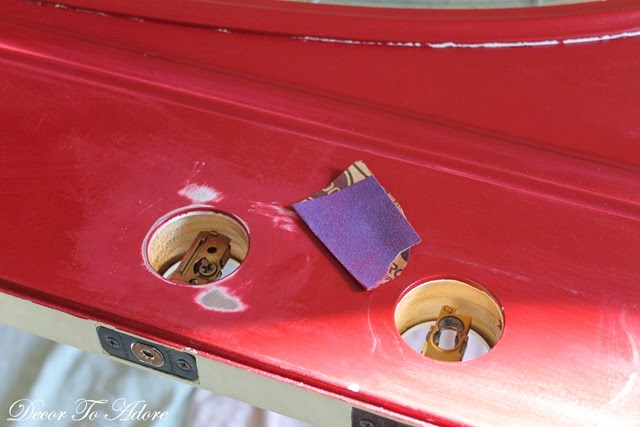
In addition there were a few areas on the door that the paint had flaked off.
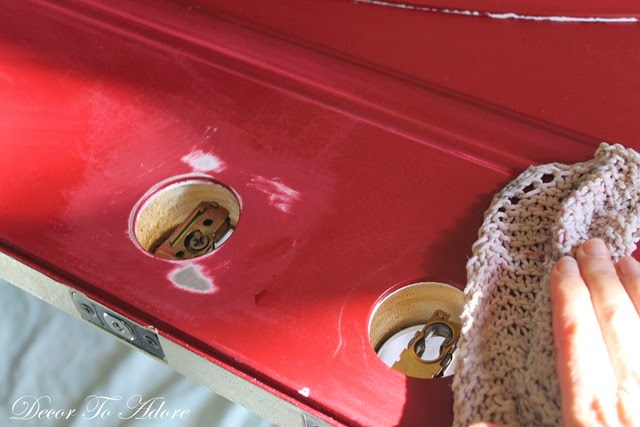
As well as spots that needed sanding down.
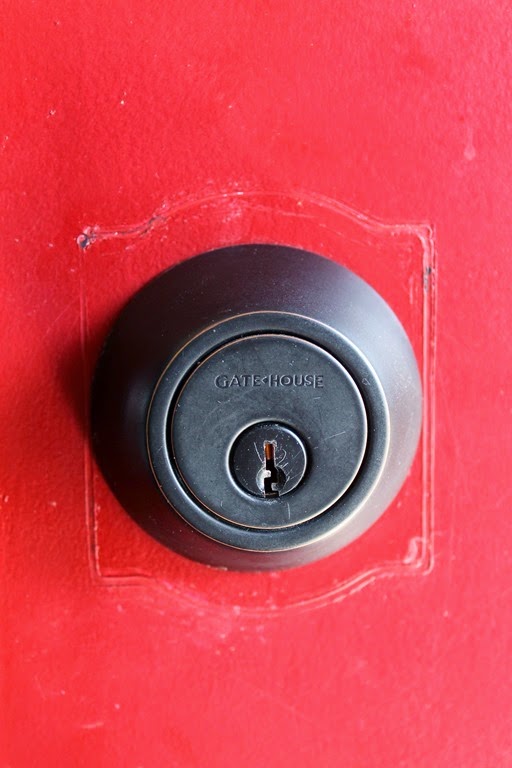
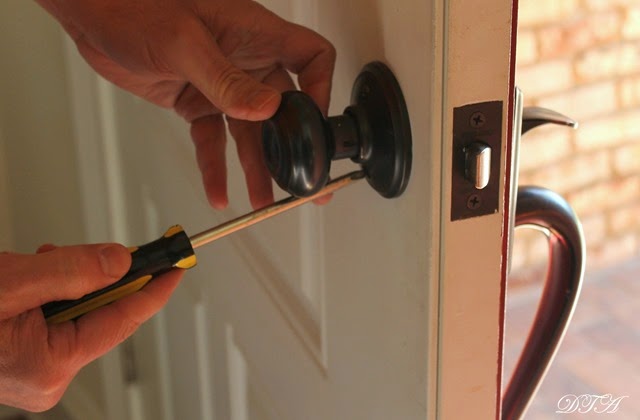
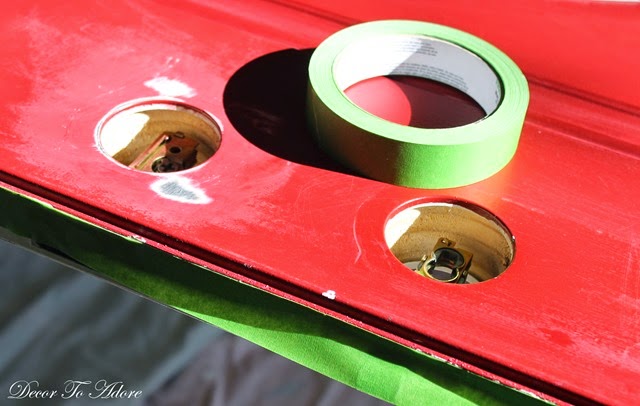
I bought the paint on Friday afternoon, gave the door a light sanding and washed it thoroughly. On Saturday morning I had Mr. Décor remove the hardware from the door as this makes painting so much easier. If you are unsure how to do this you can find several easy step by step videos on Youtube. Another option is to tape around the hardware.
Because it has been windy and the air is full of springtime pollen we opted to remove the door so I could paint it indoors to reduce the dust settling on the door while painting it. Dust and paint do not mix well. (By all means you can also opt not to remove the door.)
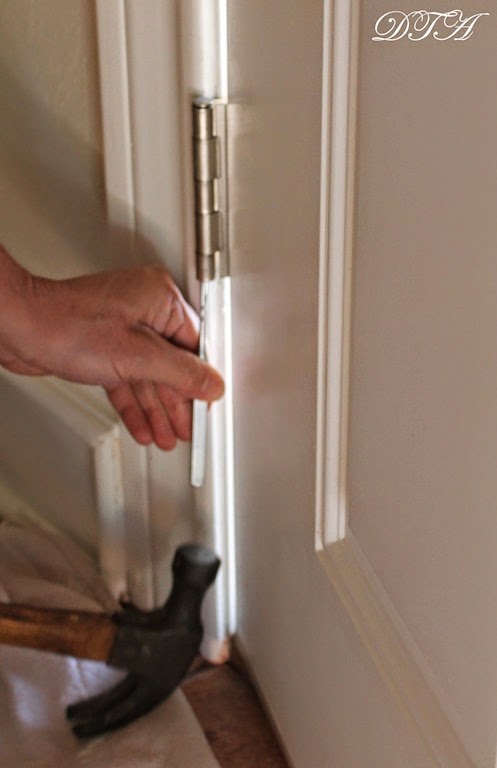
You simply remove the door by hammering the pin out of the hinge with a metal pin punch (they can be found at any hardware store). This is easier/safer if a second person holds the door in place while the other person does the hammering.
The Set Up
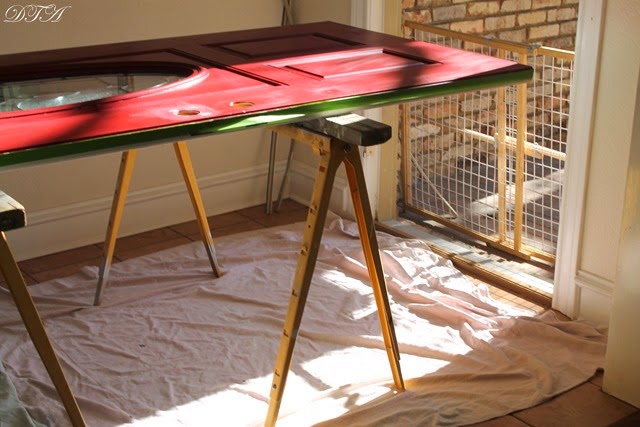
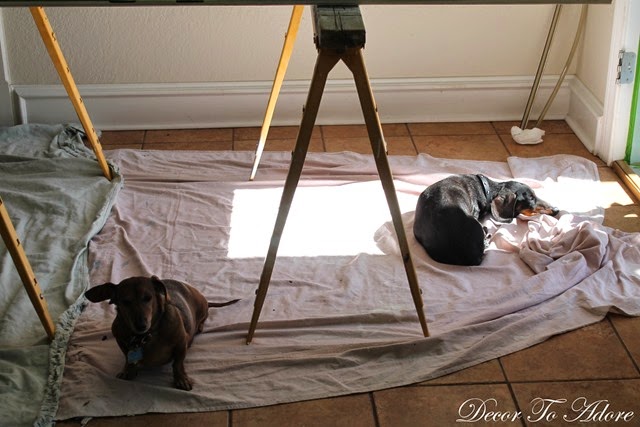
The door was laid on two sawhorses set on top of a few drop cloths.
The baby gate shown above is for these two fur kids who insisted on “helping me” at all times.
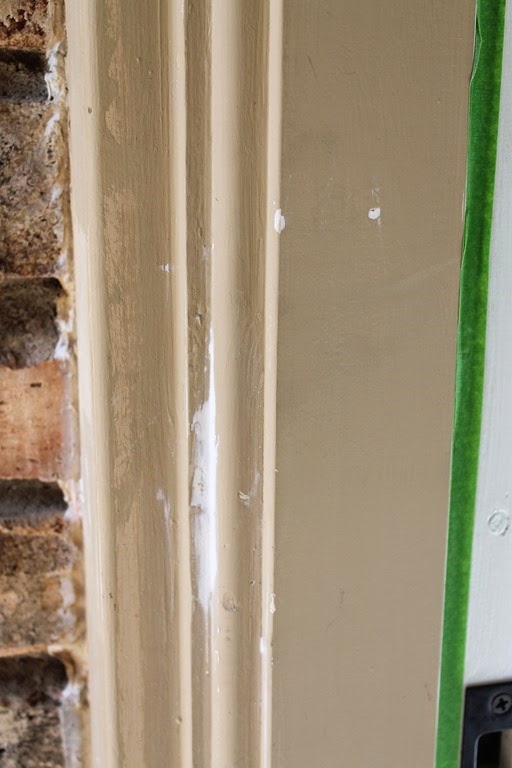
Now there are two rules of thought when painting the entryway door. Some people opt to paint the door trim the same color of the door while others select a different color. Either way is fine, it’s a personal choice. We decided to paint the trim the same color to give the doorway area more presence and because the old trim featured two different beige paint colors and a host of dents and gauges. All were filled in with putty and sanded smooth.
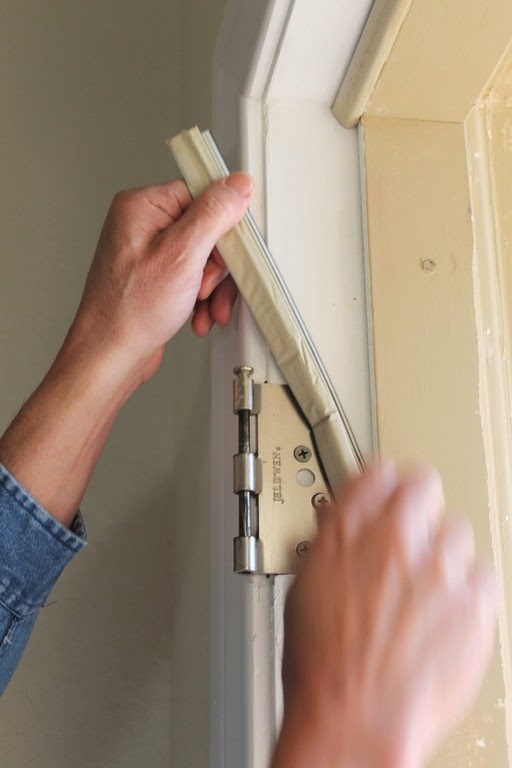
Because we opted to paint the trim we removed the weather stripping (a form of insulation) as well. It is easy to remove and reposition back into place once you are finished painting.
Just a tad more sanding.
As well as another quick wipe down.
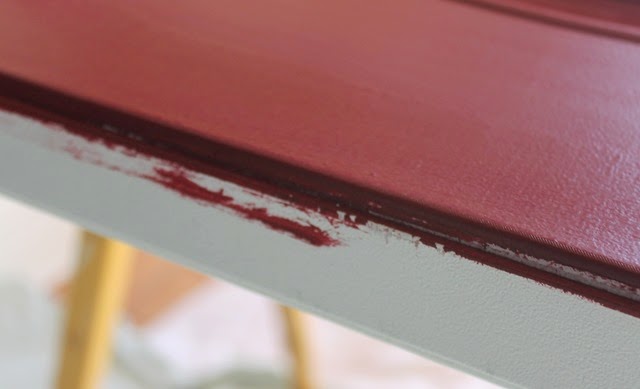
I used a bit of frog tape around the white edge of the door even though I have a fairly steady painting hand.
Because you can see that the previous owners didn’t use tape and had an “oops” moment.
Short And Sweet
Believe it or not the previous steps only took a mere 30 minutes. But it is time well spent to ensure an almost perfect paint job. Now it was time to paint. I opted to use a 4 inch foam roller made specifically for doors and cabinets. This provided the majority of the paint coverage. A small filament bristled brush for trim and cutting in was used in the crevices and hard to reach areas.
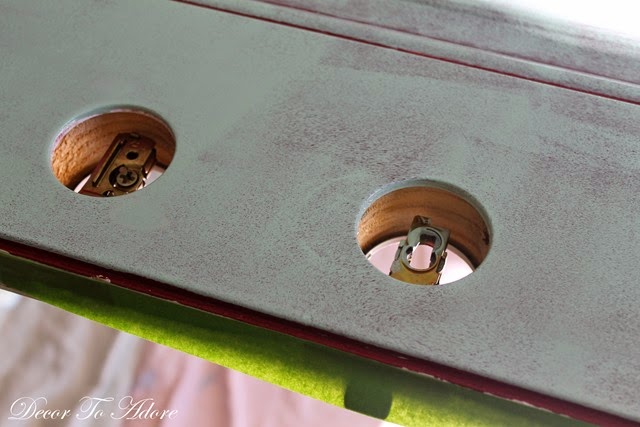
Painting a metal door is a bit of a challenge. Unlike wood the paint does not “sink in”. The best remedy is to paint 2-3 very thin coats. This is the first coat so that you can see it is not thickly applied. Bits of red still peek through. I let it dry for one hour.
On the second coat I used the brush first and then the roller to ensure I could get the finish as smooth as possible. I let it dry for two hours.
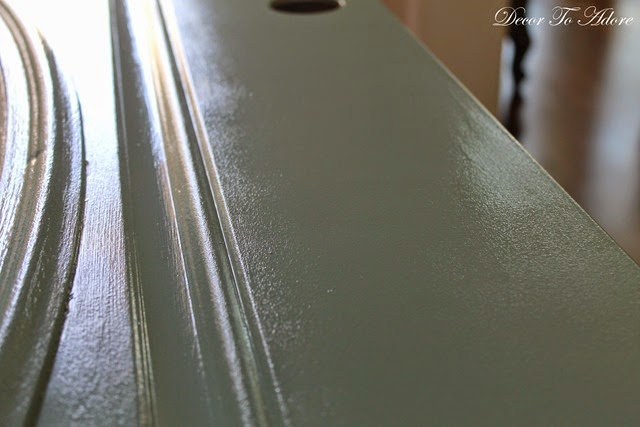
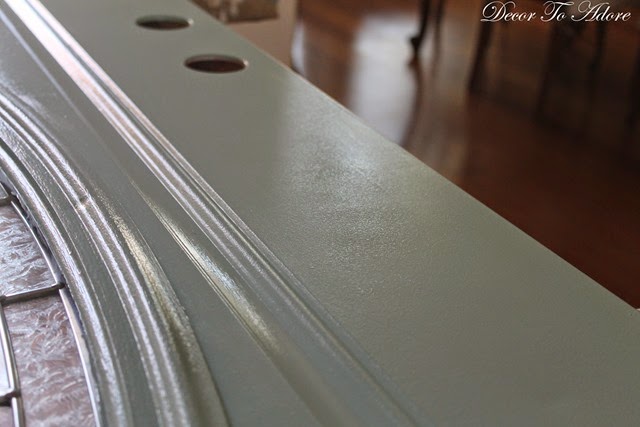
Since I was going from a dark to light color I opted for a third coat to ensure that none of the previous red would bleed through. This coat was left to dry for three hours before the door was rehung. My patience paid off as the finish is smooth as silk.
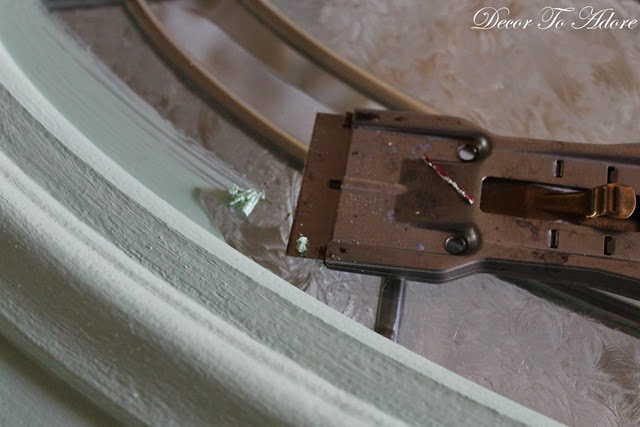
Because taping an oval shaped window is pretty difficult I opted not to do it and simply used a scraper to remove the dried paint off of the glass.
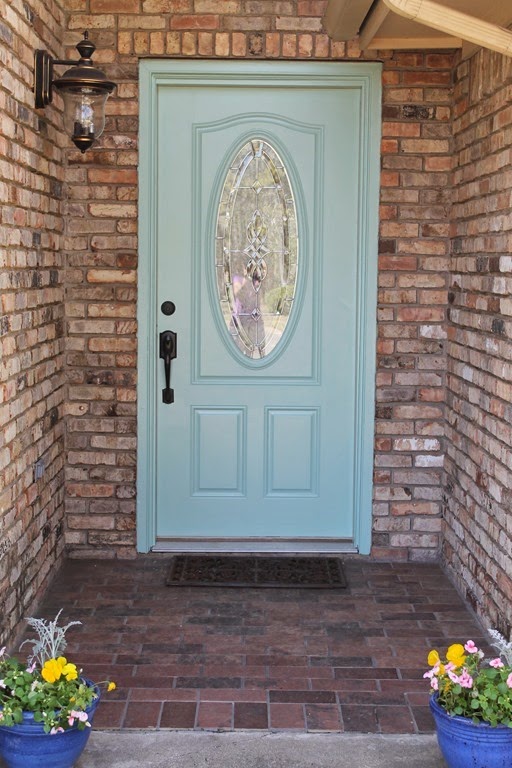
Kind Green by Sherwin Williams
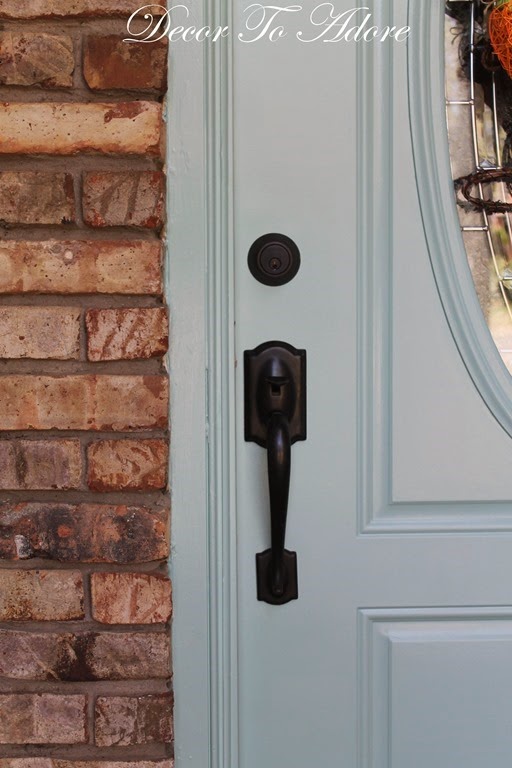
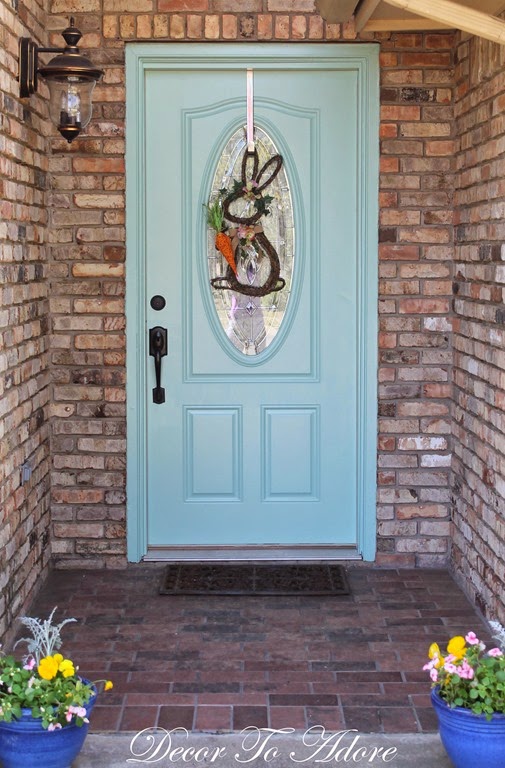
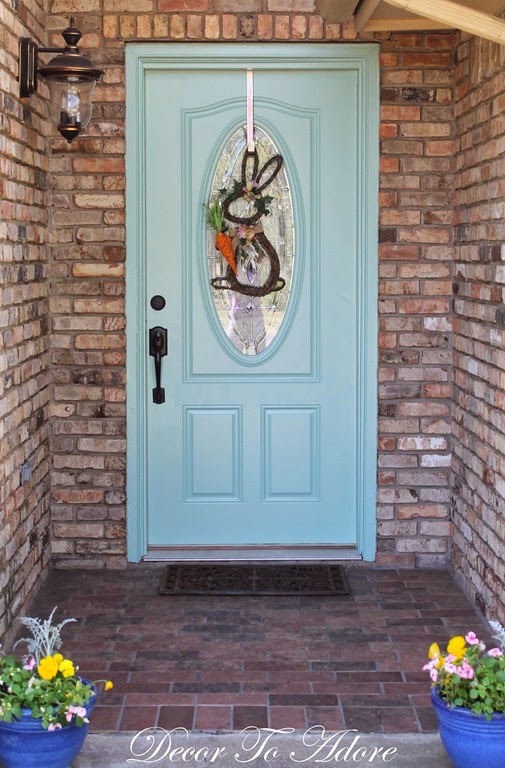
I just love how the soft green now compliments the color of the brick instead of fighting with it. If you remember I asked DTA readers to vote on the color we should use.
“Kind Green” by Sherwin Williams (SW-6457) won by a landslide based on blog, twitter and Facebook comments. I used an exterior latex paint in a satin finish.
So what do you think?
I think it’s so much better than the “before”.
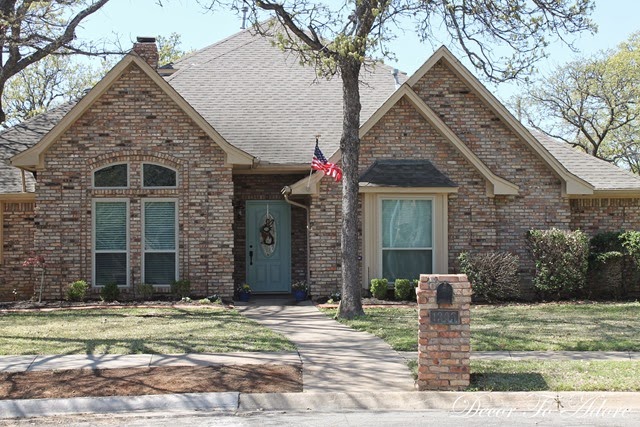
Even from far away the doorway seems to beckon everyone with a kind welcome.
(Mr. Décor is systematically replacing the weeds with grass hence the dirt section in the front left. )
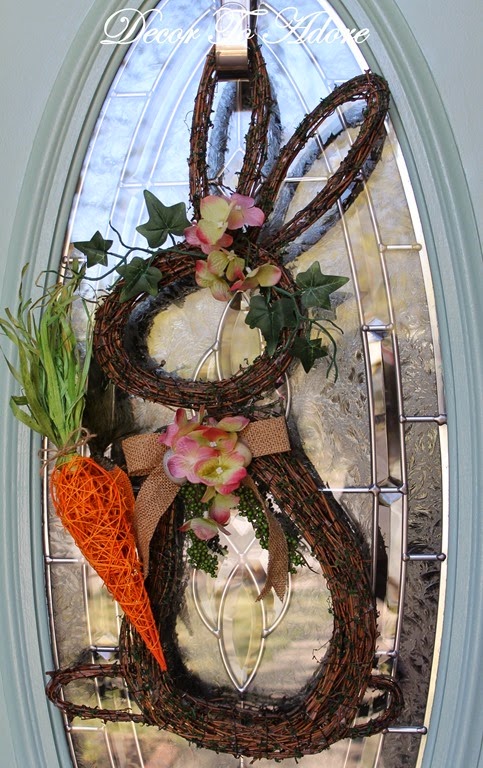
It’s been a bit of a challenge to find a wreath/door treatment that worked with the oval shaped window. I found the grapevine bunny at At Home.
Of course I had to embellish him with a bit of “Spring”.
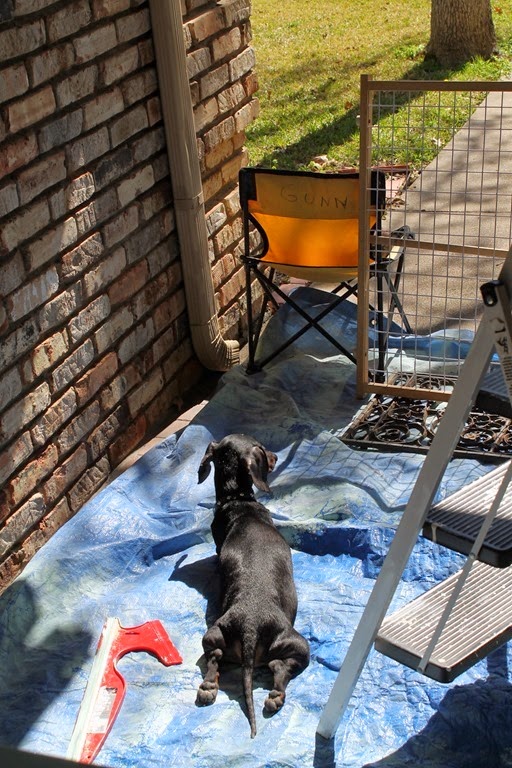
One last “outtake” to bring a smile to your morning.
I bring you Franz the sunbathing frog boy.
Signing off as I need to “hop to it” on several other projects.
Laura
Very nicely done – beautiful color! Love the sunbather!
Hugs,
Jan ♥
I thought you went with blue – it doesn't seem to look at all like the sample photo of the kind green but it looks lovely. The oval window challenge is one that I would have met by using just a vertical swag-type element, you were clever to find the bunny. I think one of the spring umbrella type decorations would look good too!
Sold my house this weekend and now must find a new one…your tips will be a great help when we finally get there!
Oh my word! Well done, Laura – looks amazing! Your tutorial is appreciated. I had our door professionally painted last year and haven't been too happy with the results. We may try to tackle this ourselves – and do a LOT of sanding, as it just isn't smooth enough for my tastes. Thanks!
That almost has a Robins egg blue quality that I LOVE with stone or taupe brick homes!! I was thinking of changing my red fromt door this year too but I have a boring white clapboard and black shutters so fun colors dont look so great with it!!
Laura I love the new color…it looks so pretty with the tan colored bricks! Love that shot you took from the road!
It came out pretty. I love the new color.
The new color does make it pop,You're right,and it was interesting watching Your process.My daughter does need this info.and now I can make some suggestions to Her. Thank You.I've been following You for Years,even though I may not comment often and have enjoyed Your post's.Please visit Me any time-Denise
Love the new door color, it looks amazing. Great job and super tutorial.
The new color does make it pop,You're right,and it was interesting watching Your process.My daughter does need this info.and now I can make some suggestions to Her. Thank You.I've been following You for Years,even though I may not comment often and have enjoyed Your post's.Please visit Me any time-Denise
Usually, I am a big fan of red but in this case the blue one wins hands down! It makes it much brighter. I love it!
It looks great!
It is beautiful Laura and the color is springtime perfect!! Every project you accomplish adds so much to your home!
xoxo
Karena
The Arts by Karena
Bonsoir chère amie,
J'aime beaucoup la douceur de cette couleur qui apporte une grande fraîcheur à l'extérieur de votre maison. Elle ne concentre plus le regard uniquement sur la porte mais sur son ensemble. Riche idée !
❀ ✿ Gros bisous ✿ ❀
Bonsoir chère amie,
J'aime beaucoup la douceur de cette couleur qui apporte une grande fraîcheur à l'extérieur de votre maison. Elle ne concentre plus le regard uniquement sur la porte mais sur son ensemble. Riche idée !
❀ ✿ Gros bisous ✿ ❀
Your door looks so good. You did a great job!!!
Your door is so pretty now. Love the new colour. The bunnie is sweet.
Rosezeeta
it looks great.. we painted our door black last year and love it. Now we just need to get new and improved siding.. ours is really drab, old, brown and food for all the woodpeckers in the neighborhood
Those little dogs crack me up. Aren't they always right under your feet? Mine are! The door looks great and you really took extra steps that paid off.
Love the new door color but boy, it sure doesn't look anything whatsoever like the color of Kind Geen from the 'vote' post. lol
It looks great and very in tune with the trend toward lighter colours. I think I may have to give up on my black front door. It definitely looks like the entrance to a cave.
Decor door to adore!
Fantastic job, folks!
Hugs for Holy Week from Albuquerque,
Kelley~
Laura, your entry is beautiful!
ALWAYS LOVE YOUR DOGGIES!
~Lynne
w/L/
The new colour works so much better with the bricks! And the bunny is the cutest thing!
The new paint on the door looks great and really welcoming, Laura!
Your pups are so cute. My Bubba likes to “help” too lol
xo,
rue
Your door looks so pretty and welcoming. The pretty green will look so nice with decorations all year and it really brightens up the entry and shows up.
I like to take doors off the hinges and lay them flat to paint. Less chance of drips for one thing and easier to paint as well. No getting down and rolling around on the floor to get the bottom half. An important fact as we get a little more mature! lol
Thank you for sharing your pretty home and all the great tips. You folks make an amazing team in fixing up your beautiful home.
I like your new color for the front door
I think it's sweet how your fur babies want to help with everything you do
they have to be right with you
Love the new door Laura, it looks so great from street view. Job well done!
I missed this post. Love the new color- it does grab your eye a lot better and seems like it goes well with the natural brick tones. I like the trim painted with the same color- it makes the door look more substantial. I didn't realize you had two dogs- I love dachshunds! It's wonderful to have little companions like that- makes coming home all that more enjoyable!
It's a beautiful color, Laura! I love how it looks on your door and the shot from further away really shows it off nicely.
Oh, Laura! This is just gorgeous! I love the color you chose. Our front door is in desperate need of a paint job or new staining too. I think the time is coming very soon! Thanks for sharing at my Creative Ways Link Party! Hope you'll be back this week!
Blessings,
Nici