Thank you for the lovely comments on Wednesday’s historical costume post. As promised today I will be covering the Inspiration and Construction for the Victorian Walking Suit.
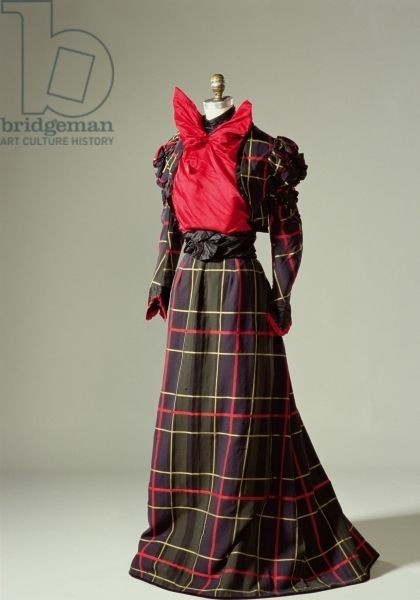
Inspiration and Construction for the Victorian Walking Suit
This past fall, I found some gorgeous plaid taffeta at an estate sale ($7). My initial thought was that I would somehow use it for the Dickens Christmas I created. But I ended up using a different plaid. So my thoughts then turned to Dickens Christmas fashion. But with only six yards of fabric, I was somewhat limited in what I could create.

After looking at several historical fashion plates I found that the Victorian walking suit of the 1890’s often used plaid as a fabric choice. The look also featured skirts of a slender silhouette and bolero styled jackets that would not require yards and yards of fabric.

When I come across $1.99 pattern sales I will often purchase patterns even with no particular project in mind. Such was the case with the Making History pattern #B5265 by Butterick.
The Cape
I first made the cape out of a black velvet. It was lined with black satin.
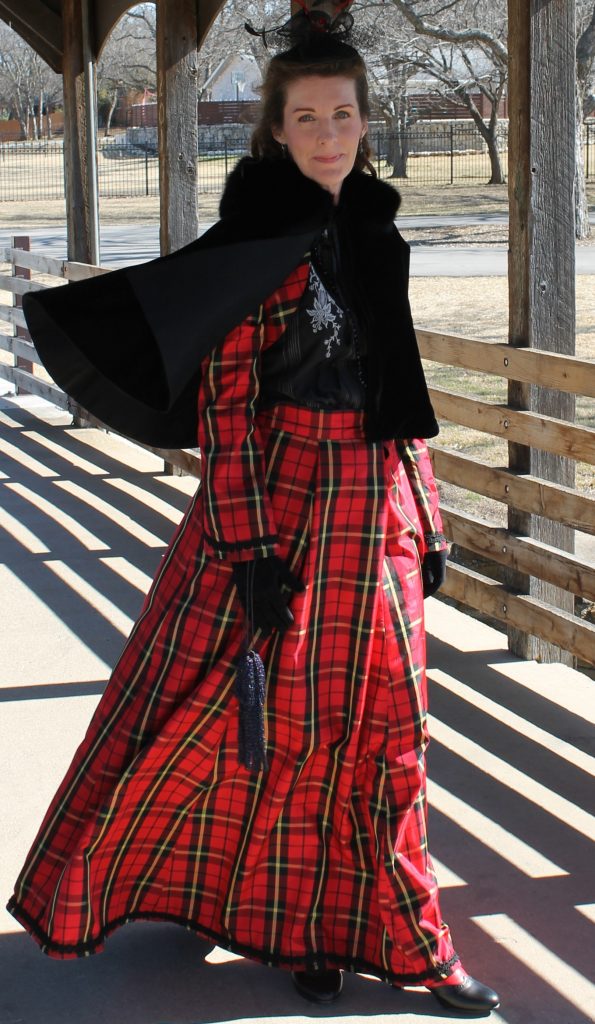
Black capes were a popular layer of warmth in the Victorian Era. Even for those not in mourning.
They were also sometimes called mantles. They should not be confused with mantels, which are shelves above fireplaces. To remember the spelling difference between the two you can picture a TELephone on a fireplace manTEL.

The style featured in the pattern I used is more of a capelet or mantlet. Which covers the shoulders.
The cape went together beautifully and it is a project that could be sewn by even a novice seamstress.

I altered the pattern a bit in that I made the collar out of black velvet versus the faux fur the pattern calls for. The fur collar is actually a detachable piece I had received as a gift a few years ago.
I opted to not attach the fur collar in case I want a simpler cape that I could wear even on an evening out in modern clothes.
The Skirt
The skirt, however, was a bit of a troublemaker. In an interesting design decision, the closure of the skirt was located in the front.
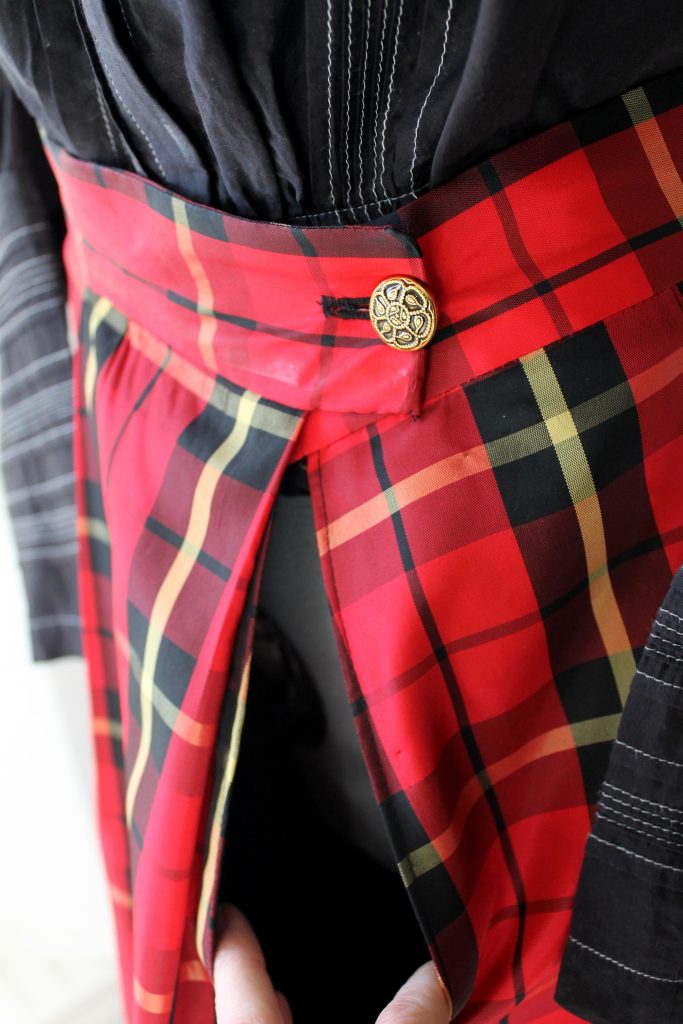
The premise of the design (I presume) was that once the pleating of the skirt was done the closure would be somewhat hidden behind the pleating located near the waistband.
I Hate That Girl
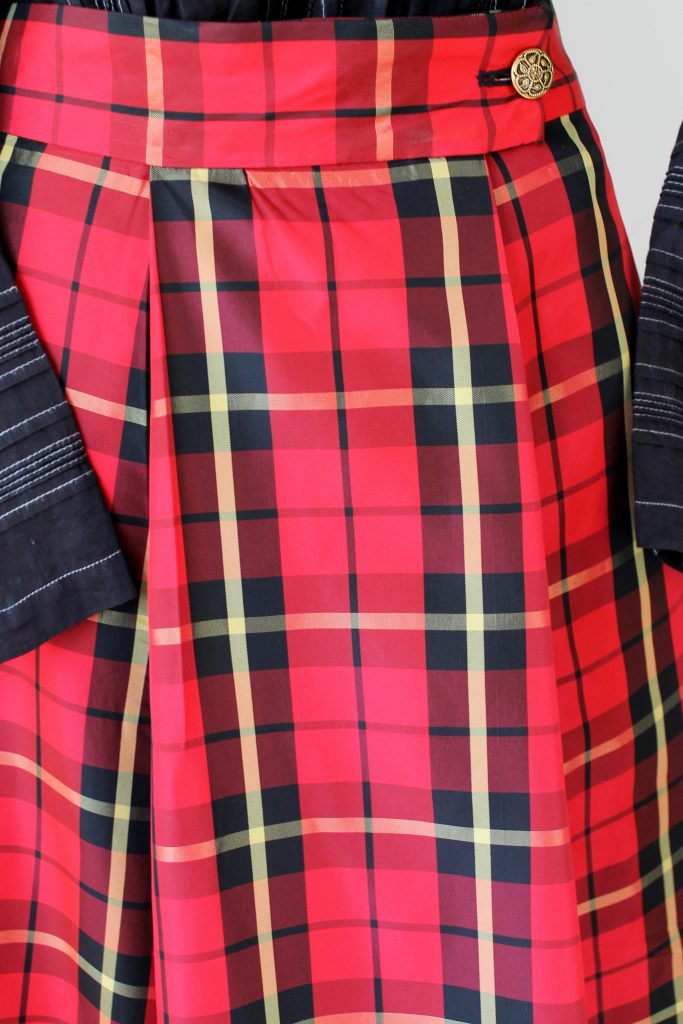
The remaining pleating on the sides and back of the waistband had me totally scratching my head. I referred to the pattern pieces and the chalk markings I had made on the fabric again and again. It did not add up or make sense.
My inner voice, that sometimes rears its ugly head, showed up asking questions. They included “How could I be so stupid?” and “Was I such a complete idiot that I couldn’t figure out a stupid pattern?” #ihatethatgirl
I decided to set the fabric aside and walk away. Two weeks later I took the pattern and the fabric to a mini meeting comprised of four members of the Dallas/Fort Worth Costumers Guild. These women are seriously gifted seamstresses. They all looked at it and proclaimed the skirt pleating rubbish! It wasn’t me. Then lovely Jane altered the pleating in a way that would work. If I had a 20″ waist. My corset doesn’t work that well. 🙂
But her smart alterations led me to think of yet another way that would work if I moved all the pleating to the back of the skirt. The four pleats, two on either side of the back center seam, created a nice bustle effect.
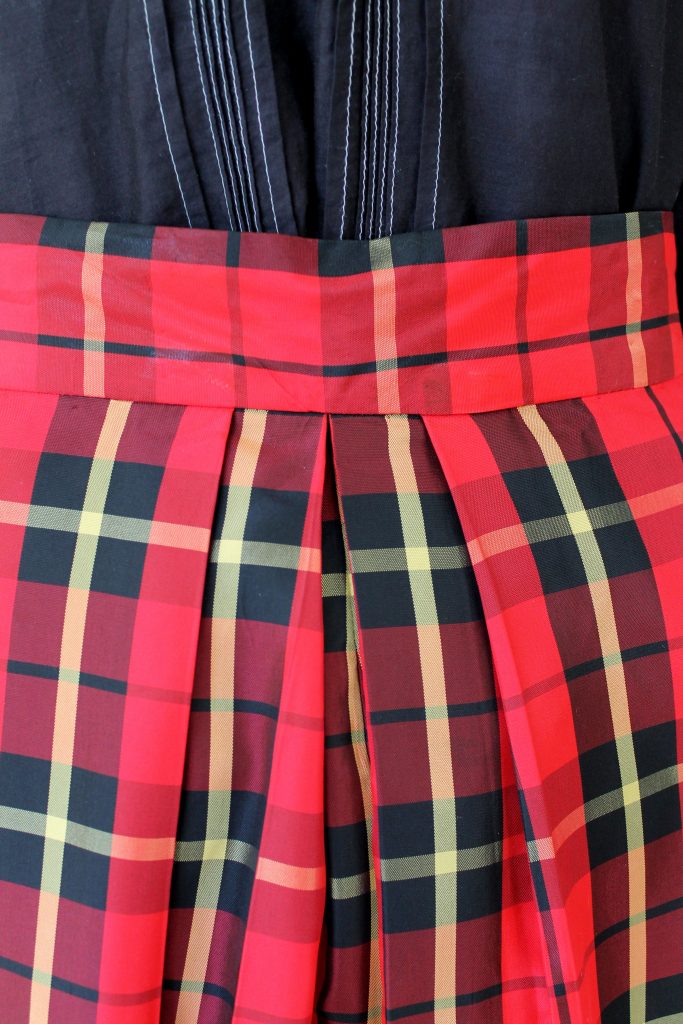
I’m also going to pat myself on the back in that I got the plaid pattern to line up. Not only on the skirt but on the bolero jacket sleeves too.
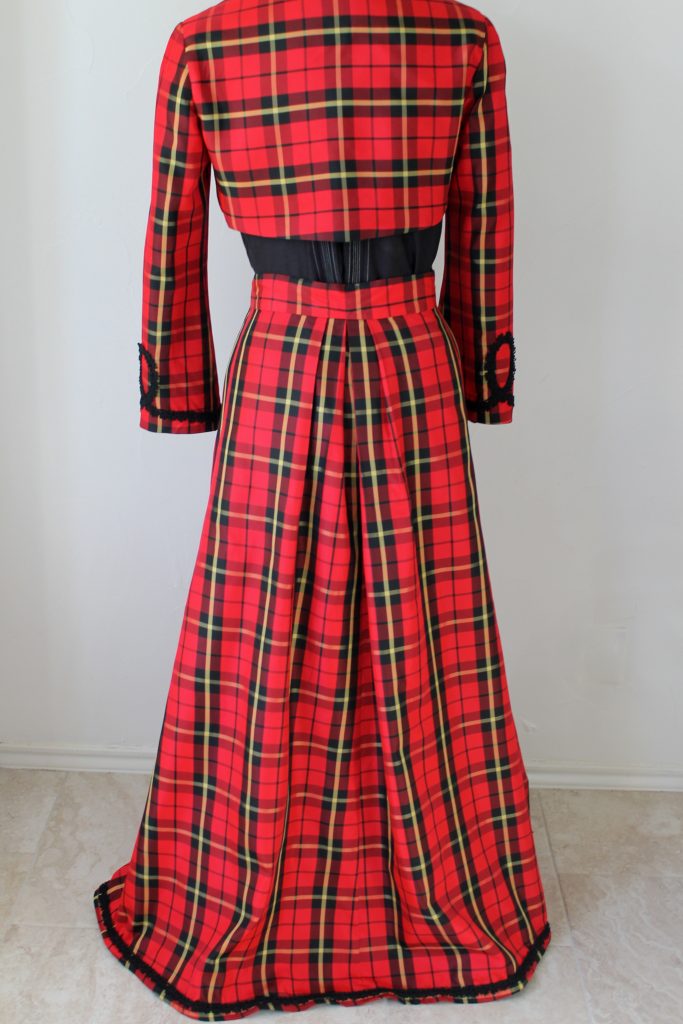
The Bolero Jacket
Since the skirt had used almost 4 yards of fabric I only had two yards left to create a bolero jacket. I had the Simplicity #1819 in my $1.99 pattern stash. It only required 1 1/8 yards of fabric. This was perfect since I may want to make a traditional Victorian bodice of the plaid and perhaps velvet in the future.
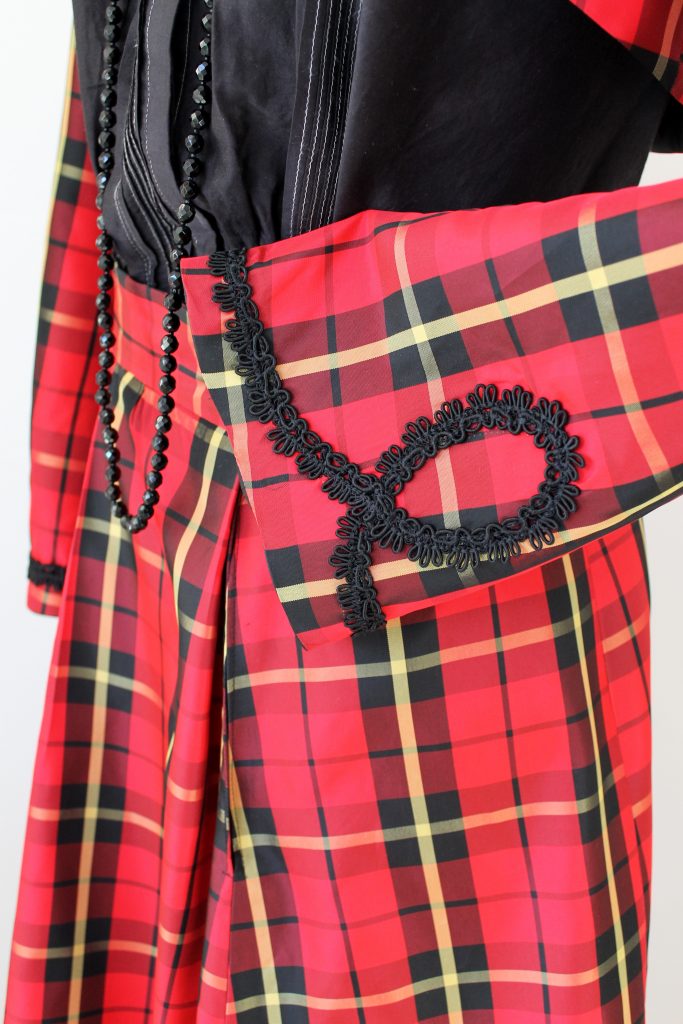
The pattern went together very easily. It would be a good project even for a beginner. You can see that the bolero has braided trim as an embellishment.
In the Victorian Era more was always MORE!

I looked to see what trim I had in my stash that was similar to the braid and soutache/satouche on the bolero below. (Soutache/satouche is a narrow, flat braided trim that is like a little sister to galloon trim.)

This trim was perfect. It is antique and I have had it for several years. It came from an estate sale in Phoenix. Since I was also trimming the hem of the skirt and I did not want to compete too heavily against the plaid I altered the design from the pattern to something simpler.
The long jet necklace originally belonged to my stylish mom, Nadine.
The Blouse
I also needed a blouse to wear under the jacket. By now I was running short on time with the Victorian Soiree event just one week away. As luck would have it I found a silk/cotton Edwardian/Victorian inspired blouse at Anthropologie. It is by the brand TINY. It was originally $148. I understand the price tag due to the amazing detailing. Thankfully, it was marked down to $29.95 and I received an additional 40% off. I bought two blouses. One I kept in its original ecru (off-white) state. The other blouse I took a chance on dyeing black.
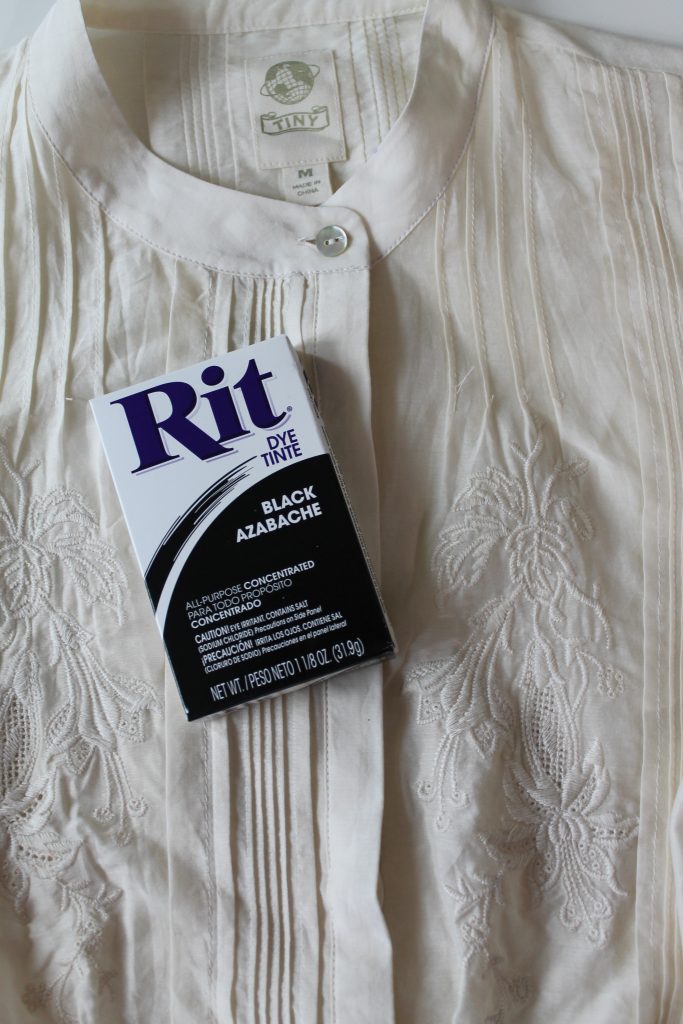
I covered the entire dyeing process on my Instagram stories about 3 weeks ago. It was somewhat of a failure given that the embroidery of the blouse was clearly not silk or cotton as the label indicated. It is probably polyester. Thus it did not take the dye.
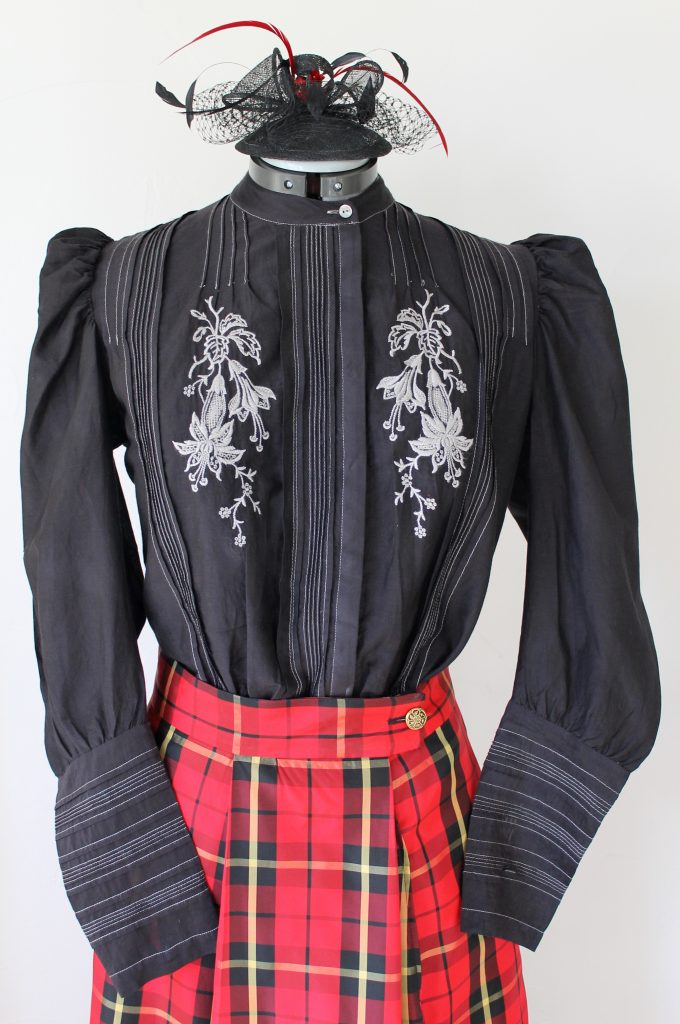
I may decide to try redying the blouse in a polyester dye to get the black on black look I was searching for. Again, my ultimate goal is for the blouse to not compete against the plaid and consider what is historically correct. You may ABSOLUTELY leave your opinion on the matter.
Some of you may ask, “Did the Victorians actually wear black blouses?” Yes, but Hollywood has overused white/off-white blouses in time period film and television productions. As you may have seen in the image at the top of this post, Victorians wore blouses of all colors. Including black. I will say that white/off-white was probably most common though.

The Hat and Other Accessories
I’m going to tell you that I failed miserably in the hat department. Hats during this era were morphing into larger sizes. I found only a few small toppers.

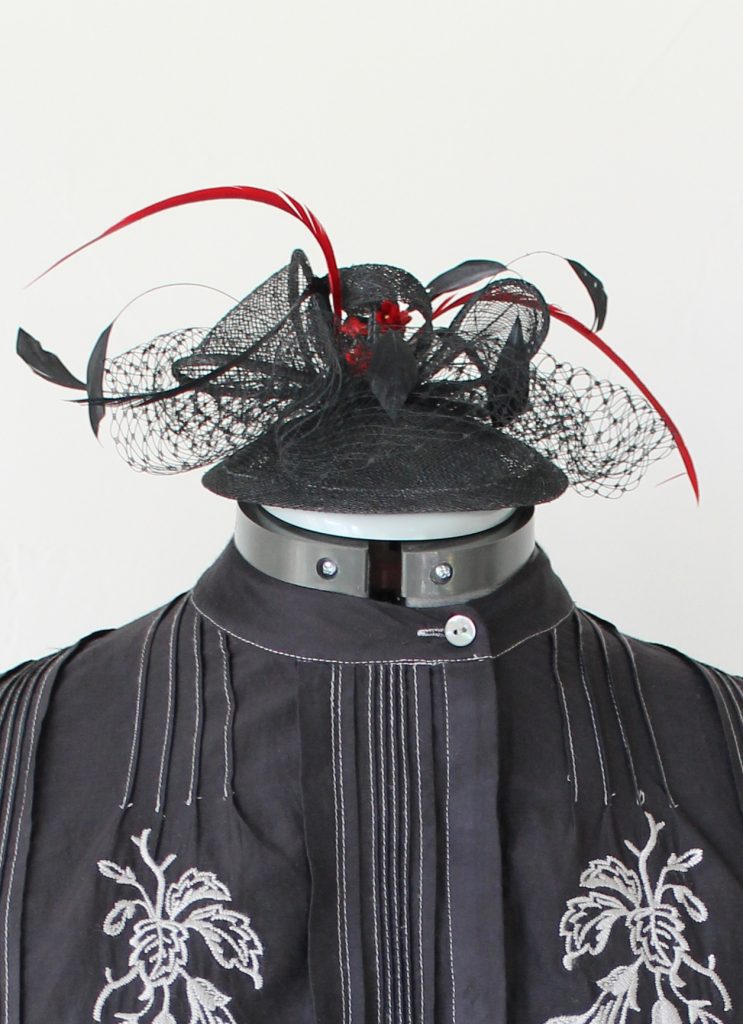
I had originally purchased a small fascinator hat on eBay to wear to the Royal Wedding tea I hosted back in 2011. Since it was such a drab grey I ended up not wearing it. That hat has sat in my closet ever since. You may remember back in December I spray painted my Dickens bonnet. So I tried the same technique again. It worked.
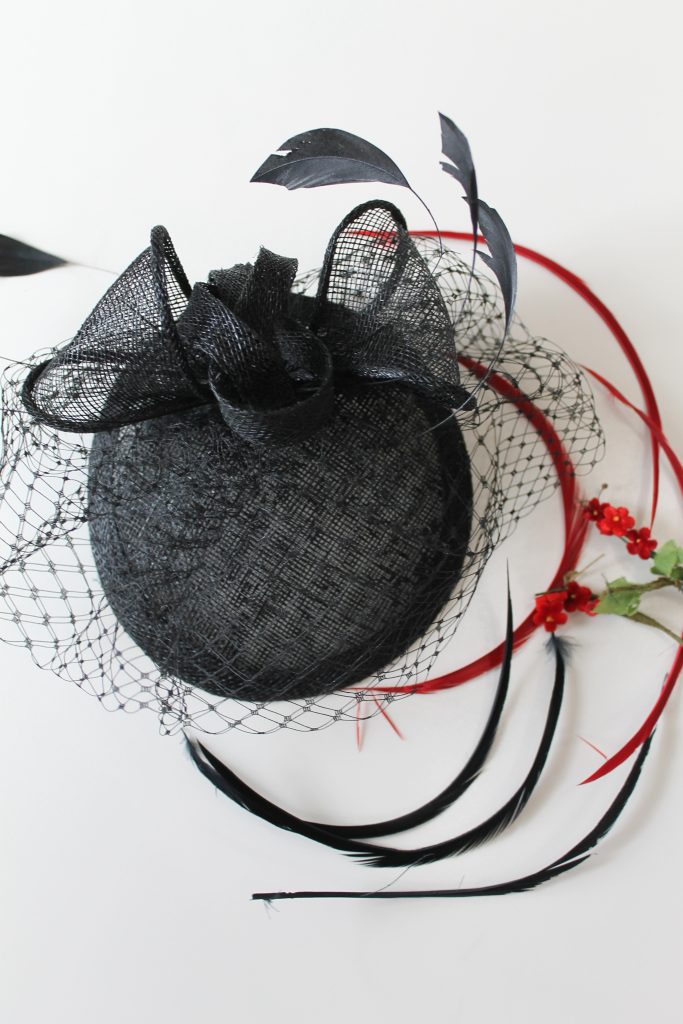
I just added some extra feathers and wee red velvet flowers.
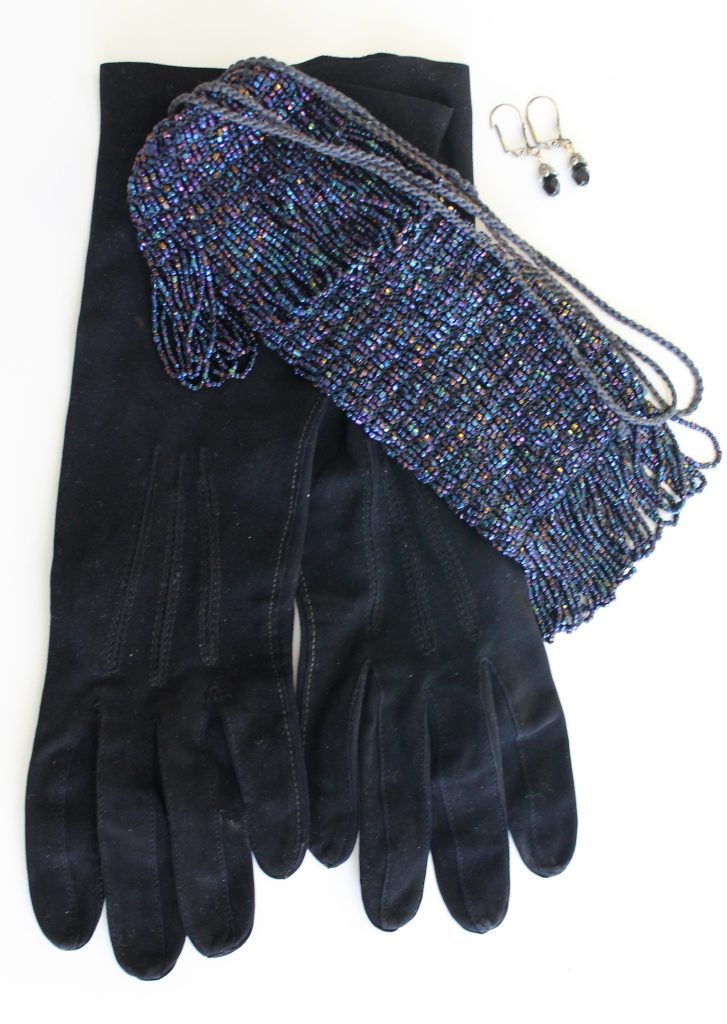
Other accessories were a hand-painted Russian broach I bought in Germany years ago. The earrings, suede gloves, and beaded purse all belonged to my mother, Karen. (It can get confusing but yes, I had more than one mom. 🙂
Lastly, I wore a hairpiece for the first time. It was purchased on eBay for around $8. Because it arrived with two broken attachment combs the seller refunded the fee and told me to throw it away. I just secured it with bobby pins.
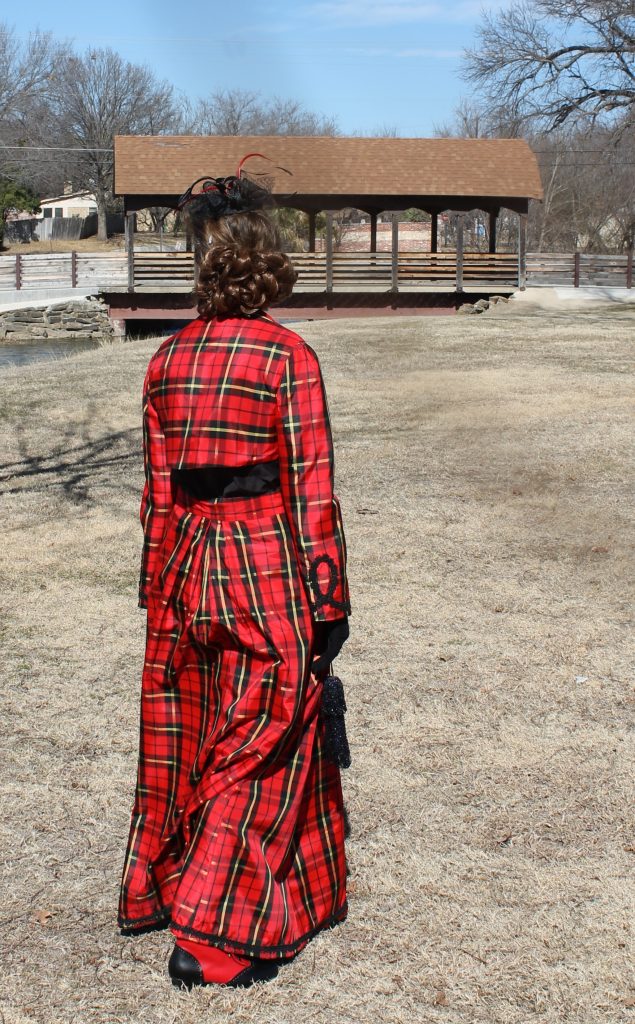
I hope you have enjoyed this latest historical costuming project. You can view past projects by clicking on the FASHION tab located right under the Decor To Adore header.
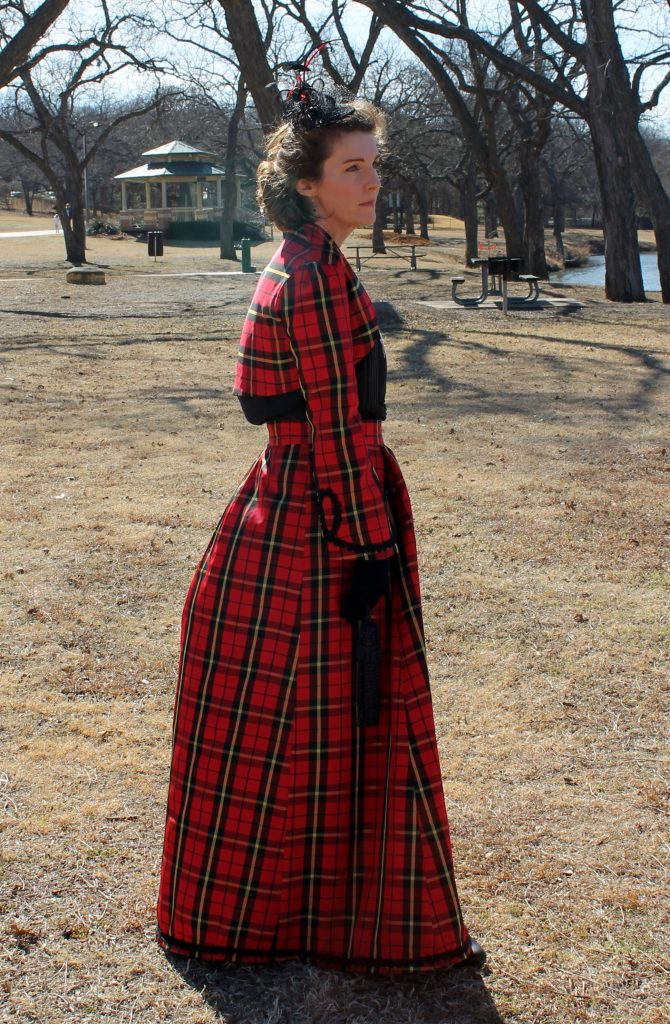
I’m still mad for plaid!
Laura
This complete ensemble took around 14-16 hours to make. Here is the under $50 cost breakdown:
- two patterns $4
- plaid taffeta $7
- skirt lining: old bedsheet $0
- black velvet for cape and satin lining $15
- blouse and Rit dye $20
- All trim, thread, and feathers I had on hand $0
- Accessories already owned. Details on red and black Victorian boots HERE.
This is such fun, Laura, and I bow down in great admiration for both your sewing and research skills. Research skills — we pretty much all can have them when we choose. Sewing? That one is up for grabs. Certainly to be able to manipulate a pattern and match a plaid (really?! Bravo!) takes a skill beyond simple hemming! And very clever with the hat and all. You look marvelous in it, too. Three cheers!
Laura, i think a black hairnet would look great with the hairpiece and be historically accurate as well. Helps keep curls together in wind too.
You did a great job, plaid matching is notoriously difficult.
I enjoyed reading the background info.! And you did a great job matching the plaids. I had a friend who had a florist’s shop, and at that time a lot of brides wore hats with or without a veil rather than just veils. She spray-painted and did all others kinds of creative things to them. 🙂
Laura, I thoroughly enjoyed this detail. It took me back to many years of costuming for ballet (we had to make our own, with only fabric and a paper bag copy of a pattern that had to be passed along to other members. A nightmare, really.). I even still have a hairpiece I used back in the day, to add volume to my bun (one like yours for party scene of Nutcracker, and another just a bun). How disappointed you must’ve been with the blouse, but it still looks great. It all looks so good, and I absolutely love your frugality in sourcing the elements to the costume. And what about the shoes? I was curious about those too.
Dear Laura,
Exquisite and fun, so much fun seeing you dressed so lovely for “the time.” Can’t wait to hear about the event as well! And you make red look good! As a redhead, on me, not so good! *wink*
Q: Isn’t it actually soutache? I had never heard of satouche before?
*hugs*
Kelley~