Way back in April I announced that a long overdue bathroom refresh would begin. Now, after six long weeks, I am happy to share the Master Bath Reveal The Black Lagoon Is No More.
Is this the bathroom of my DREAMS? No, it is not. But it is a bathroom that is much improved and will appeal to buyers when the house is placed on the market next spring.
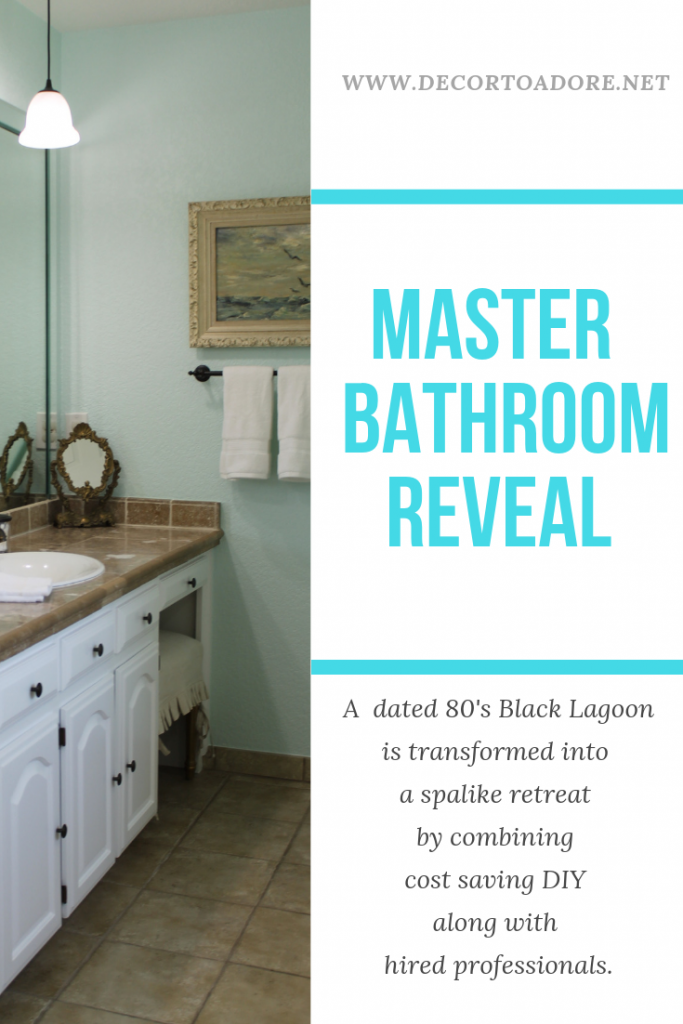
Master Bath Reveal The Black Lagoon Is No More
In the beginning, I had every intention of writing a few step-by-step progress posts. But I managed only one. Life in May was quite busy. As of today, the bathroom is 98% finished. There are still a few tweaks that need to be done but nothing that can’t be discussed in future posts.
Since it has been so long I will include some “BEFORE” photos from the original post to help refresh your memory of just how far this bathroom has come.
As you enter the bathroom on the left was one long vanity. The walls originally sported Tuscan themed grapevine wallpaper. It was SUPERGLUED to the drywall. No amount of steaming or scheming could remove it.
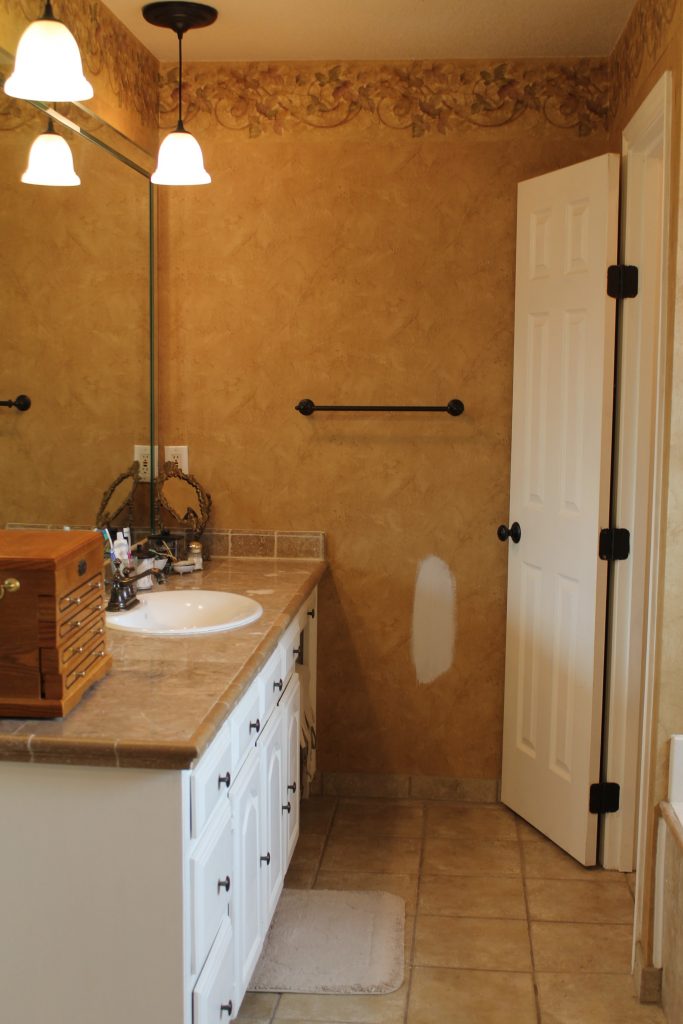
The original vanities were made of all hardwood. So we opted to keep them.
We also did not change the countertops, mirrors, sinks, faucets, flooring, or lighting. To do so would have resulted in an additional $35,000. I am not going to sugar coat it. It was a bit of a challenge to work with what we had.
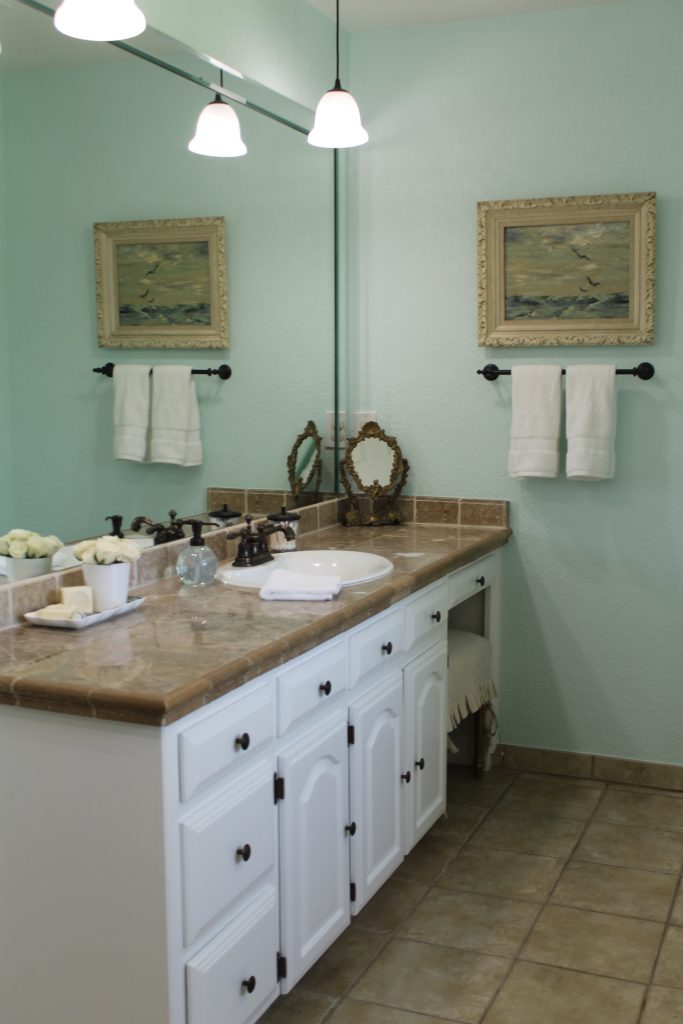
So I envisioned the seashore.
My hope was that sea glass colored walls paired with a liberal dose of bright white would take a bit of age off of the dated sand-hued tile.
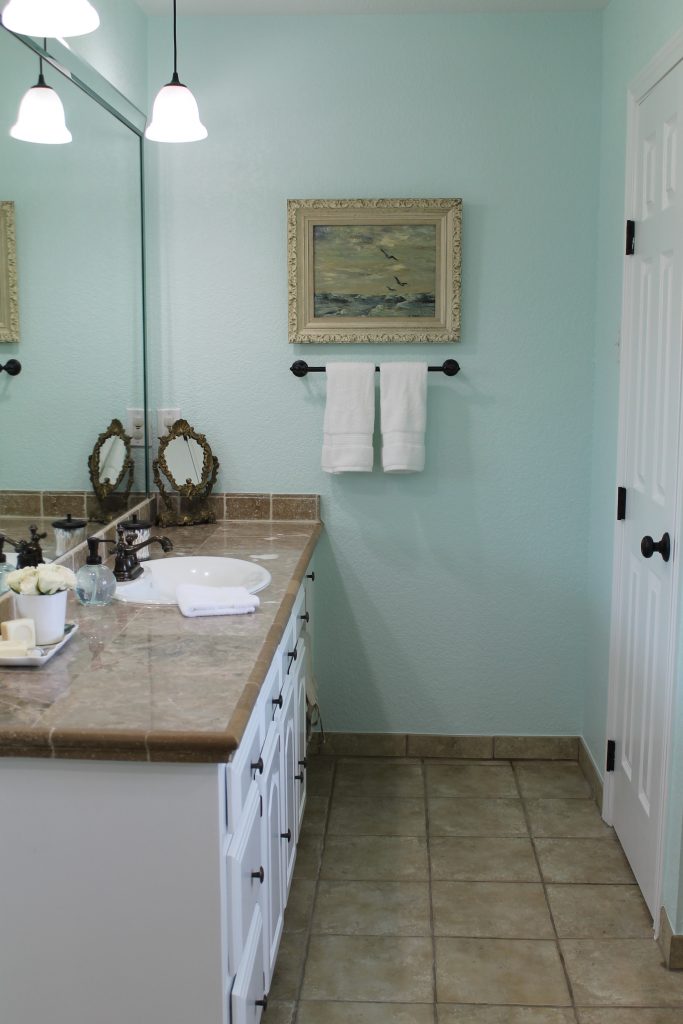
The Magic of Paint and Hardware
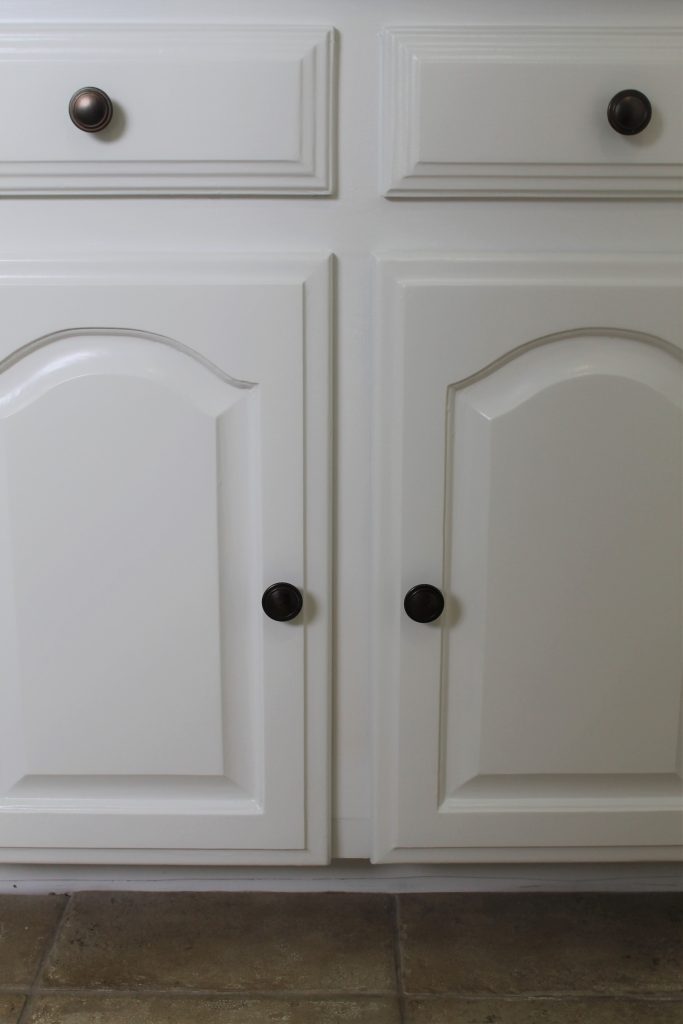
You’ll be happy to know that the once wonky and painted over hardware is now clean and level.
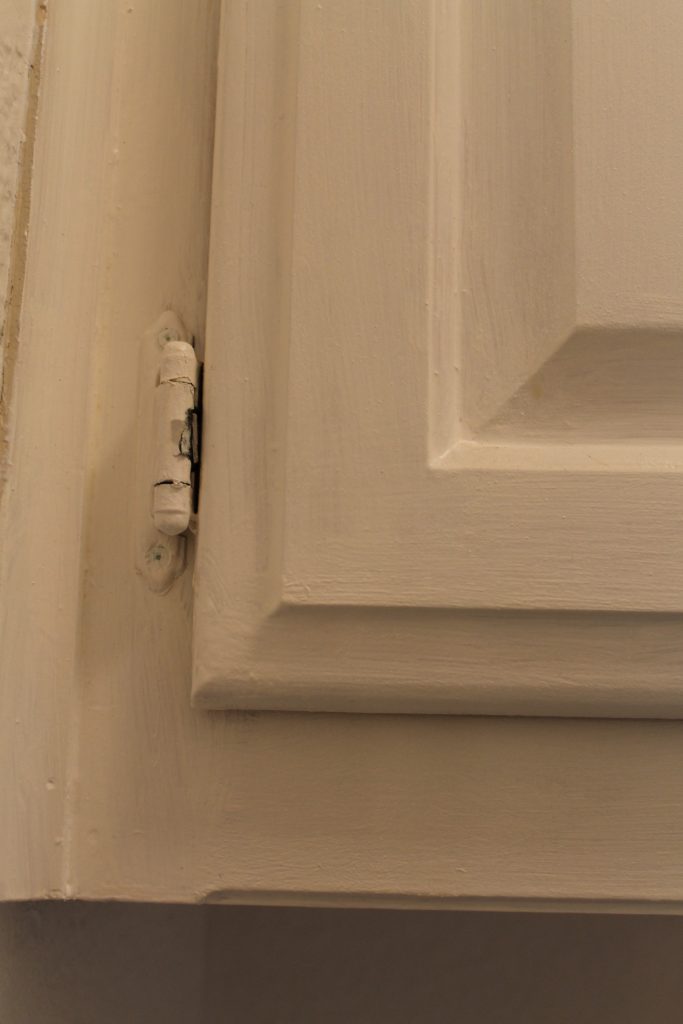
Mr. Decor filled the offending holes with wood putty. After drying completely the areas were sanded smooth. New level holes were then drilled in.
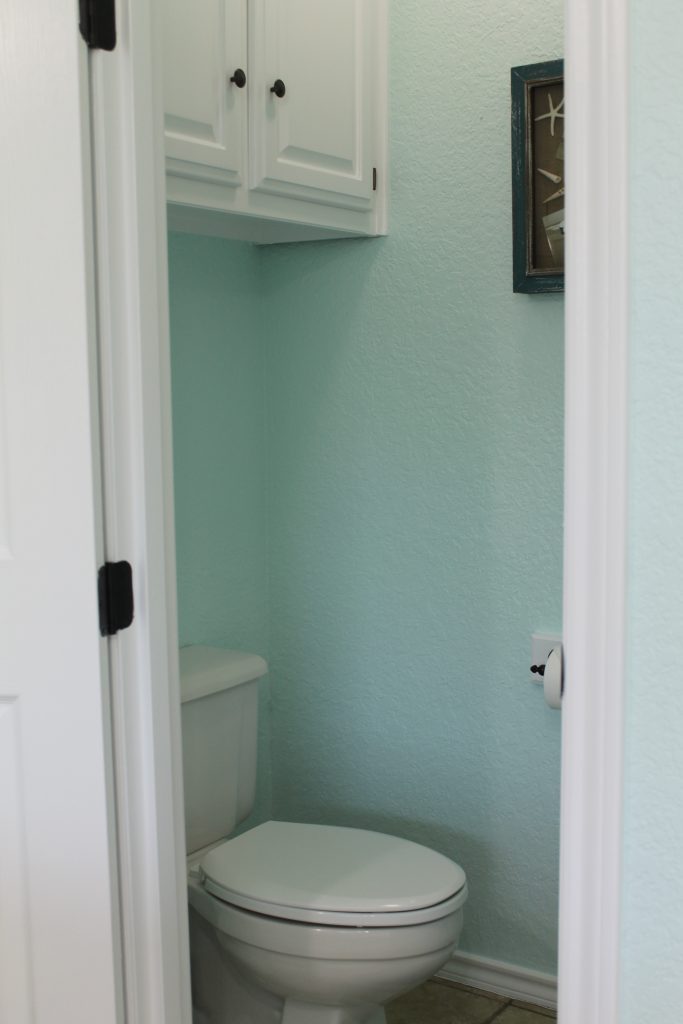
The door shown in the second photo above leads to the water closet. It was once a dark and dreary dungeon that also featured a cabinet that was only half painted.
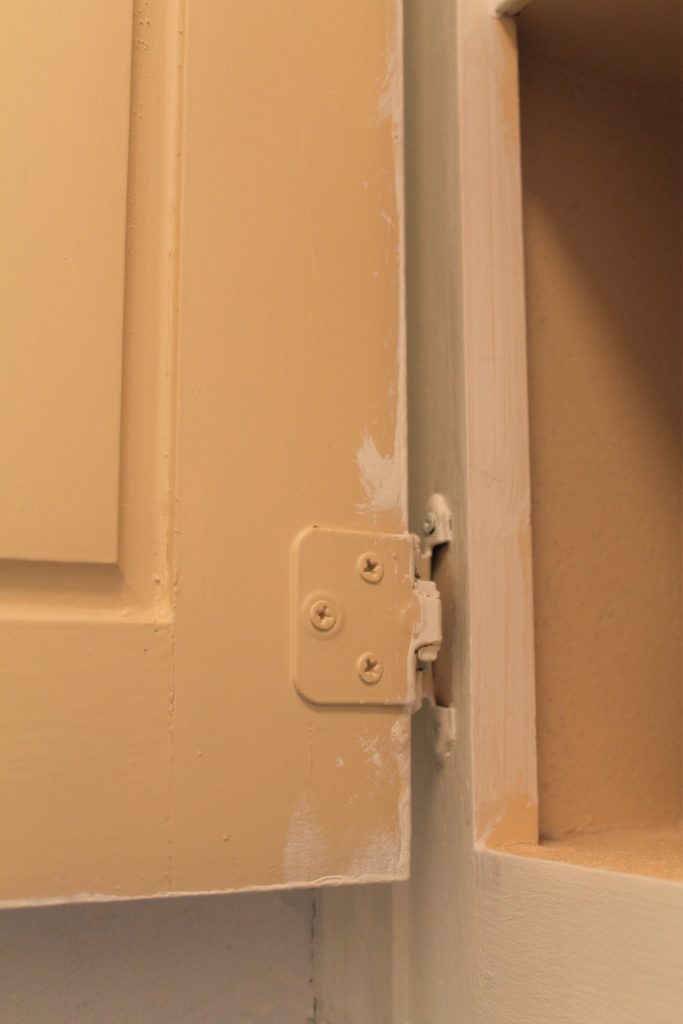
The power of paint and new hinge hardware created an amazing transformation!
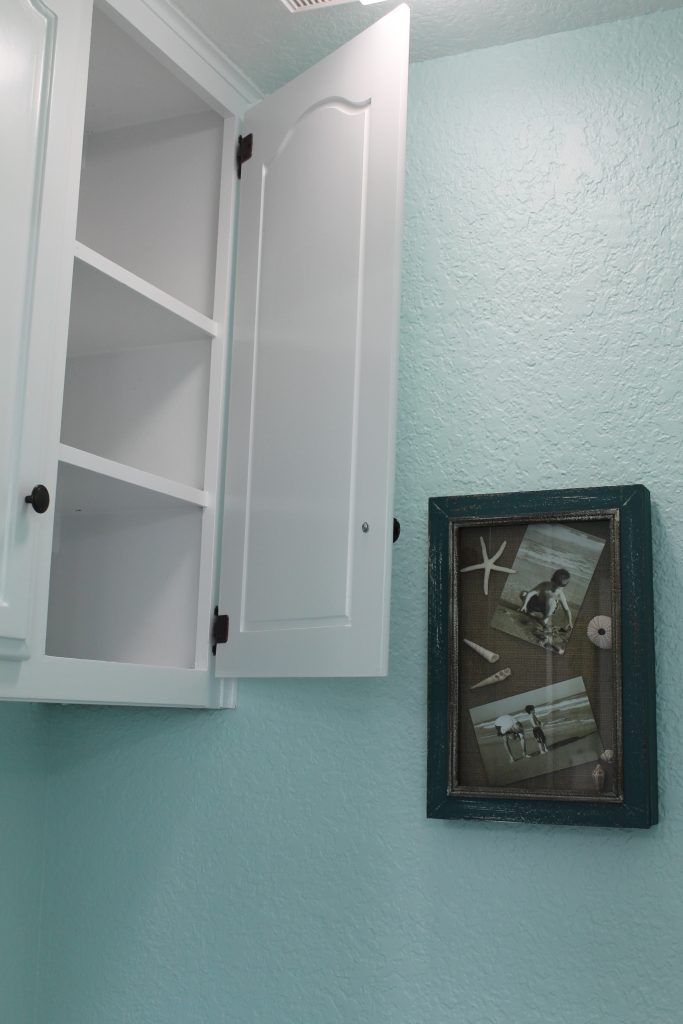
The interior cabinets now look SO fresh and clean!
Yellow Be Gone
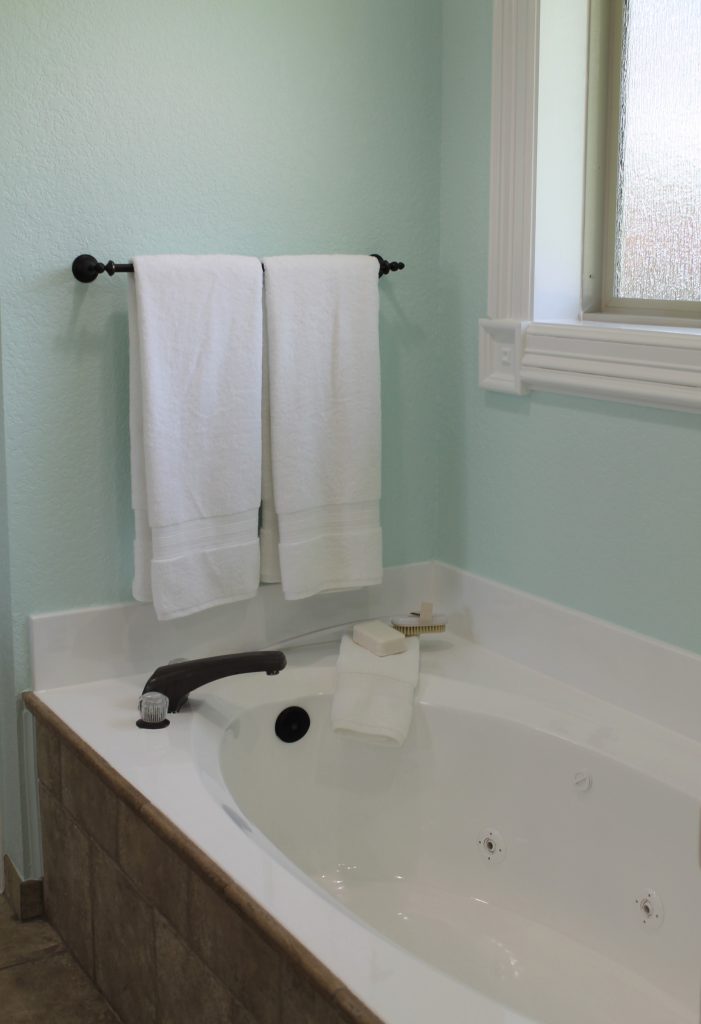
Remember the cultured marble bathtub? The jacuzzi jets were in perfect working order but the surface had yellowed with age over the years.
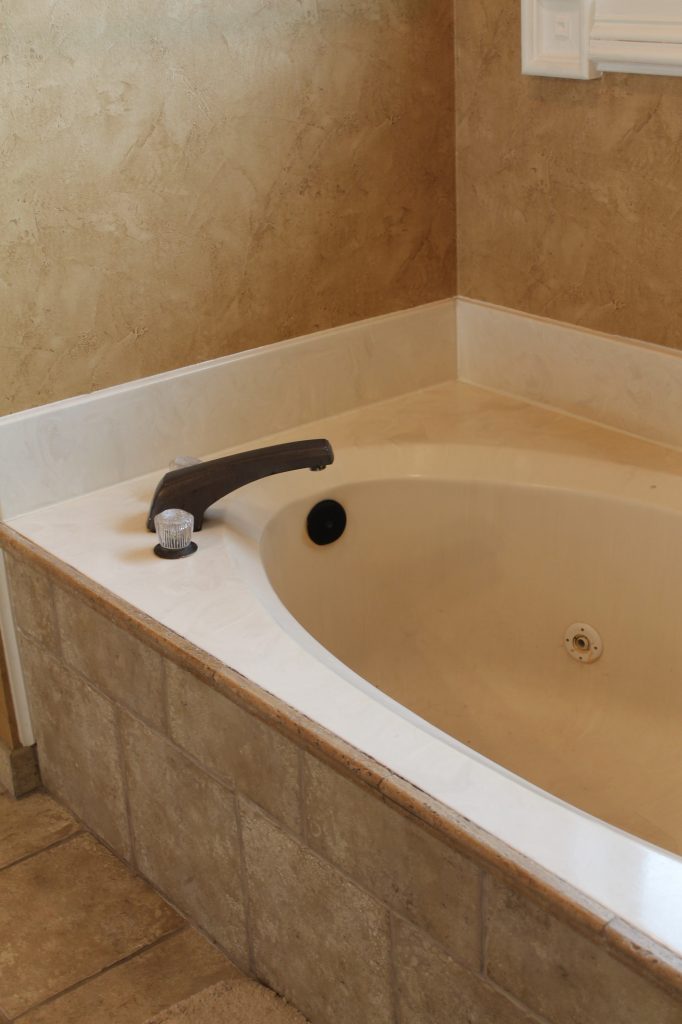
We looked into removing the tub and tilework. Purchasing a new tub and all that would entail was between $8 – $12 thousand dollars. So we opted to have it professionally reglazed. The cost for this was $704.
The Shower Is Now Mold Free
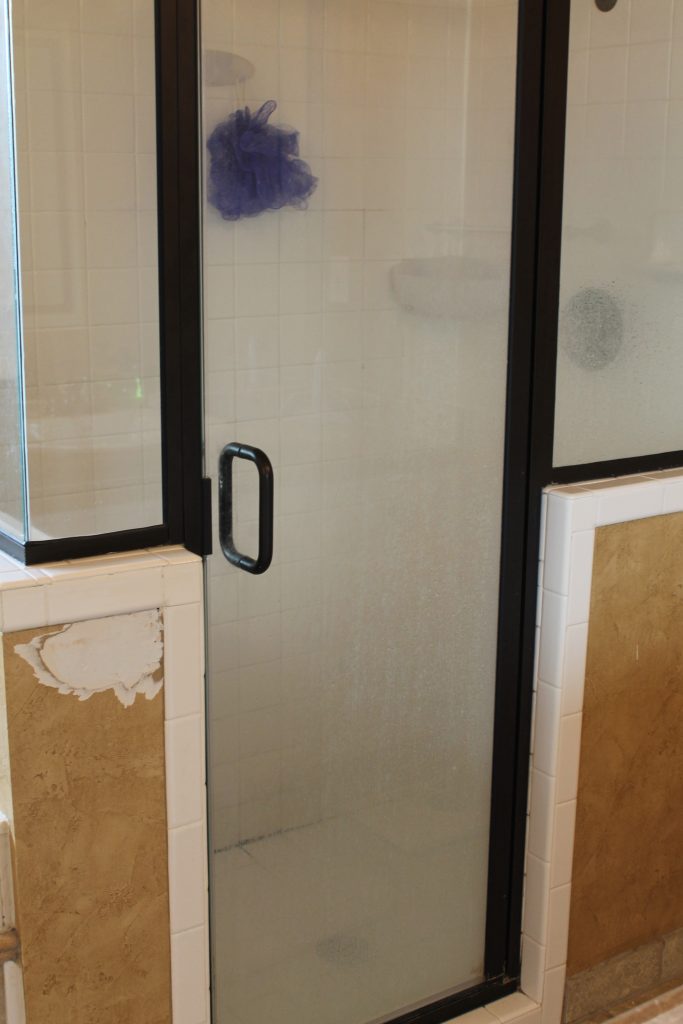
Then there was the shower tile that gave the bathroom its bad name. Years of hard water buildup had also taken a toll on the glass enclosure.
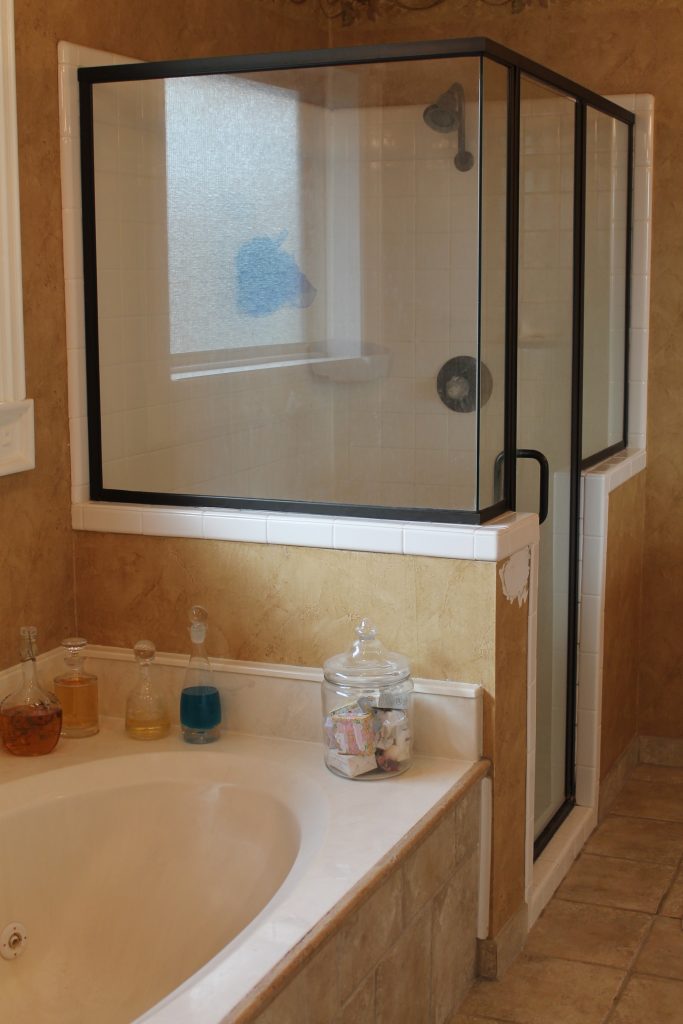
I worked for three hours gently cleaning the glass until it sparkled.
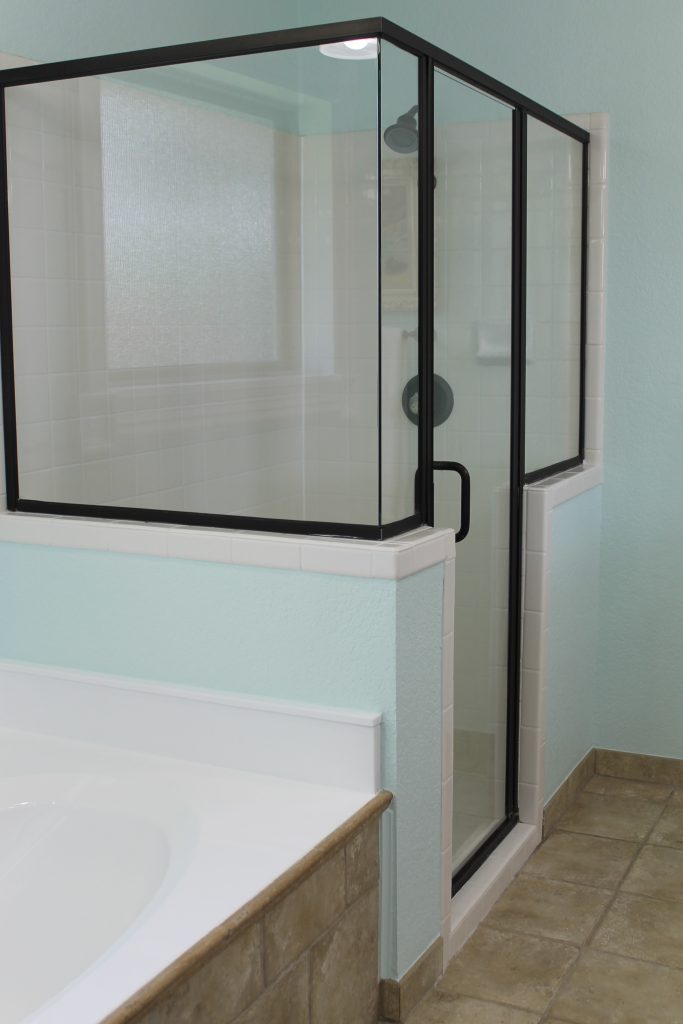
And the black mold on the tile…
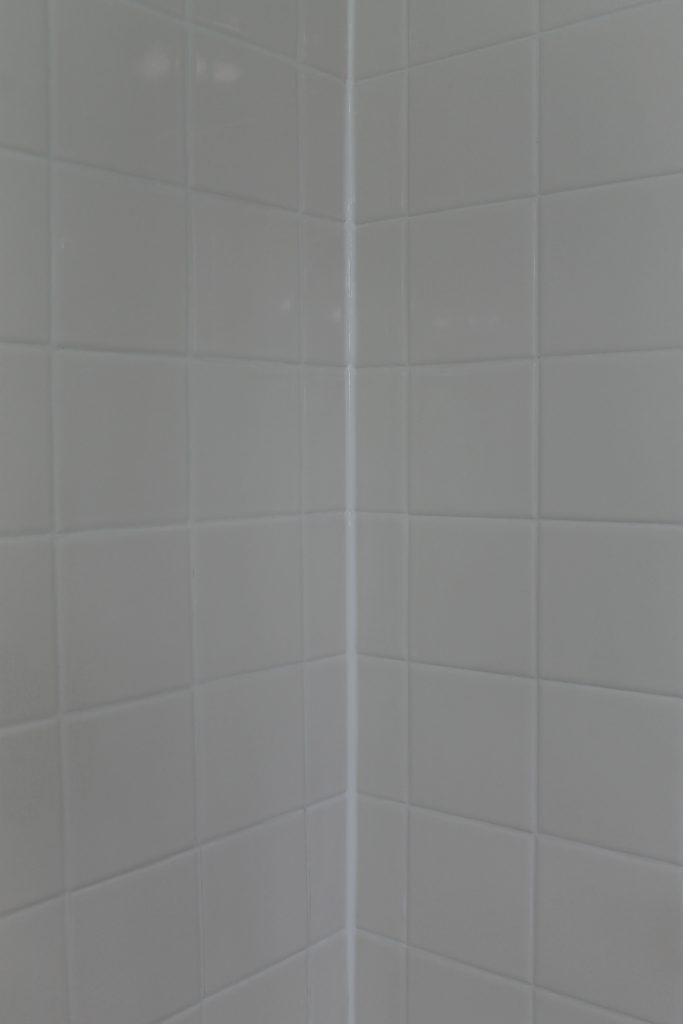
All of the clear silicone caulking that had been incorrectly applied between the tiles by the previous occupants was removed. It was an all-day process that required numerous replacement blades on a special Dremel. The area underneath containing the mold was deep cleaned and allowed to dry thoroughly.
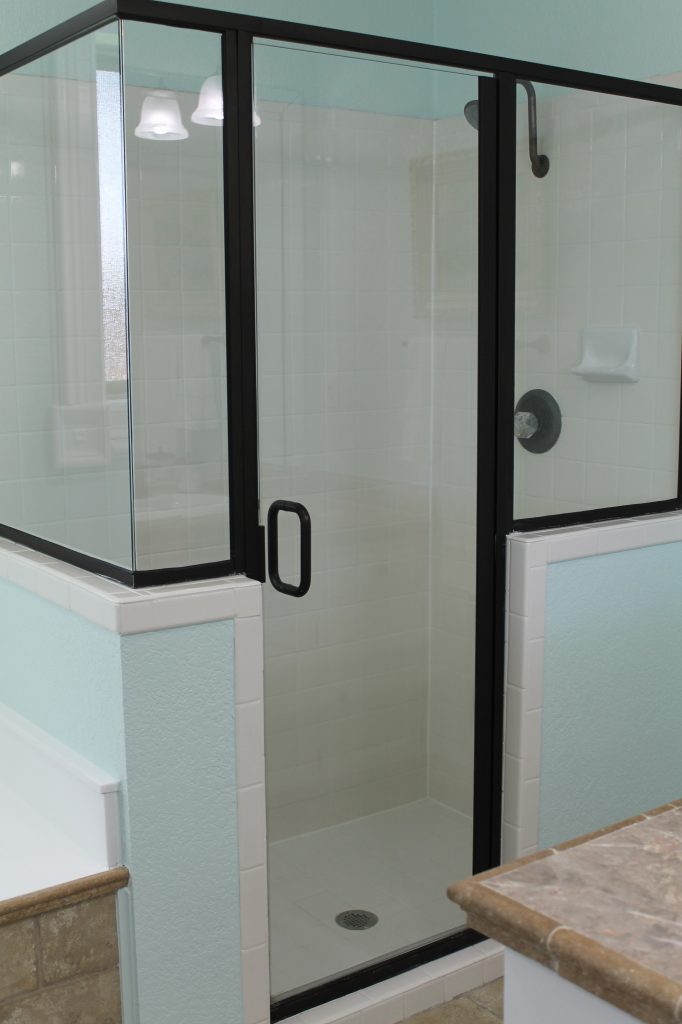
White grout, which is the correct product for use between and under tiles, was applied. A sealant was added and waterproof caulking was used in the corners.
Fresh, clean and free from mold!
When Wallpaper Won’t Leave
So let’s talk about the transformation of the walls. Over the course of the past four years, I have tried every single recommended wallpaper removal product and technique known to man. I finally decided to call in a professional.
Our choices were:
- All of the walls could be gutted and replaced with new drywall, skim-coated and painted. (Time-consuming and pretty pricey.)
- The wallpaper surface would be sealed followed by texturizing the walls, which could then be painted.
We obtained three estimates. Each ranged from $900 to $1,500 to complete the work. White Horse Painting did a great job. This was not what I would call a cheap fix at $1,250. But it was truly money well spent as it changed the entire look of the room.
Paint Colors
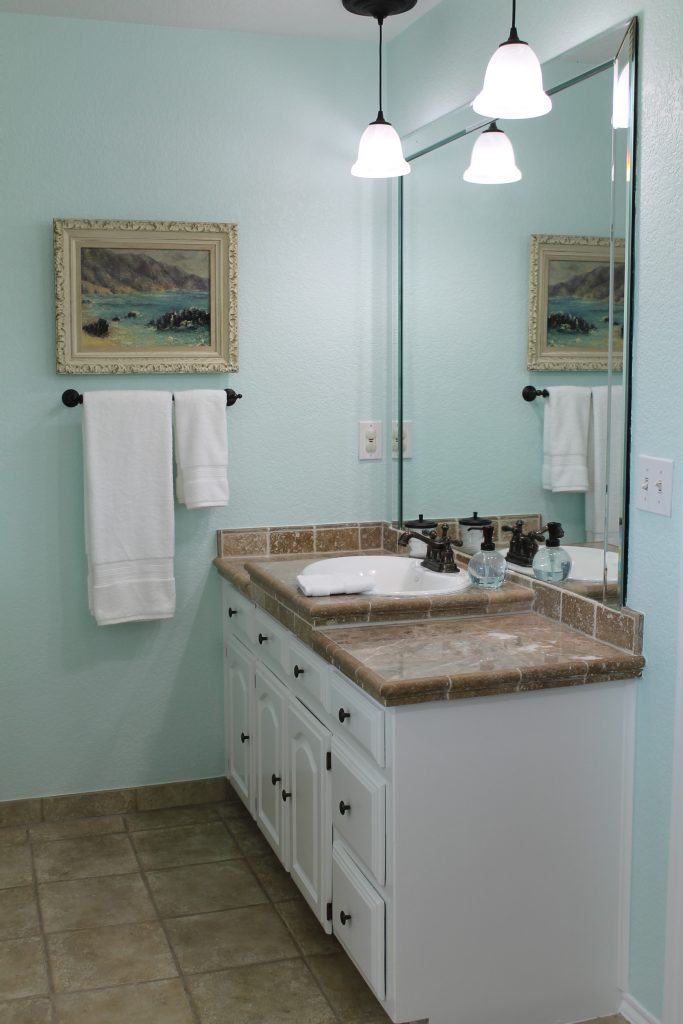
For the walls, I selected Sherwin Williams Cashmere Embellished Blue #6746. A soothing sea glass shade.
The vanities, trim and ceiling were painted Sherwin Williams Extra White #7006.
Artwork and Accessories
I reused our existing bathroom accessories as they were still in good shape.
We did replace the shower head, bathtub drain, and cover as both had broken parts, etc.
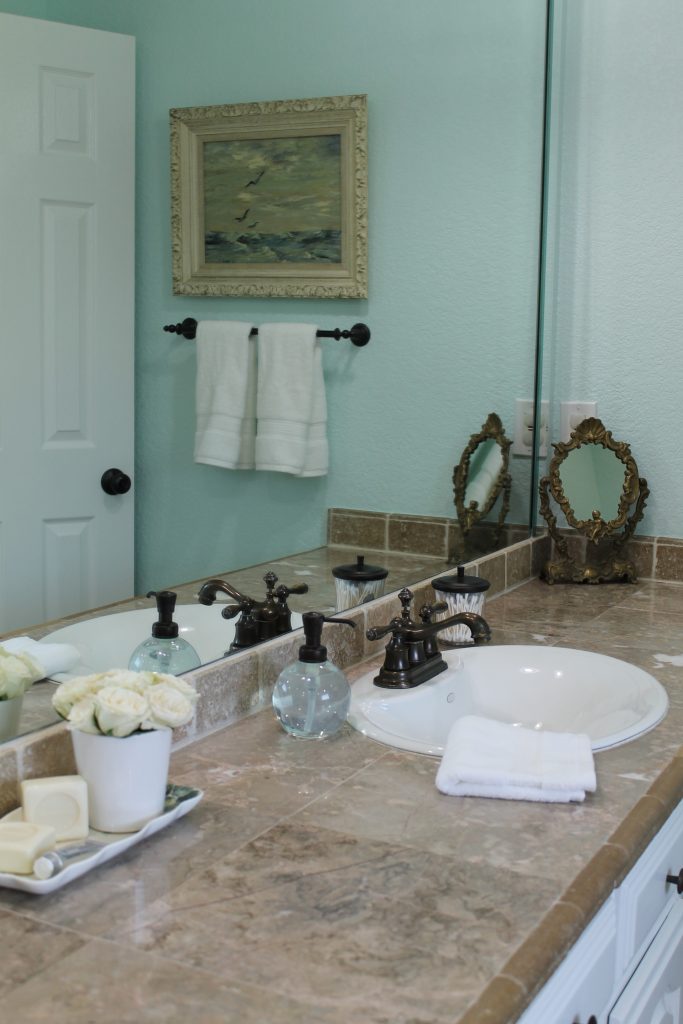
The artwork was also not new. I brought some vintage paintings down from the attic. They were last seen in my office in 2013.
I also bought a few new bath mats for the areas in front of the tub and sinks.
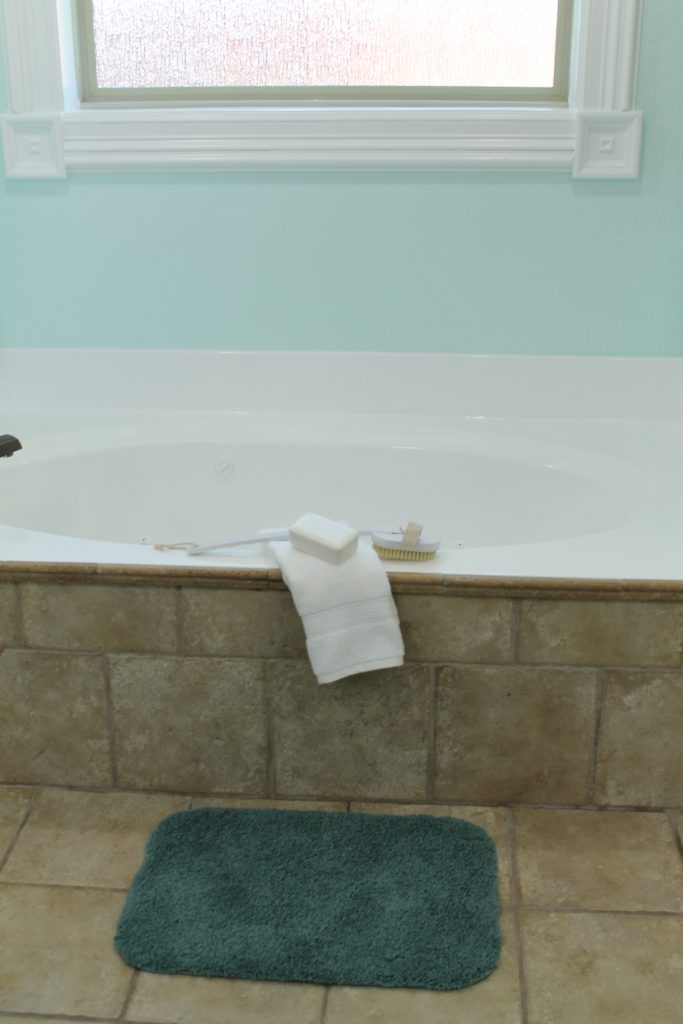
They are in the same color family as the wall color, a bit darker, so they won’t show the dirt.
A bargain from Big Lots at $9 each.
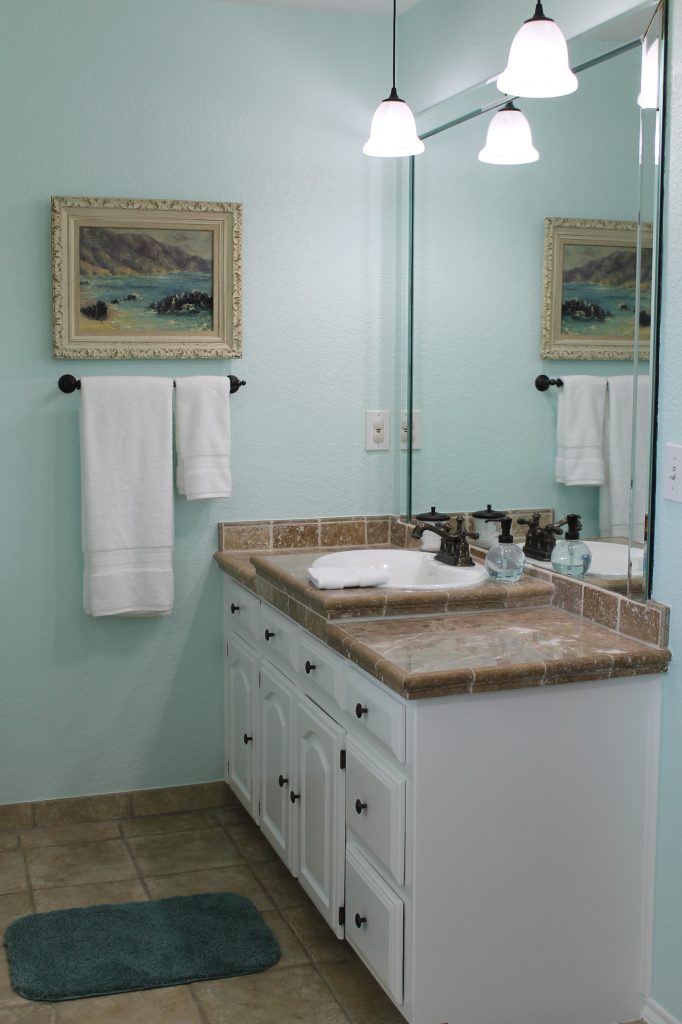
The total price of this bathroom makeover was a little over $3,000. This is truly amazing if you think about the size of the space and all that was required If you compare that to the average price of a $35,000 bathroom remodel this is indeed a very budget minded refresh.
Feel free to ask any questions. They will be answered in the comment section in case others have a similar inquiry.
I’ll be back on Saturday with more decorating ideas!
Laura
It looks great!
Your newly renovated washroom looks amazing! I love, love, love the wall colour. Its so clean and fresh. The little hints of the seashore is perfect and gives it a lite fresh spa feel. A lovely enjoyable place to use until you have to move and I bet it is a big selling point for the new owners. The tub refinish makes a world of difference.
Thanks for sharing the reveal! A lot of hard work and elbow grease has gone into making it the lovely little jewel it has become. 🙂
It looks lovely, Laura. It’s so fresh and pretty.
Laura, the bathroom really looks nice. You did an excellent job. I like the separate room for the toilet. They do that in Europe and it is very practical. The colors are lovely. It drives me nuts when I see hardware painted, but now yours looks like a professional painted your nice white sink cabinet. And a professional did!
It looks wonderful, Laura. The seaside theme looks so peaceful and goes well with the tile. Your finding nice art work in your attic reinforces my belief that it’s ok to keep decorating items for possible use “someday” (contrary to the current push to get rid of things we aren’t currently using, which I push back against).
Laura, your color choices are so perfect for a bathroom! In every house we have lived in, I always painted the bathrooms walls a light turquoise and white., with seashells in a mirrored shelving unit. I love feeling like I am at the beach !
So glad to learn you can reglaze a Jacuzzi tub! It’s on my list!
Your bathroom refresh is amazing and definitely makes it a sale-able point with the house. Good job.
What a transformation with a little money and a lot of work!!! How did you clean the water spots off of the shower glass? I have tried everything and have not been successful yet!
Over the years I had tried vinegar. Then Lime Away. Lastly, I bought CLR at Home Depot. It is pretty caustic. I had the window open and used rubber gloves. A clean rinse with water to remove the CLR then buffing with a magic eraser. As I said it took 3 hours. But the build-up was pretty bad.
My husband now has a squeegee in the shower and uses it EVERY time to remove the excess water.
Your hard work has really paid off, Laura. It looks fresh and inviting and I love the color you’ve chosen for the walls. You must be so happy every time you enter the room.
Amalia
xo
Yup! This is a bathroom to “gush over” ! Lots of hard work went into the results. LOVE the color!!
Such a nice transformation!
Your master bathroom turned out great, Laura! Our bathrooms are very similar and I was wondering if anything can be done with the jetted tub. Nice to see that they can be reglazed over the fiberglass. Charles found out that it works well and he likes it for soothing achy feet. 🙂
Great remodel and I’m glad you didn’t have to sell one of the kids to pay for it,
Hugs,
Barb 😉