Today is the day! I have never before shown you pictures of the master bathroom at Storybook Cottage. You will soon see why. I spent a good portion of last week interviewing several contractors for various projects. Are you ready? Here are the “Before” photos of the Master Bath Refresh The Shower From The Black Lagoon.

Let’s Start At The Very Beginning
I’m going to save the “best” for last. By best I mean the inelegant photos that inspired the title of Black Lagoon.
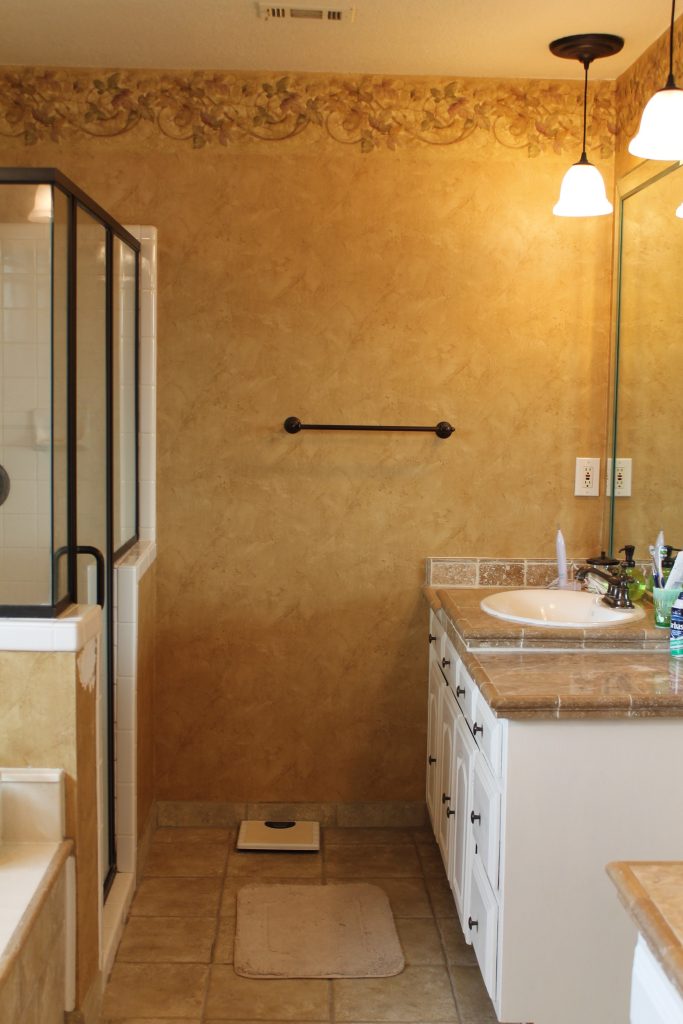
So let’s begin with the bathrooms overall layout and the issues that accompany each area.
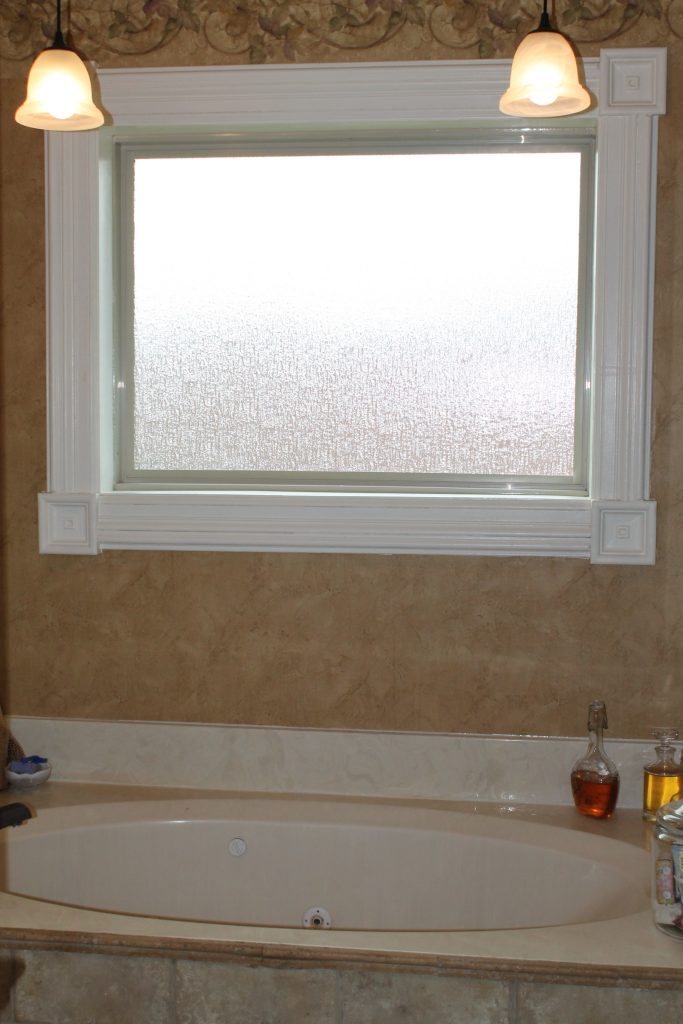
Walking directly into the bathroom you immediately see the one natural light source, a frosted window. It is directly above a circa 1980 something jet tub.

To your left is a large vanity.

The door leads to a small water closet.

To the right are a smaller vanity and the enclosed shower.
Pro’s and Con’s
I’d like to begin with the positive.
The cabinets, crown molding, and trim in the room are all solid hardwood.
Now, for the cons.
I am going to approach the bathroom challenges as I would other design jobs. Without judgment. Issues will simply be stated. Followed by how a professional would approach the job and how potential problems can be avoided.
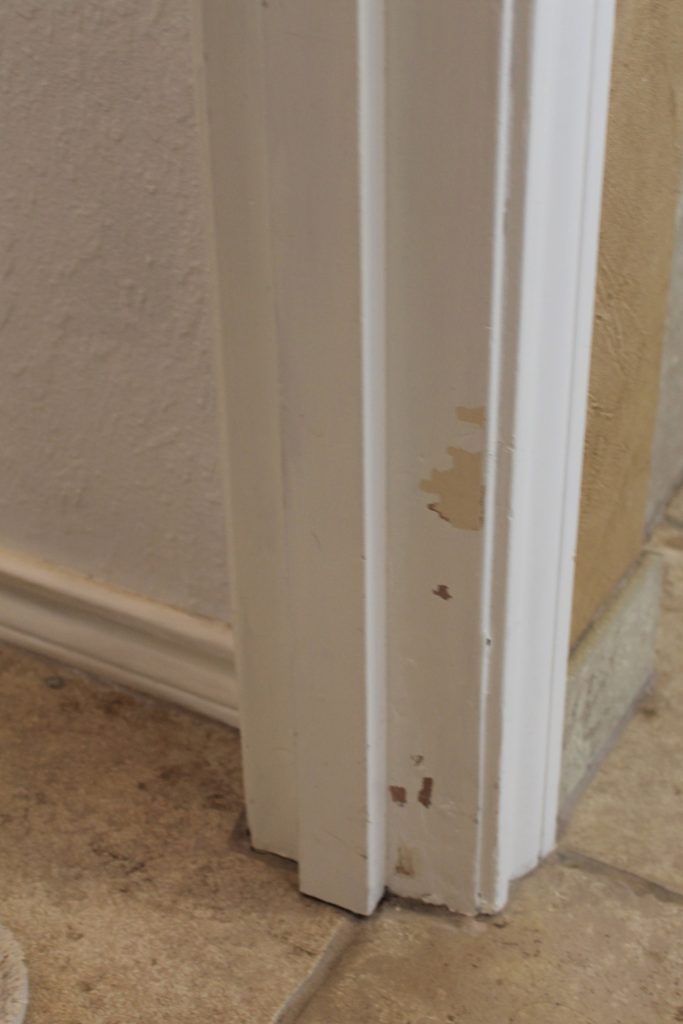
All of the surfaces in the bathroom were originally painted in oil-based paint.
Sometime in the past 35 years, an individual opted to paint again using latex paint.
When encountering a surface previously painted in oil-based paint you generally have one of two choices.
- Repaint with oil-based paint.
or
- Prep the surface by sanding and try to remove a good portion of the old paint.
- Use a deglossing cleanser such as TSP.
- Remove the cleanser with a sponge and clean water, then allow the surface to dry.
- Apply a coat of a good quality bonding primer, let dry.
- Apply two coats of high-quality latex paint, letting it completely dry between coats.
Obviously, the second choice is VERY time-consuming.
As prudent homeowners, we opted to follow all the above steps when we painted our guest bathroom vanity last year. It still looks great.

So what happens if you DO NOT do the prep work and simply apply latex paint directly over an oil based paint?
- It will not adhere well.
- Drips are more likely to occur.
- Brush strokes will be highly visible.
- Within a few short weeks, the latex paint will begin to separate and peel off.


It’s a good idea to remove hardware prior to painting.
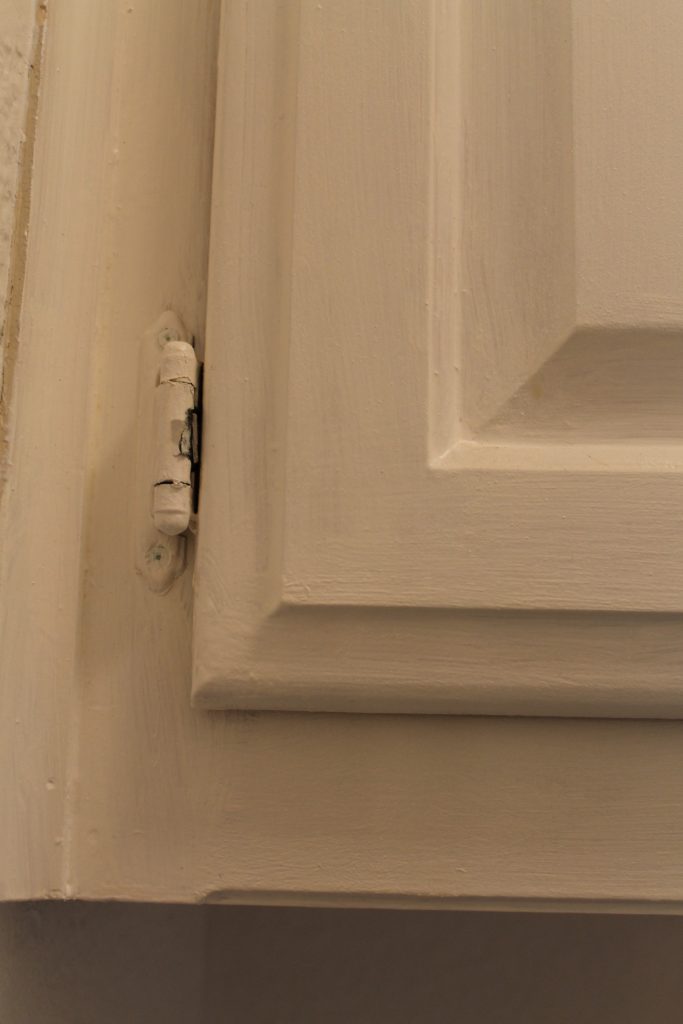
Door interiors also benefit from painting.
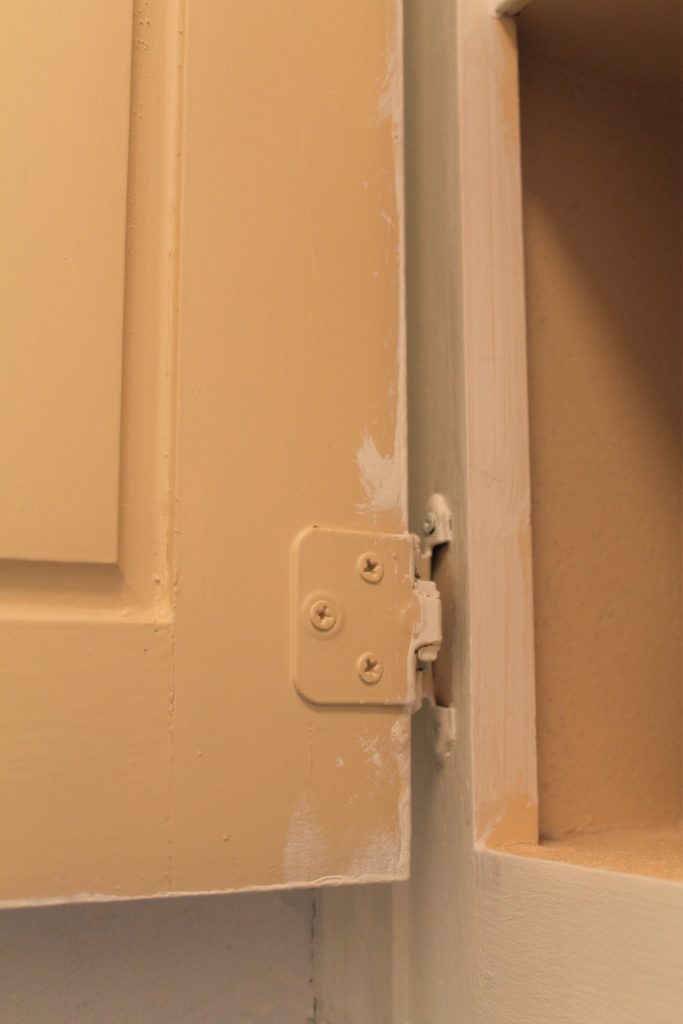
When installing hardware measuring twice, to ensure a level placement, is always a good idea.

Rub A Dub Dub
The jet tub is also original to the house. Everything still works and it is a great size for soaking.

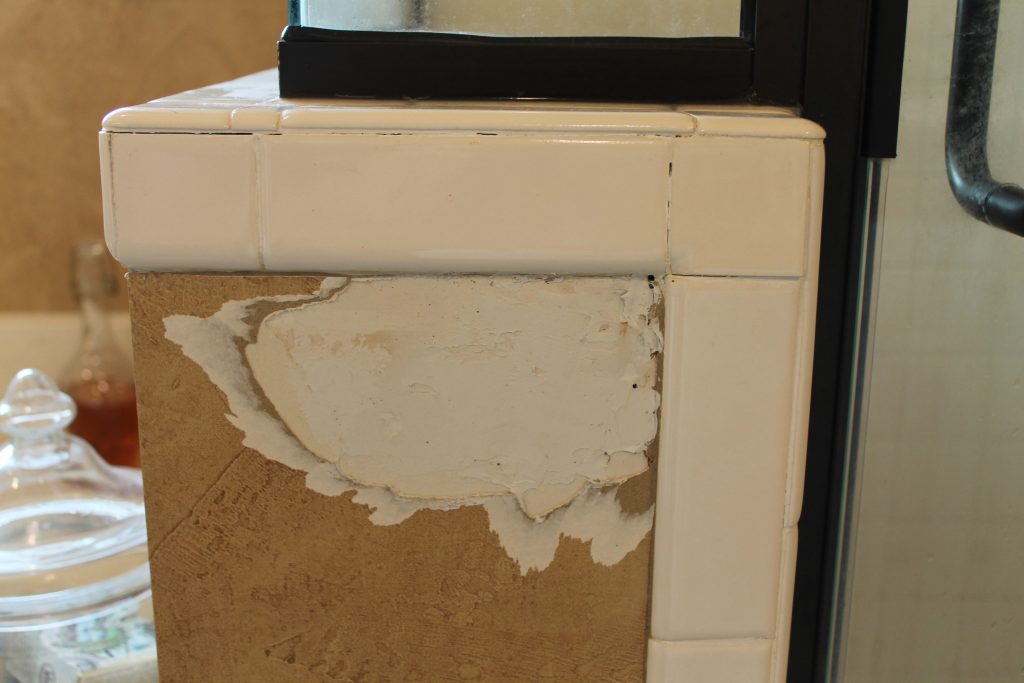
Originally the cultured marble tub and surround was probably a creamy white. Over the years it has yellowed tremendously.

The surface has damage in several areas to include cigarette burns on the surround as well as chips and scratches in the tub itself.

Under The Tuscan Sun
The wallpaper is also original to the home. The theme is a Tuscan vineyard. This was VERY popular several years ago.

When we first moved in I attempted to remove the paper. I quickly discovered that the wallpaper had been applied directly to the drywall.
Losing composure for a moment I must scream, “Why, WHY??? For the love of design, why?”

The truth? Because it’s cheap.
But it makes complete removal, without damage to the drywall, almost impossible.
A true professional or caring contractor would skim coat the walls first. Then apply the paper. This way the paper can be removed later down the road without damaging the drywall.
Master Bath Refresh The Shower From The Black Lagoon
Let’s address the gross elephant in the room, the shower.
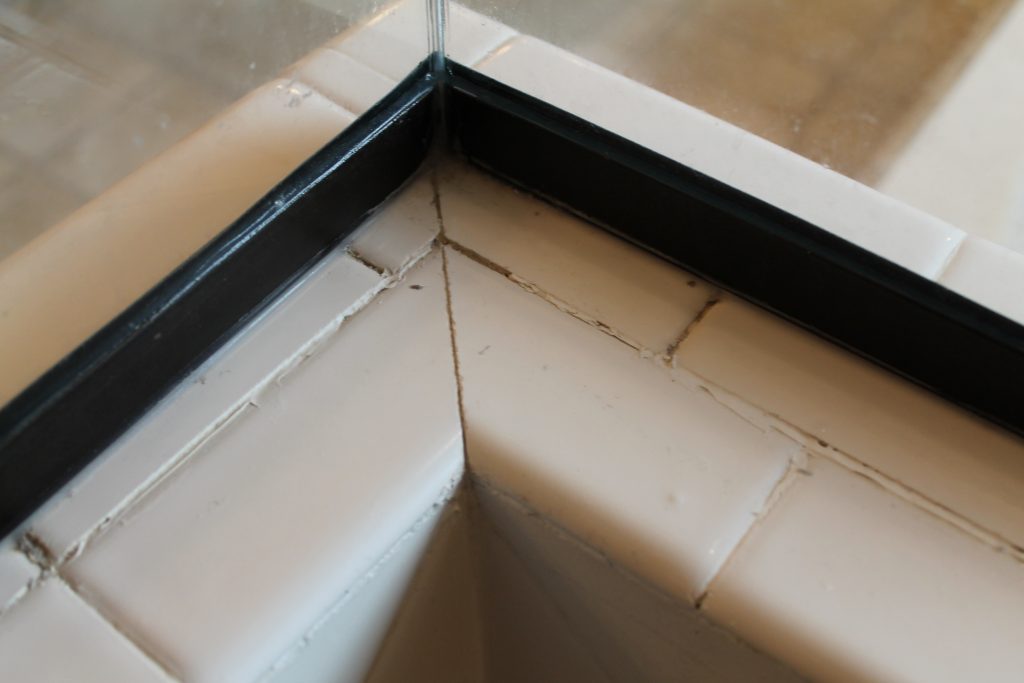
The vintage plain white tiles are in surprisingly great condition.
There are no chips or cracks. The original grout, however, is in rough shape. In some places, a previous individual just filled in some missing grout between the tiles with caulking.
This is NEVER recommended!
Caulking Versus Grout
Why should you not use caulking instead of grout?
Do you see the creature lurking?

Caulking is only for any tile edge that meets another material. Such as between tile and a wall or tile and a shower door frame.
Grout is the ONLY thing you should use between tiles. When it’s mixed and applied correctly, grout binds tiles together and creates a watertight seal so that moisture doesn’t get between or underneath them.
Caulking does not do this between tiles. Water can get trapped underneath the caulking. This can result in mold and mildew like that shown below.
There is no way to clean this as it is UNDER the silicone caulk. (Believe me, I have tried everything!)
The result is unhealthy and GROSS.
The caulking must be removed. A very time-consuming job.
So please, DO NOT use caulking between tiles.

I’ll be sharing the progress of the bathroom over the next three weeks.
Come back on Thursday for some pretty fun.
Laura
You have quite the project in front of you. Excited to see the reveal.
Oh wow, this is going to be a job, but I know you will turn it into a jewel.
Laura, if you want to reuse the original, painted-over hardware, you can boil them in vinegar. It pops off. I’ve never had a new modern house with new modern hardware, but it works magic with antique hardware. I might change the color on newer hardware., but it doesn’t on old hardware. The cabinet with the crooked hardware cracked me up!
I do remember when Tuscan-everything was popular. It does make the room look rather dark.
That’s so unfortunate that previous owners used the wrong materials and processes. We’ve experienced some of that in previous homes. It makes it so hard to repair.
I’m excited to see how this progresses!
It’s always interesting and frustrating to see what people before us do poorly. Looking forward to seeing how you fix up this bathroom!
Oh Boy!… I’m with the others.. I can’t wait.
Oh goodness. The certain ndividual. Bless their cotton socks.