Oh how I adore verdigris lanterns!
Natural verdigris is the patina that is formed when copper, brass, or bronze is exposed to air or seawater over a period of time. Antique statuary and lanterns with a natural verdigris finish are highly sought after and can sell for thousands of dollars.

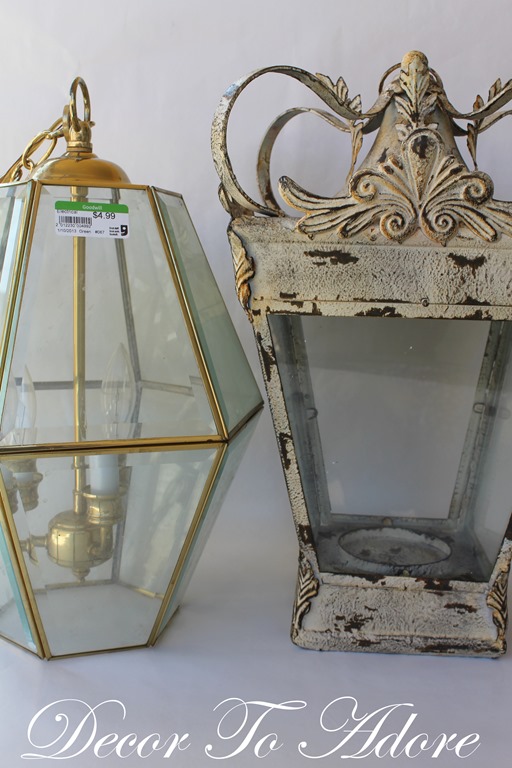
This is the light fixture that was in our entryway. It isn’t horrible at all….in fact we sold it for a great price on Craigslist. The problem was/is that our entryway is on the dark side as it has no widows and the yellow toned glass only added to the gloom. In addition you can see that the ceiling medallion was having a bit of an issue.

You may remember when I transformed a regular lantern I found at HomeGoods into a light fixture.
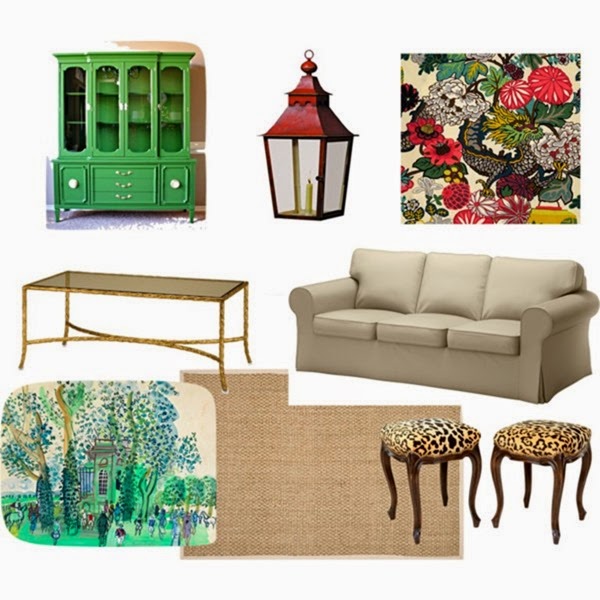
When I originally made the mood board for the living room I thought I was going to paint the lantern red. I even picked up a can of red spray paint.
For some reason I just couldn’t bring myself to do it. I kept seeing the lantern in a more neutral finish. Then it hit me…verdigris.
I turned to Pinterest for tutorials on creating an artificial verdigris finish but truthfully there wasn’t a lot to choose from. I like specifics when I am attempting something I have never done before. I finally settled on this furniture painting tutorial which gave me a basic outline.
So I first needed a copper base coat. I simply taped off the glass of the lantern and sprayed on two coats of Rust-oleum Hammered Copper.

I should tell you that at this point in the process I was thinking “Oh no! What have I done?”
So hang in there.

Next, you are going to need some paint and sea sponges.
I used:
Americana Bahama Blue
FolkArt Teal
Ceramcoat Seafoam

Wet your sponge, ring it out and lightly dab on some of the teal paint. If you get to much on blot off the excess with a paper towel. Let it dry.

Then get a second sponge, wet it and add on a layer of turquoise. Let it dry.

At this point I started to breathe again and think: “This is looking pretty good!”

Now this is the step that I think took it to the next level. I mixed equal amounts of sea foam paint and water in a cup. I dipped in a foam brush and blotted most of the excess paint off inside of the cup.

You are wanting to fill in all the nooks and crannies with the watery paint and then blot the excess off with a paper towel.

At this point Mr. Décor walked into the room. He previously had had the same reaction as myself when viewing the all copper lantern. But one look now and he said “Wow! That looks great!”

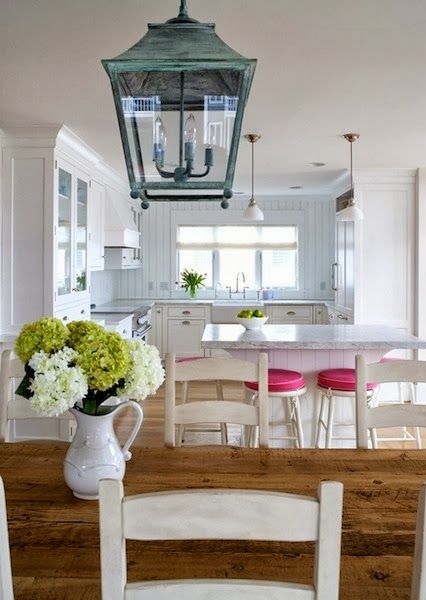
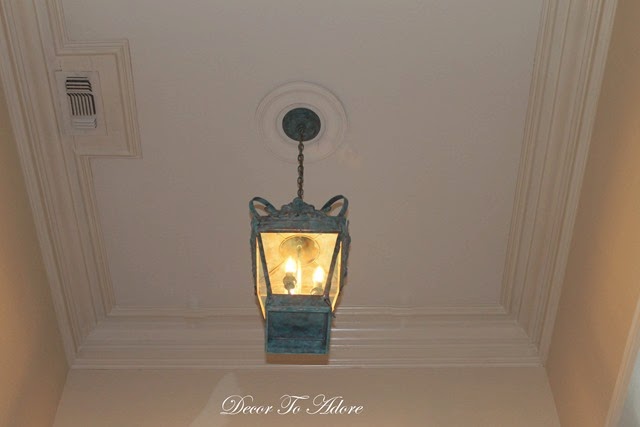
You can see the the complete entryway reveal HERE but here is a sneak peek of the lantern in it’s new home.
Have a well lit day!
Laura
Linking to:
Between Naps On The Porch, Classy Clutter, Stonegable, A Stroll Thru Life, Not Just A Housewife, A Bowl Full of Lemons, Someday Crafts, The 36th Avenue, Ivy and Elephants, Savvy Southern Style, Katherine’s Corner, The Blissful Bee, Posed Perfection, My Fabuless Life,The Style Sisters, Sew A Fine Seam, Craftberry Bush, French Country Cottage, The Shabby Nest, Imparting Grace,My Romantic Home,The Charm of Home, AKA Design + Life, Shabby Creek Cottage, Classy Clutter, Tatertots and Jello, Funky Junk Interiors, My Uncommon Slice of Suburbia, The Dedicated House
Who would have known that you could do that! I can't wait for the reveal!
Love it!
Looking great. I can't wait to see it in the entry. How's the living room coming along?
It's looking fantastic…can't wait to see it hanging!
So excited to see it Laura, I agree with Mr. Decor! Also, nice to know what it's called – Verdigris- such a fancy term for a fancy finish!
Cannot wait I love a verdigris finish on a lantern!!
xoxo
Karena
The Arts by Karena
Hello Laura, what a beautiful transformation. Love the colors! Fancy name, indeed!
Beautiful job… I love it..
Can't wait to see the finished product!
wow.. that looks amazing!
Lovely! Great step by step tutorial. You are so talented. Anything you take your hand to comes out looking amazing.
It looks so natural!
OMG! Thank you for the tutorial! It is stunning and now I will be looking for “victims” to try this on! I love the look and can't wait to try this! Thank you….
Nancy
wildoakdesigns.blogspot.com
I love it Laura!!
I fell in love with that lantern when you first made it. LOVE the new look! thanks so much for joining in for the first Share Your Style Party!
This looks awesome, Laura! I've created a faux verdigris finish before, but I've never thought to paint a copper finish to create a base. This makes a huge difference!
Thanks so much for sharing this at the Grace at Home party. I'm featuring you this week! 🙂
Congratulations for being featured over at Richella's blog party! That is a fabulous look on the lantern!
Your lantern looks amazing!! What a great job! Thanks for sharing at Fridays Unfolded 🙂