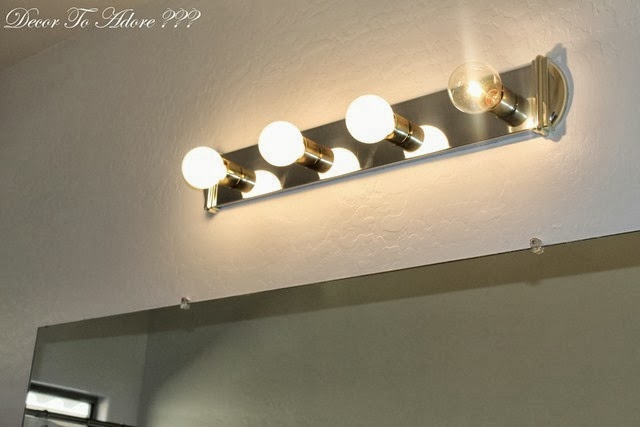
In this post we will cover How To Remove Ugly Bathroom Lighting. Let’s begin with a photo of the ugly builder’s grade lighting that I wanted gone since we moved in last year.
How To Remove Ugly Bathroom Lighting
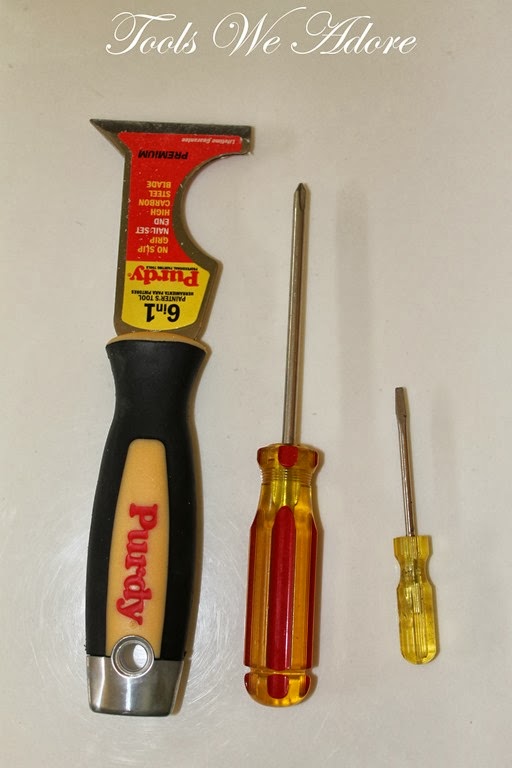
We used three simple tools in our removing process.
- 6 in 1 painters tool
- Phillips screwdriver
- Small flat head screwdriver
First and MOST importantly turn off the electrical power to your lighting source.
Then and only then, remove the light bulbs.
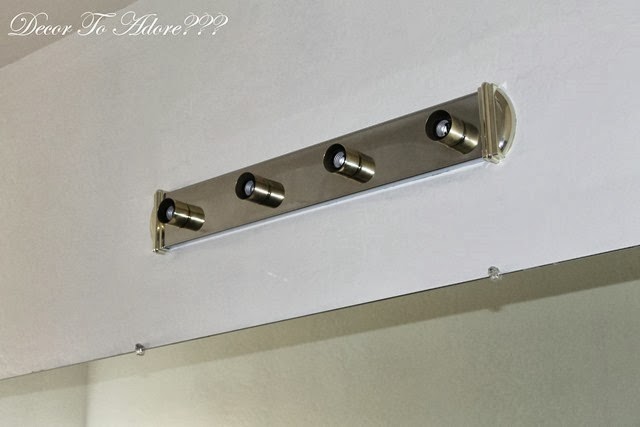
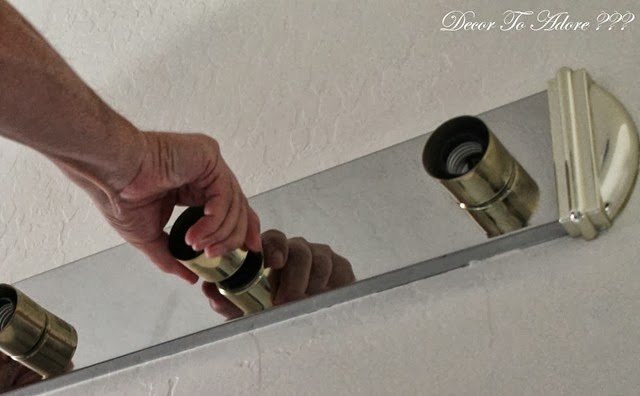
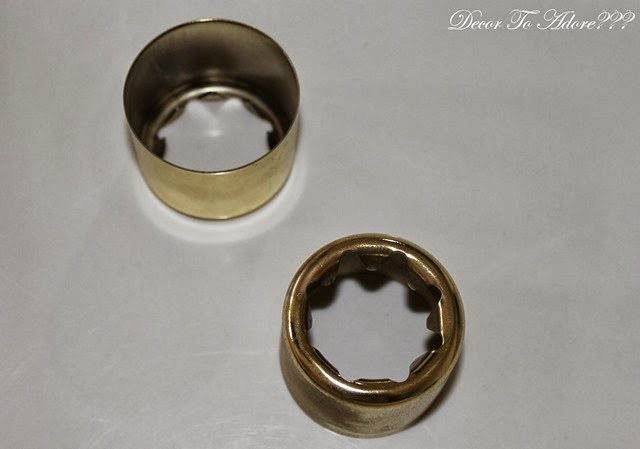
Twist off the ugly brass caps.
You might need to tug a bit as they do have “teeth”.
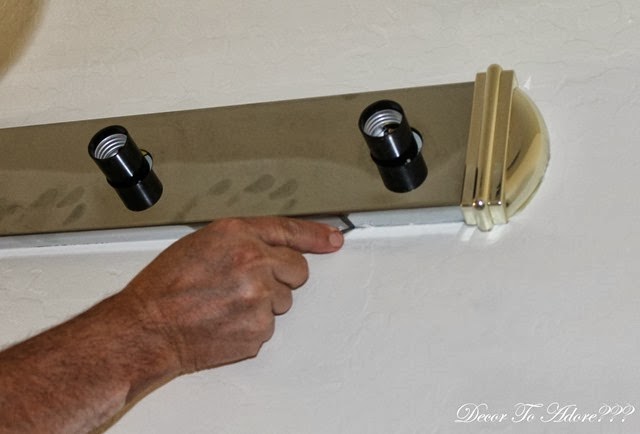
There is a good possibility the previous owners did not properly tape off the lighting fixture when painting so you may need to break the paint seal by running the flat head screwdriver along the edge of the lighting fixture.
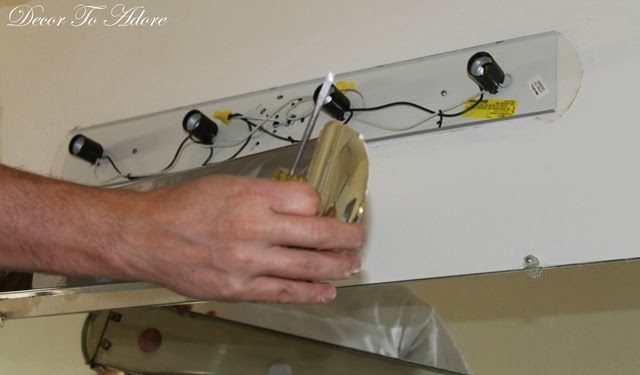
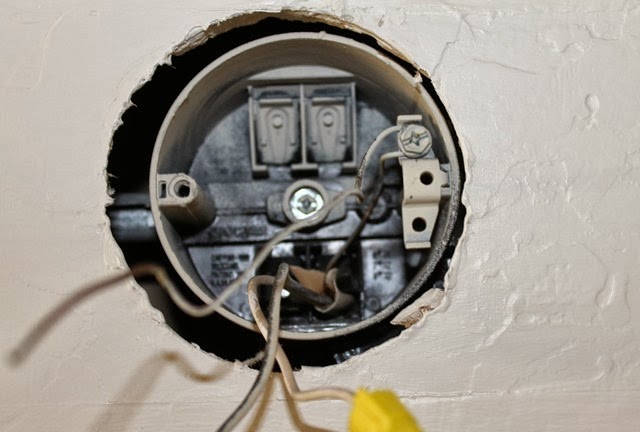
Then it should pop right off with a gentle yank reveling the electrical wiring underneath.
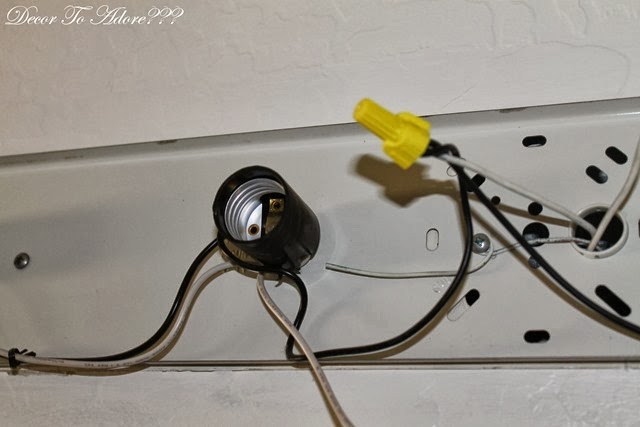
You can see the yellow cap that will twist off and reveal the wiring once the cap is off.
Also, make note of the two silver screws that hold the lighting bar in place.
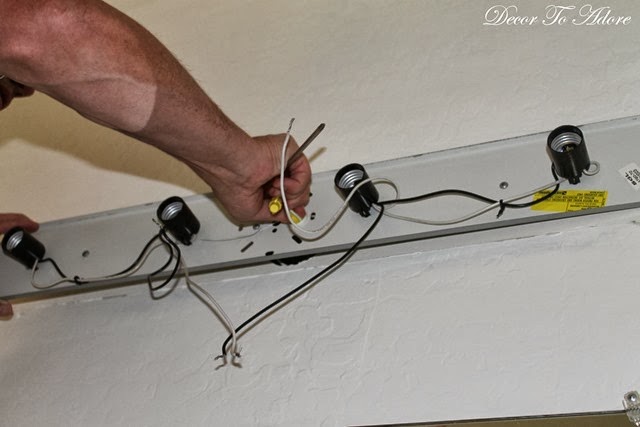
Separate the wires. Then remove the screws and take the bar down.
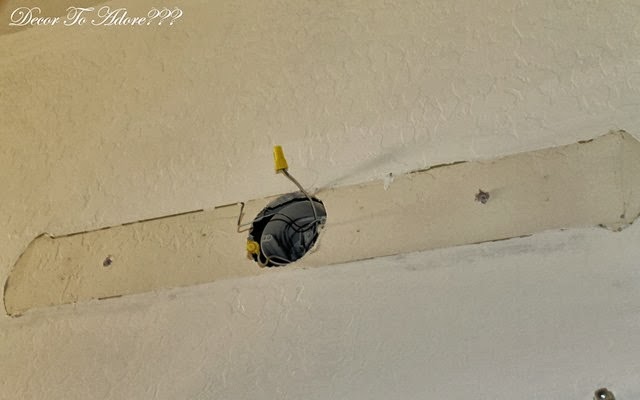
For safety purposes we put the yellow cap back on over the wires. You can see the two large holes left by the screws.
Prep For Paint
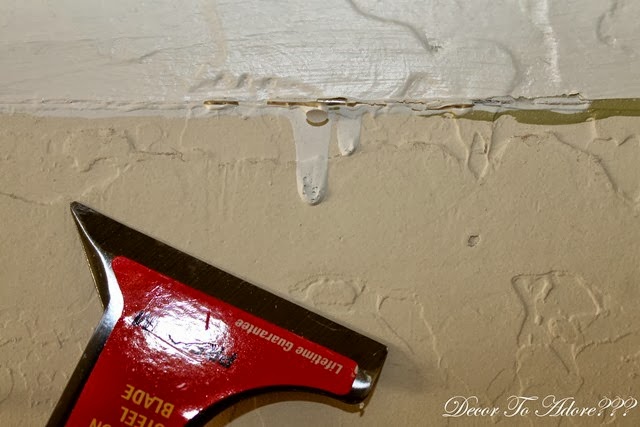
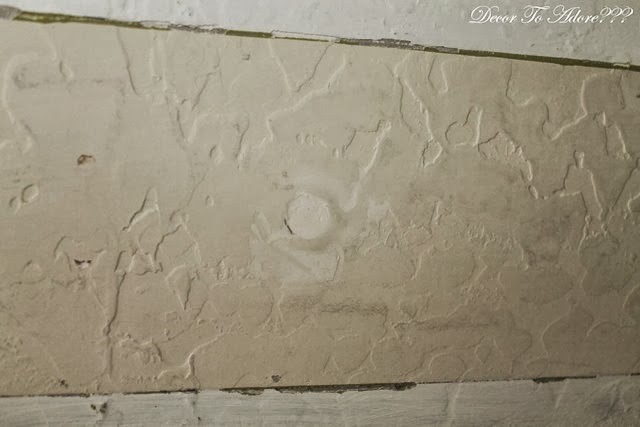
There was also a good build up of paint that needed to be scraped off. We filled the wall holes with putty and let them dry overnight.
The next morning the entire surface was lightly sanded with a painters sanding block.
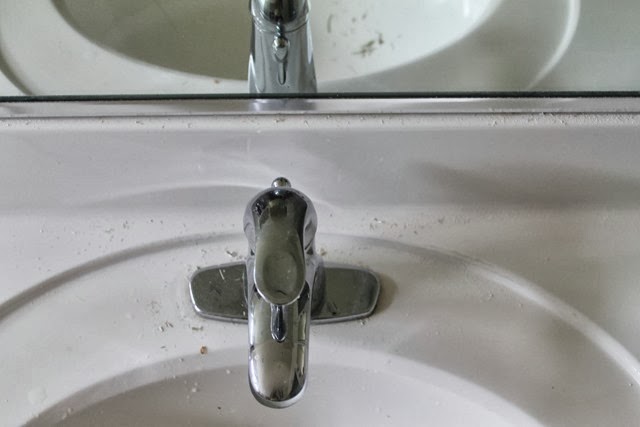
Creating a big mess below.
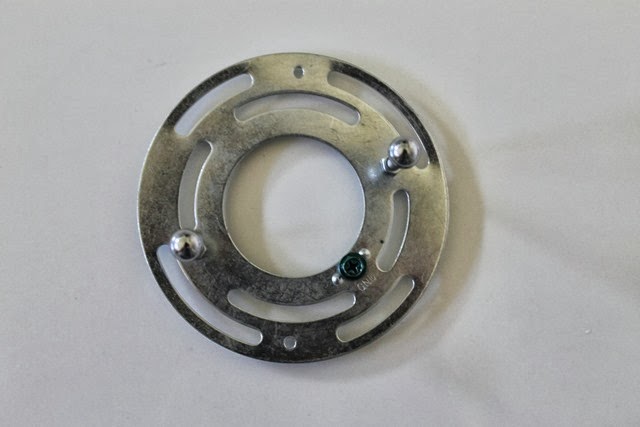
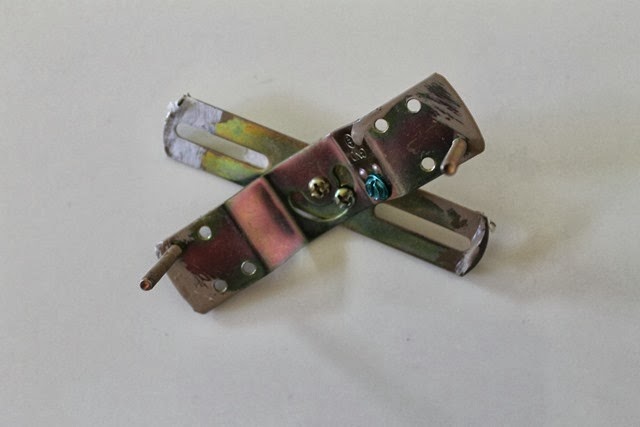
After painting the wall area and cleaning up the mess we opened the box that held the new lighting and took out the crossbar. It holds the new lighting in place.
What a nice patch and paint job! Oh wait, there is a problem…
The particular crossbar that was included with the lighting is not working with the electrical set up in the wall. If we use it, the lighting will not be level.
Uneven Crossbar Lighting Solution
Luckily Mr. Décor has an offset swivel crossbar in his stash of extra parts. You can buy these at any hardware store for around $2.00. It screwed in easily.
Then the wiring was connected in the reverse order of how it was disconnected. If you would like step by step photo’s they can be found on the post “Installing New Lighting~ So Easy A 10 Year Old Can Do It”. 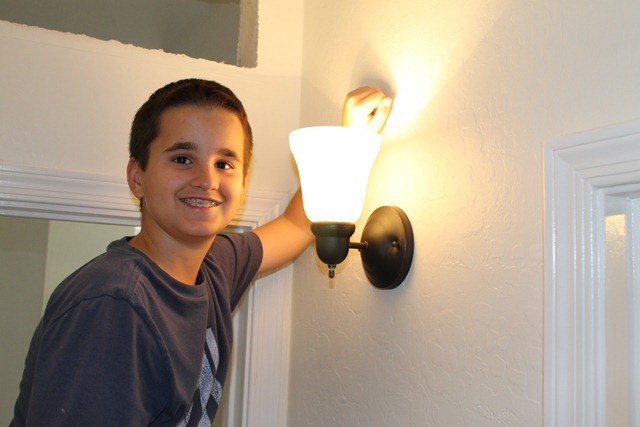
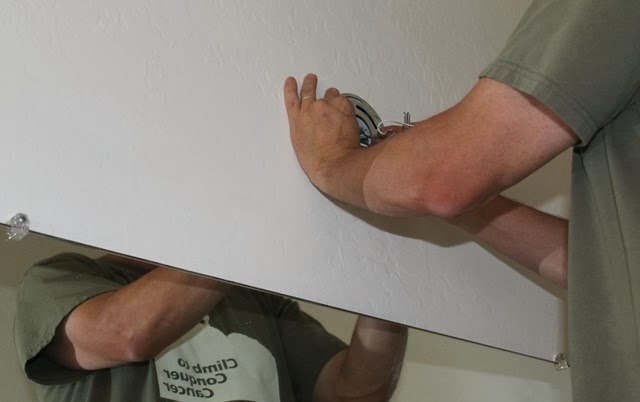
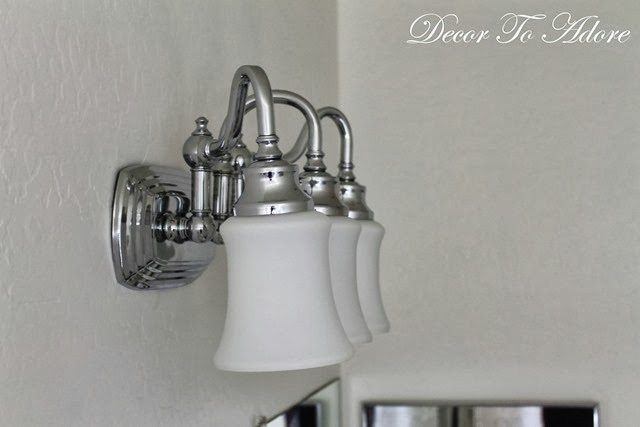
Once the crossbar was screwed in and the wiring connected it required just two exterior screws to hold the lighting base in place.
The frosted glass shades were twisted into place followed by the light bulbs.
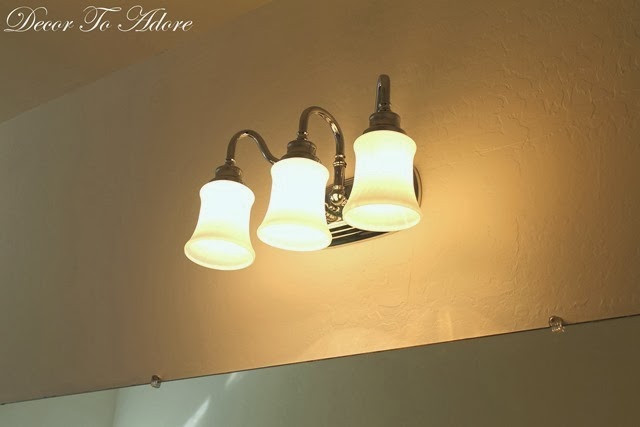
The moment of truth:
Success! Now, once Mr. Décor recovers I have to talk to him about framing out the big mirror.
Laura
Disclaimer: We are not professional electricians. If you have any questions regarding difficulties found in your own personal lighting please contact a licensed professional.
I am so glad you shared this. I am going to do this in the not too distant future. Thanks!
xo
Sheila
Thanks for sharing. Love learning these kind of procedures in the home and I have that same lighting in my bathrooms. Have a great week.
I took down a medicine chest with lighting attached and found the wiring didn't line up to the centre of the new vanity. It's a tich off and I have to live with it. It's still an improvement over the other cabinet/light monstrosity!
I had to laugh about your mention of the light being painted around…looks like you are lucky to have a handy man in the house. Darrell is the go to handyman/renovator who has saved us tons of money!! He is busy working on a reno at our son and daughter in laws in between his day job. Have a great day!
What a great job on removing the old fixture and prettying up where it came off. I have similar lighting in two baths and a powder room. I plan to replace them all, as well. Your new fixture is so pretty. Thanks, Laura, for the wonderful tutorial, Laura!
Bravo Decor Family!
From the wife of a licensed professional!
w/L
We did this project on both of our bathrooms, but it went slightly different because the old ugly light fixture (just like the one you previously had) was not installed into any kind of an electrical box, nor were there studs nearby for the new light fixture, so on one of them at least, I came up with the idea to paint a board the same color as the wall, which reached to the studs, and then we had a secure backdrop in which to install the new lighting fixture. The “simple” project took roughly 8 hours to complete. 😛
Love, Linda
That is such a nice neat job. Isn't it nice to have new fixtures installed. They really make a place shine…no pun intended! lol
Thankfully my brother is a licensed electrician and very patient with me. I have been known to change my mind a little…hahaha! OK, a lot!
Thanks for sharing your great DIY project! 🙂
My DH has changed all but 2 of the light fixtures in our old house over the years. He's even replaced circuit breakers. It's a wonderful skill and I'm glad to see that Sweet Guy is learning too! (DH is a physicist so he knows about electricity and circuits!)
Loving this post …thanks for sharing how you did it … this is one thing I have always been afraid to tackle!!!
I love the new fixture, and framing out the mirror will be just the right touch. Looking good!
Hugs,
Patti
It came out nice!
Oh my, I have the same hideous lighting to replace and have a sweet 11 year old daughter to help. Love your handsome 10 year old helper. That smile in the photo make it so much fun to look at! 🙂 Great new choice for lighting by the way!