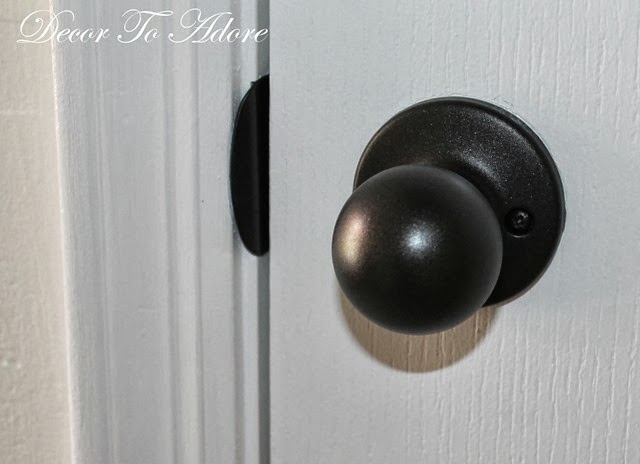
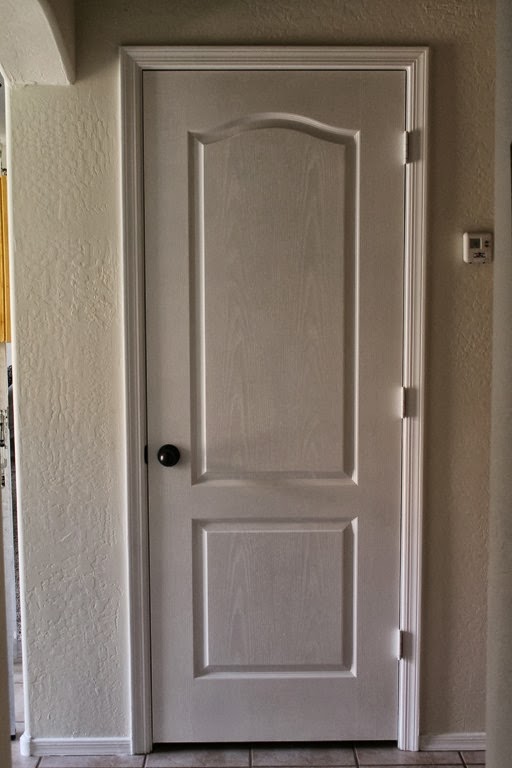
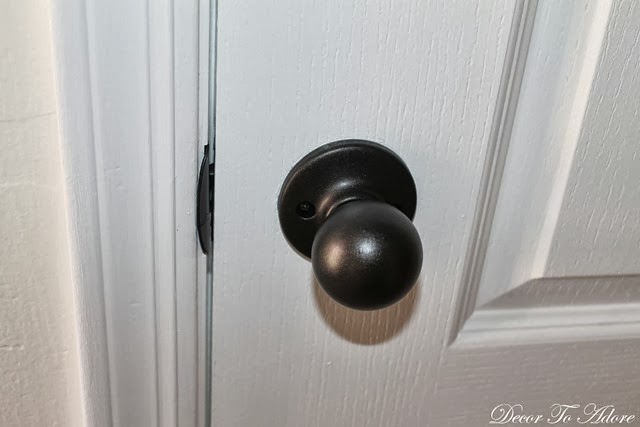
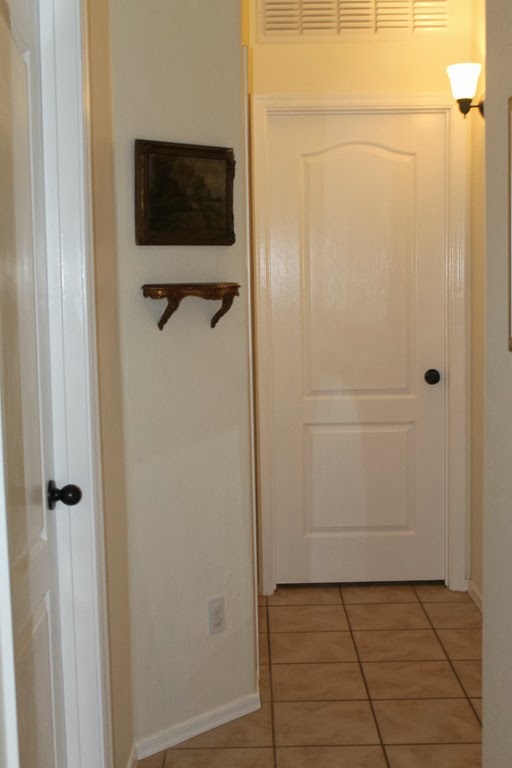
Turn baby turn! My love for our “new” oil rubbed bronze door handles has created a disco sized inferno of love in my heart.
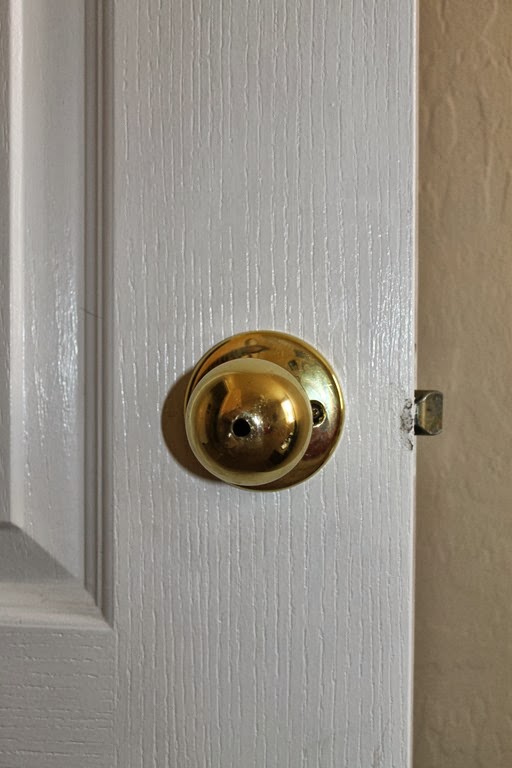
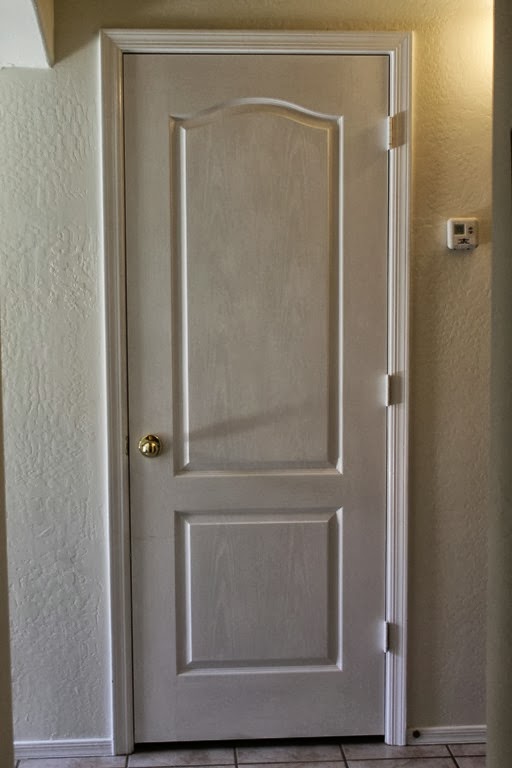
Let me share the dated “before” shot.
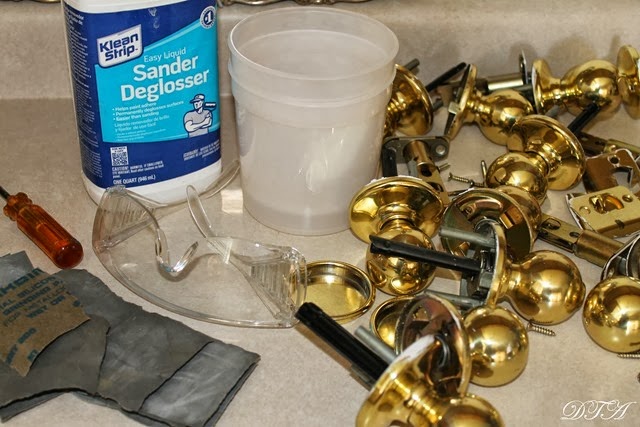
These cheap builders grade brass atrocities could be found on every single door and closet in our home.
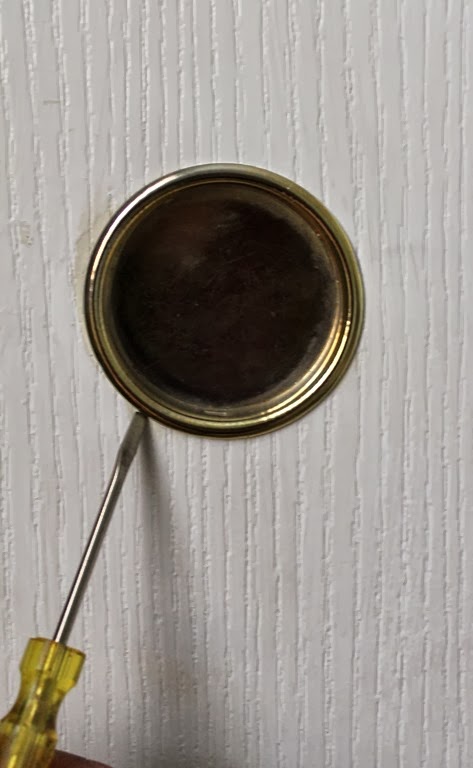
Mr. Décor and I removed the door knobs as we were in the process of repainting all of our interior doors and trim. (More on that next post.) Because each door knob is different I suggest googling “removing doorknobs” and select one of the dozens of articles and posts on the subject that works best for your door knobs.
After the knobs and accompanying hardware were all removed I used a sander/deglosser to remove the shiny finish. (Wear your eye goggles!) They were then rinsed off, dried, and lightly sanded with a very fine 400 grit sandpaper. (Don’t go less or you will end up with scratches.) Then a final rinsing to make sure there was no dust left.
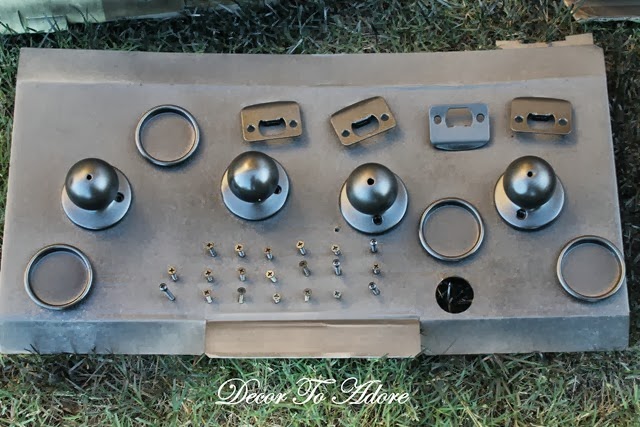
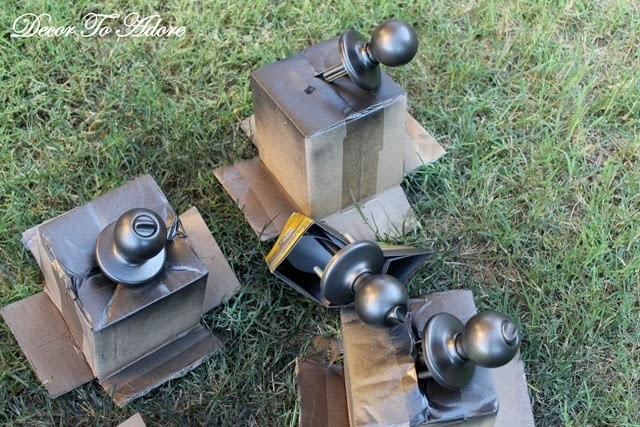
The next morning I got up at 4 am to try to beat the Phoenix heat. I lightly sprayed all the knobs and hardware with Rust-Oleum Universal Metallic paint in oil rubbed bronze. You want very thin and even coats. Slow and steady wins the race with this project. Every half hour I would add another very thin coat for a total of 5-6 coats.
Using old cardboard boxes worked like a charm to prop up the knobs.
Next came the hard part: Bringing them inside and letting them completely dry. I waited two full days. Then they were reinstalled.
Oh yeah!
It’s been a month and I still love looking at all of my “new” door handles.
While this project is not difficult, the prep work is a bit time consuming.
But such an improvement don’t you think?
Laura
Definitely a huge improvement!! We had a lot of brass fixtures here too and ended up replacing them but I still have a few brass hold outs–on the exterior doors–that I'd like to tackle like this!! Gorgeous!
Wow!!! They look FANTASTIC!!!!!
Oh my gosh, Laura, those doorknobs look absolutely first class! You have way more patience than I to take on such a task, but the results paid off greatly! Very nice.
Oh Laura, they look fabulous. Great job and your doors look wonderful too. Hugs, Marty
They look fabulous, Laura!
I need to do. This.
xo,
Sheila
Kudos to you wonder woman……sheesh, I wish I had half your energy!
Love ya'
Meri
That makes a huge difference…and I know doing knobs of any kind takes patience….which I am not so good at!
I did mine last year, wow it sure does lmake a difference, on some of the more used doors like the bathroom and hall door, I purchased new, but the rest I did the same as you and painted jams hinges all, looks like a model home so fresh and new…love the round nob…Phyllis
Don't ya just love a thrifty fix!? I did our knobs two years ago, I will caution, knobs that get lots of use got chippy. You might want to spray with a satin based clear coat.
Hi Laura,
My granddaughter, Lillian and I were looking at your blog, and although she is only 6, she says she would love to talk to you someday and ask you if you knew any of your relatives from LHOTP fame .
I have the same boring and out-dated knobs Laura, your giving me wonderful ideas dear! Thanks! Love the new finish a lot!
So much better!! We have the gold knobs throughout our 90s home so I'm really itching to do this too. We have so many doors though that the thought is overhwelming!!
Such a small change…such a beautiful difference.
The devil is in the details and now your “details” look great! 😉 Love the cardboard box trick! Kim @ Exquisitely Unremarkable
Wow! These look fantastic! I love oil rubbed bronze. I used it on my shower curtain rod and toilet paper holders. 🙂 You did a great job!
Absolutely beautiful! What a difference… Its all in the details I always say!
Laura, the door knobs look great. Fantastic idea.
How clever! And you saved a bunch!
Wonderful transformation! We have the same brass doorknobs in our home.
nice rework!! how creative!!
online schilderijen kopen
I did this too..It is a big project but sooo worth it!
So much better! I love what spray paint can do.
Dear Laura sorry to be remiss. This was a truly genius idea! The hardware all looks great!
My condominium has pewter hardware everywhere which the builders felt was very currant at the time. It looks new though, not a patinad Paul Revere Pewter.
xoxo
Karena
2013 Designers Series
Those turned out beautifully, Laura! Big, big difference.
Great job! You saved tons of money!
Thanks for the inspo Laura!! 🙂 http://thetuckerwolekclan.blogspot.com/2013/10/inspired-by-laura-and-exciting-news.html
Great improvement! I really really need to this at my house…all my knobs are old and rusted. Thanks for the inspiration!
They look brandnew Laura, I so have to do this, thanks so much for sharing.
You are a genius! Love your work, thanks for the info!
wonderful!!!
Hi Laura, I would like to ask you something, but I cannot find any other way to contact you. If you email me at support@diydecoratingaddict.com I would really appreciate it.
Thanks,
Dianne Corriere