This is both a tutorial and a fundraiser for Hope Unlimited. Unwrap Hope: Winter Wonder Cloches.

Unwrap Hope: Winter Wonder Cloches
A few years ago I saw an ornament within the pages of Family Fun magazine. It was made out of a plastic drinking cup.
How To Make Winter Wonder Cloches
It’s par for the course that it generally takes me a year or more before I get around to making what inspires me. LOL.
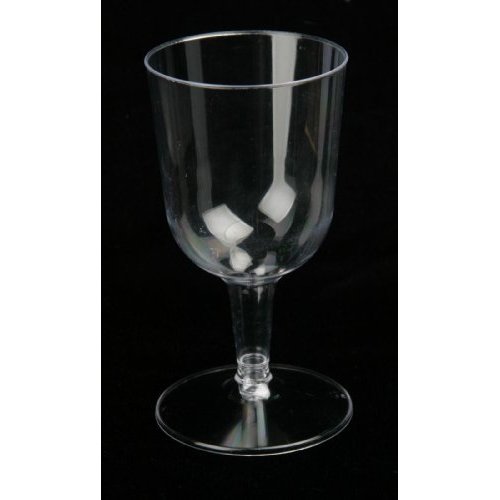
I found some plastic wine glasses at Wal Mart (6 for $1.99) which got my wheels turning. Mr. Décor helped me out by cutting off the stems with his band saw.
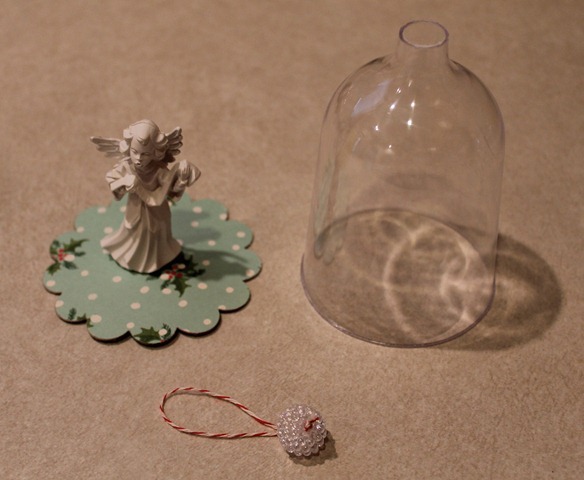
While Mr. Décor sawed away I took a circle shaped bead and strung some bakers twine through it and knotted the end. I then punched out 2 pieces of heavyweight scrapbook paper and 1 chipboard layer. Make sure your punch size is a bit larger than the circumference of the glass you use. The chipboard was sandwiched between the scrapbook punches, glued and weighted down while drying. It needs to dry completely flat or the cloche will not rest level.
Tips and Tricks
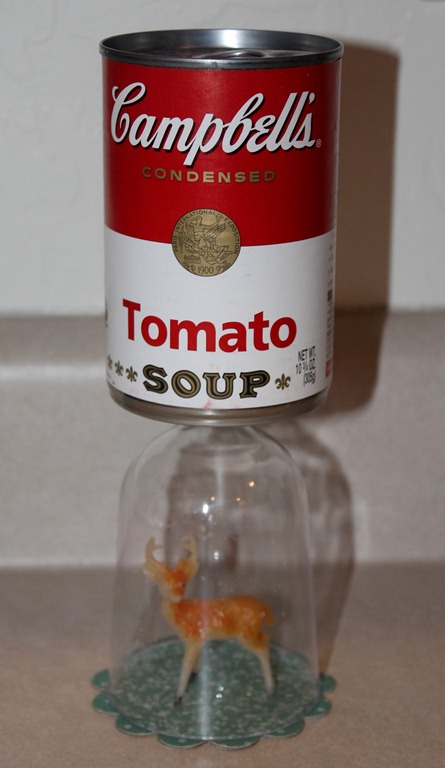
Once the bottom layer is dry (approx. 2 hours) glue on your decorative elements and then paint on a thin layer of white craft glue to the bottom edge of the glass. Place the glass on top of the scrap/chipboard and then weigh it down to dry overnight.
Love the hillbilly method I used?
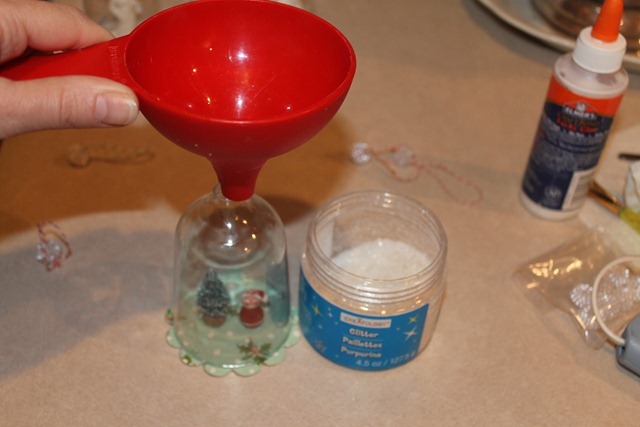
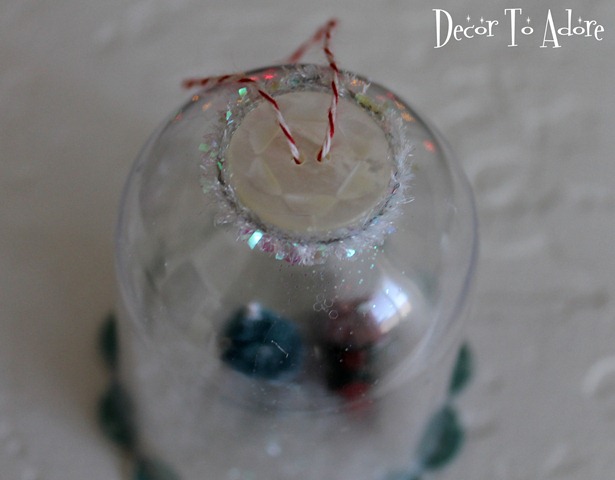
Once dry fill with glittery snow. Hot glue on your bead to seal.
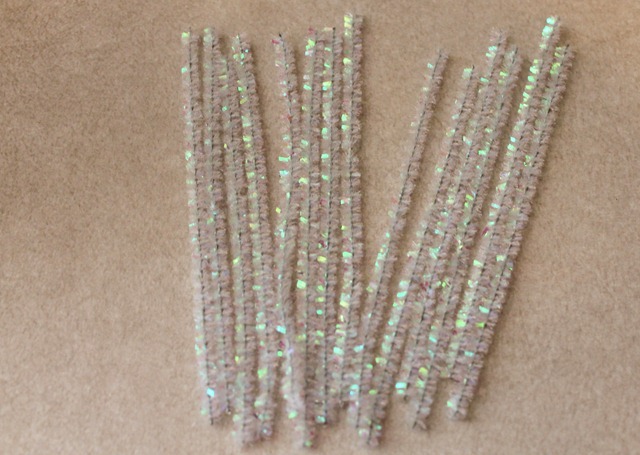
Cut 5” lengths of shimmery pipe cleaner (Michaels) with wire cutters to wrap around the bead base. Hot glue in place.
An alternative to the bead closure is using a button. I love how this antique shell button has a scalloped motif that repeats the scalloped base.
The Finished Ornaments
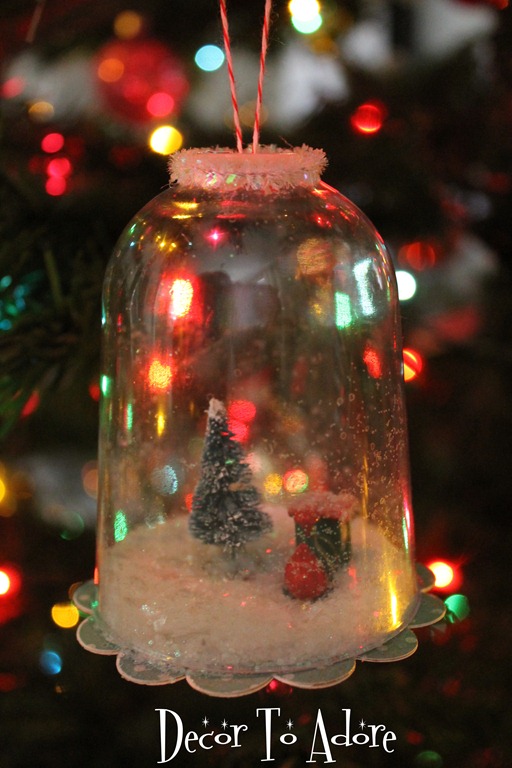
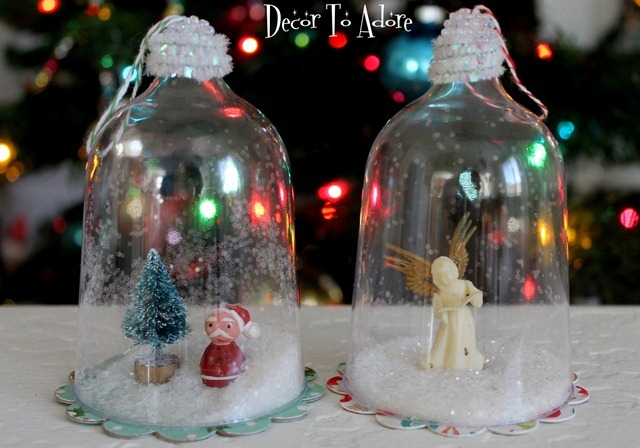
These snowy treasures are time consuming, but so precious. I created an ornament for each of my children. Sweet Boy wanted a train.
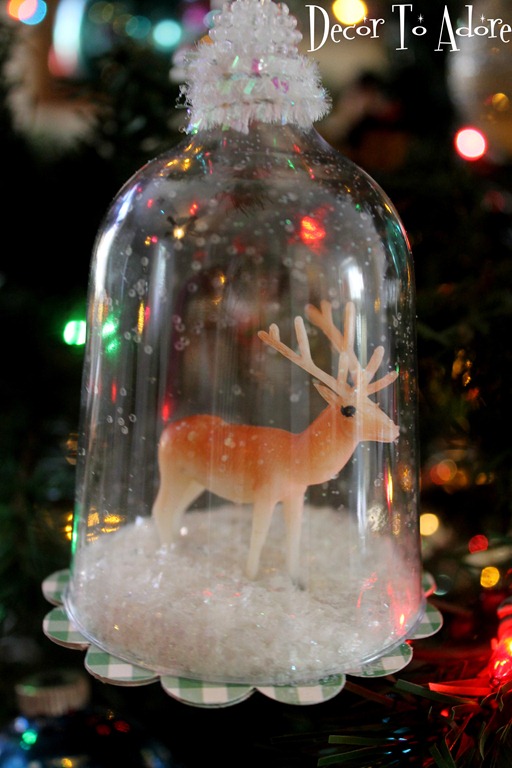
The Fashionista requested a deer. She graduates this Thursday and I wish our house was as peaceful as this wintery scene. 🙂
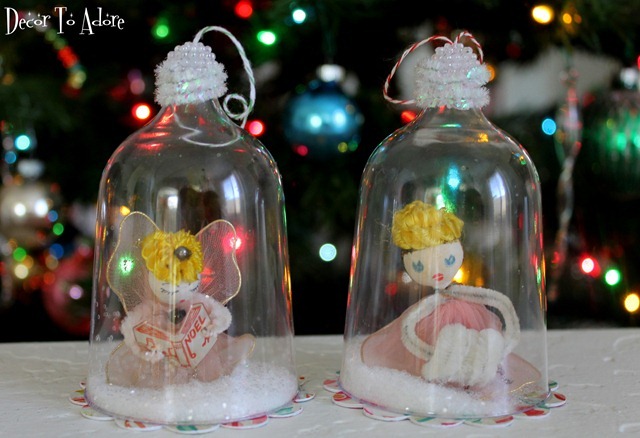
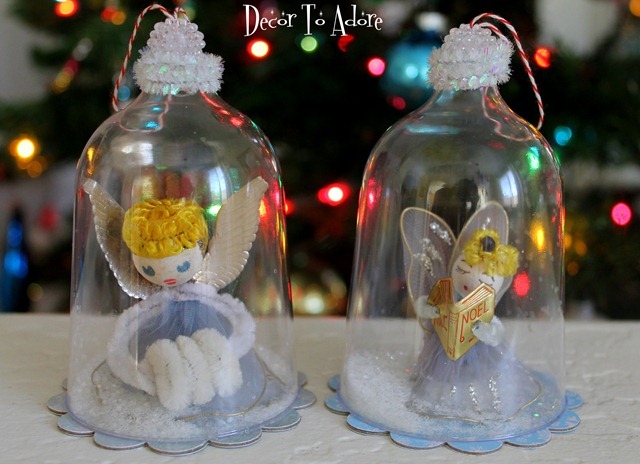
I have made two very special pink angel cloches. The angels are vintage gems from the 60’s.
100% of all the profits will be donated
to the charity Hope Unlimited for Children.
The motto of Hope Unlimited is “Saving One Child at a Time”.
YOU personally can change the world of a child in mortal need. Not a child who is “just” living in poverty … but a child whose very life is at grave risk unless circumstances change quickly.
Be An Angel
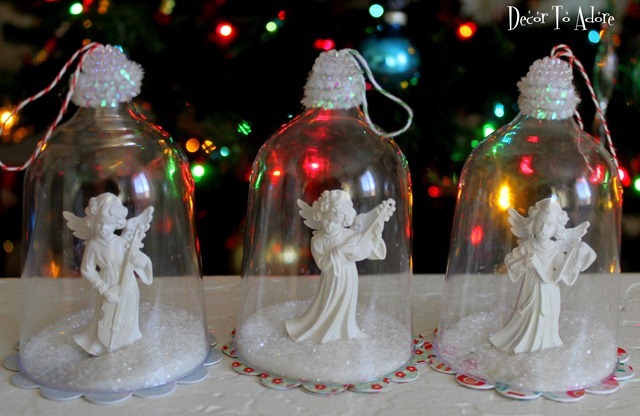
So yes, more angels. Vintage musical delights singing for HOPE.
If you’d like to purchase a Hope Angel please visit my Etsy shop.
Update: they are sold out. If you would like to donate directly to Hope Unlimited please visit their site HERE.

You can make a difference in a child’s life.
Laura

Your angel ornaments are so sweet. You always seem to have the right little bit of decoration to trim up your creations.
Great tutorial and very ingenious method of weighing things down!
You are so generous and kind. Hopefully someday every child will know what it is to have a safe home and a happy childhood.
Congratulations to your daughter on her graduation! In the middle of everything else.
Thanks for sharing! 🙂
Congrats to your daughter graduating!! That is AWESOME!! I loveeeeeeeeeee the ornaments!!! They are so beautiful and you are just fabulous!!!!!!!
LOL, it takes me awhile to get to projects I take note of, too, Laura! These turned out beautifully!
Great tutorial, Laura! I'm sure you'll get a wonderful response to your generous offer to share HOPE this Christmas. Deep breath… and enjoy graduation week! Congratulations to your sweet daughter.
I just bought some of those glasses the other day at our local Dollar Tree. Didn't know what I was going to do with them but just couldn't pass them up for some reason. I now have some inspiration on what to do with them. I have some small ornaments/items that I have been saving for a long long time so now I can put them to good use. Looks like I need to add these to my long list of things to do. 🙂 Love the Angels ones. I think I have some similar ones in my stash.
I love my ornament, it is so special to me. Thank you. All of the ones you have created are beautiful. I have my post up also. Hope your week is fabulous. Hugs, marty
you've outdone yourself Miss Creative.
these are all absolutely maaaaaaaaaaaaaaaaavelous..
thanks for the tut and I must give this a try.. it'll probably take me a year too though lol
Sooooo cute, and sooooo sweet of you. I emailed you a little earlier. Love you, Ms. Decor!
Merry Christmas a little early, Laura. I'm tryng frantically to catch up and get things pulled together before the big celebration. But I could not let one more day elapse without being sure to tell you I wish you and yours the Merriest Christmas ever! You are my Christmas angel and the angel of those kids.
XO
Sheila
Laura, these are just adorable and so pretty. I love these simple elements on trees and around the house. They are just sweet and remind me of a time long past.
Have a wonderful Monday!
Wow, congratulations to your gal! Proud of her!
These are precious. All your efforts WILL make a difference. Merry Christmas!
Kelley~
laura you are brilliant!!!
i so love these, my mind is already spinning, this would be a fun class to offer in my shop. clever you!
merry Christmas laura
debra
Laura, Your tutorial is perfect and there's nothing like a little “Real plastic snow” to Christma-tize a baby cloche! Wishing your family a fabulous Christmas in the new house (doesn't it take forever to decorate the first time? You don't know where anything goes)! See you after the holidays!
These are so cute! I just came from the Mackenzie Childs store in New York City and they had some that were very similar for $30. Yours are just as cute!
Oh how lovely! You make the most clever items. 🙂 Kit
Love, Love, Love! Wherever did you find the deer? I searched high and low for some for snow globes to no avail. Adorable!
WOW! What a great idea and fun Christmas project! The cloches look great!
Wow, loving this idea. I will be making these next year for my tree. So simple and easy to find the art supplies. I have my mother'e antique cloche it is about 20″ tall and very heavy. Thank you for your comment on my French cabinet to keep or sell. I decided to keep it. Happy New Year From Humble Abode