Hanging artwork with great precision can turn even the most perfect mannered miss into a swearing sailor.
Here are a few of my favorite devices found in the toolbox that I ALWAYS carry with me to design jobs. (And no, no one is paying me for this post. This is my unpaid opinion.)
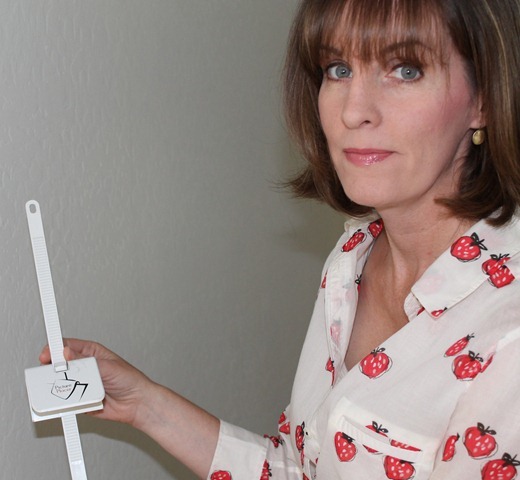
If you have a piece of artwork that comes with a wire attached on the back let me introduce you to the Picture Placer.
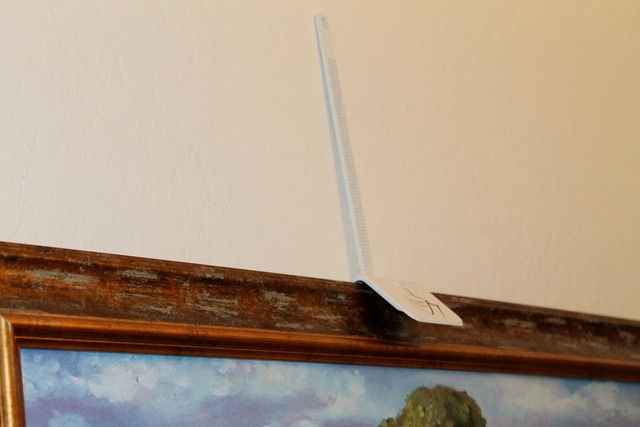
You slide the plastic guide down to cover the frame.
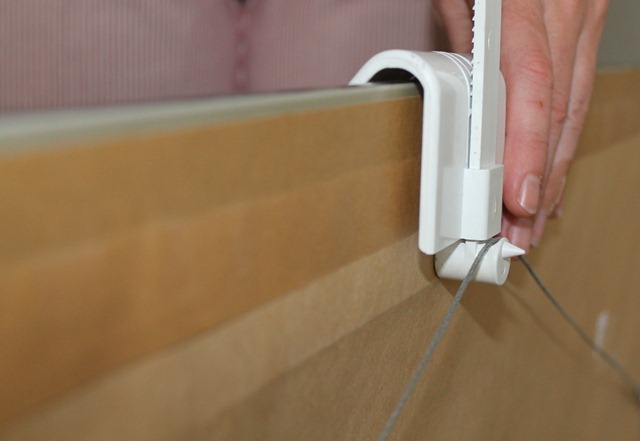
On the back you lift the wire into the small indented area. You can see there is a somewhat sharp piece that juts out.
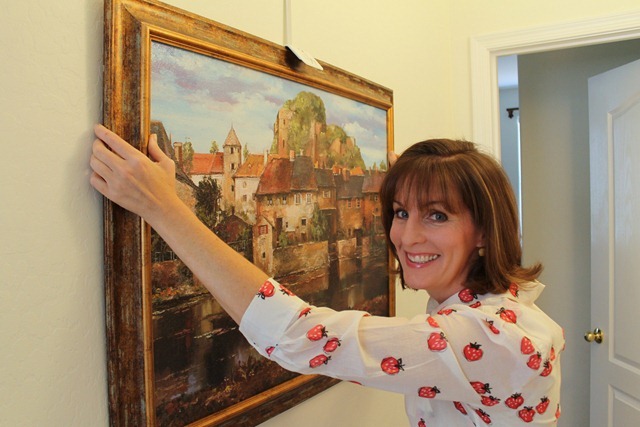
It’s hard to be serious and look professional when the photographer is singing Salt – N – Pepa’s “Push It”. But yeah, push the artwork real good up against the wall.
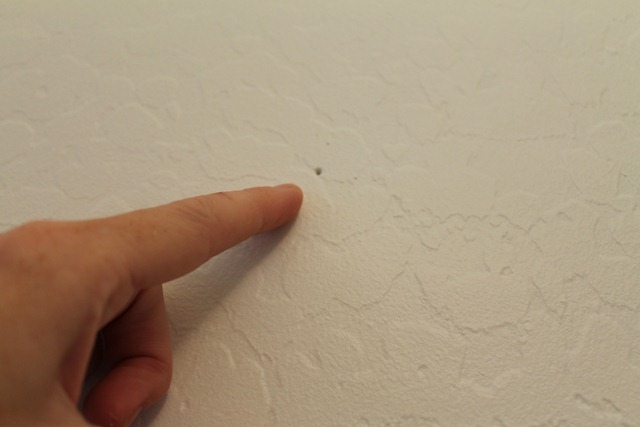
The tool will leave an indentation as to where you should place the nail.
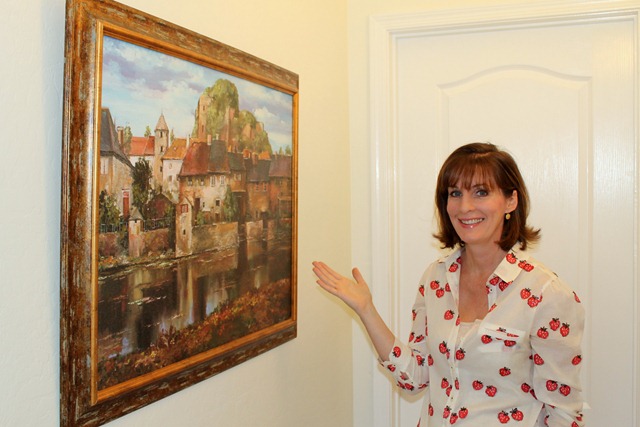
Voila! Exactly where I wanted it. Guidelines on where artwork should be placed can be found here.
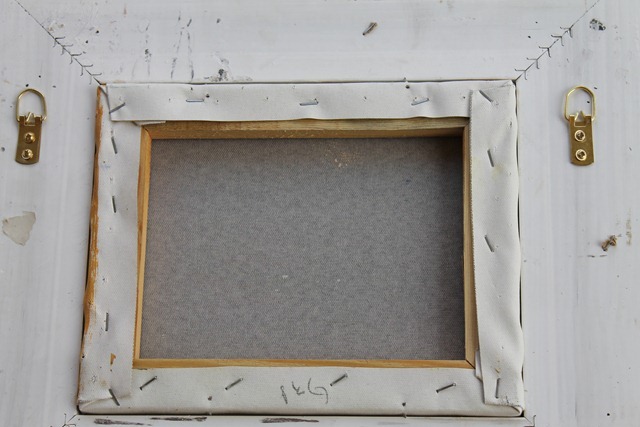
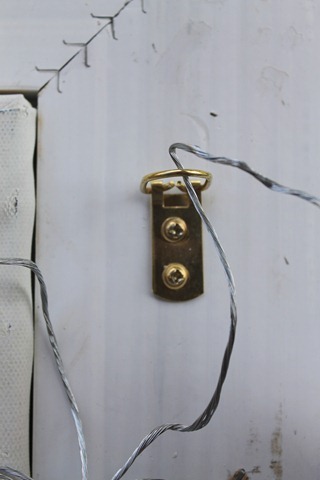
But what if you have evil artwork? You know the tantrum inducing kind with rings on either side that are never level.
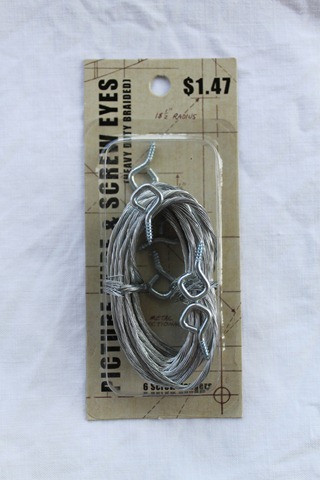
If your picture weighs less than 10 pounds do yourself a favor and purchase a package of picture wire. It can be found at most home improvement and craft stores. I got mine at Hobby Lobby on sale for .88 cents.
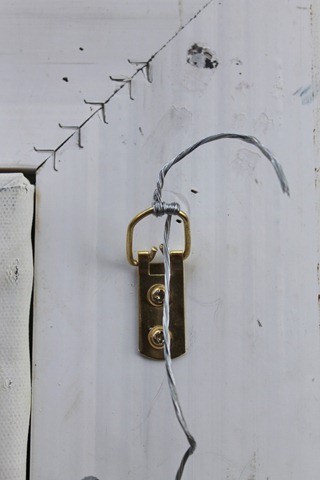
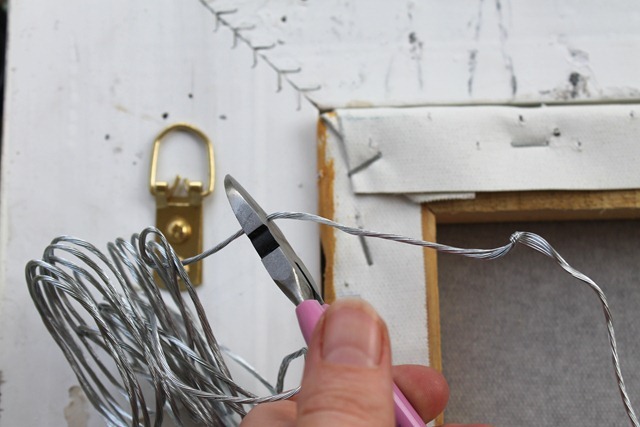
Take the end of the wire and slide it under the ring.
Wrap it around a few times.
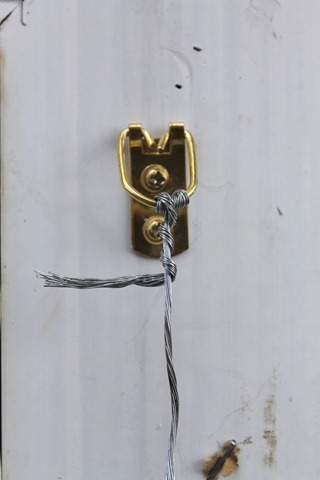
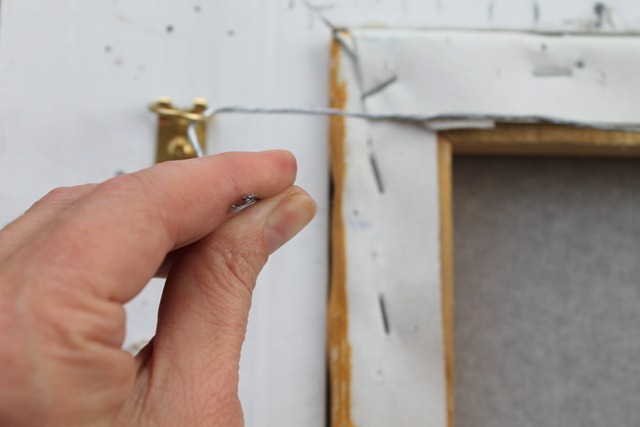
Take the “tail” and wrap it around the long wire.
The edges can be sharp so trim and smooth them with a pair of wire cutters.
Then pull the wire over to the other side and estimate how much you will need to repeat the steps and cut it.
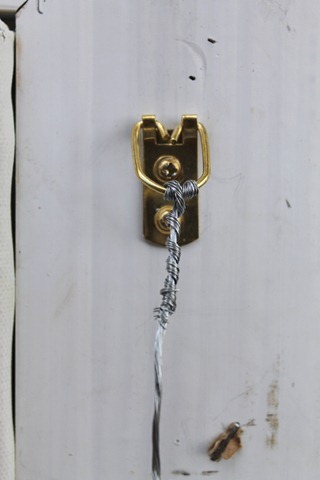
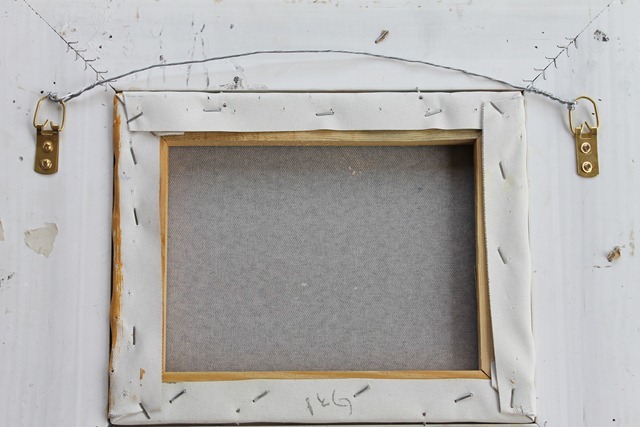
Pull the wire as TAUGHT as you can and repeat what you did on the other side. Trust me. Pull it TIGHT! (Tighter Mamie!) It will loosen up as you wrap.
When you finish it should look like this. It is now so much easier to hang! You could even use the picture placer tool.
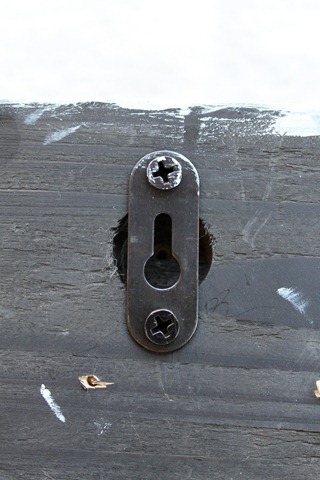
But what if your artwork weighs over 10 pounds or features truly vicious hardware that cannot be altered?
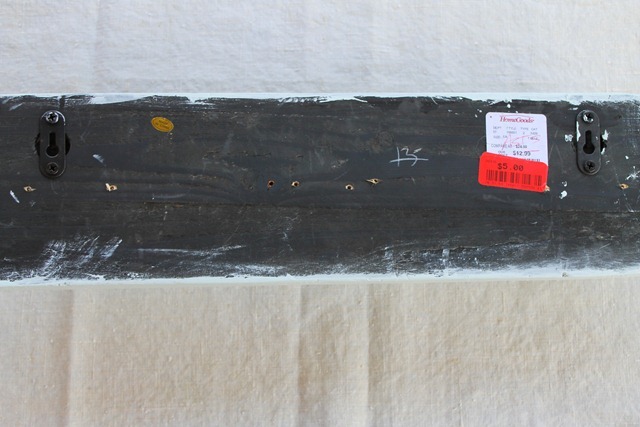
Here’s an ugly closeup of a horrific invention.
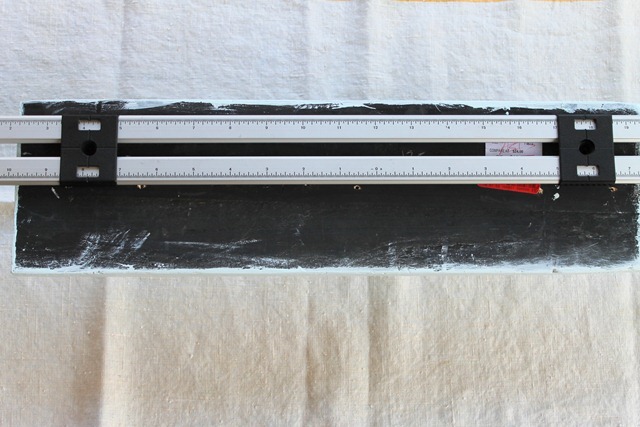
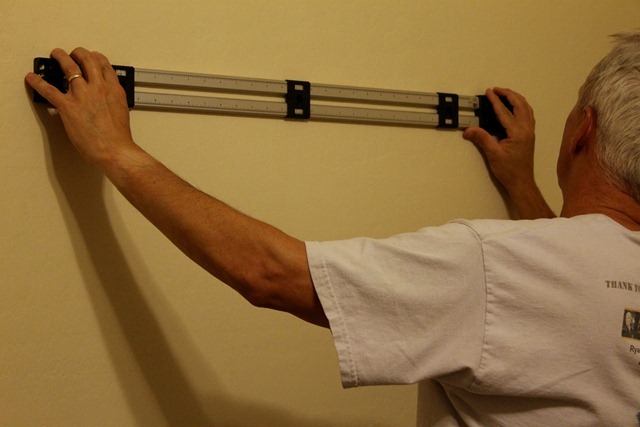
Meet my friend, Mark and Mount. You slide the black rectangles to match where the hardware is installed.
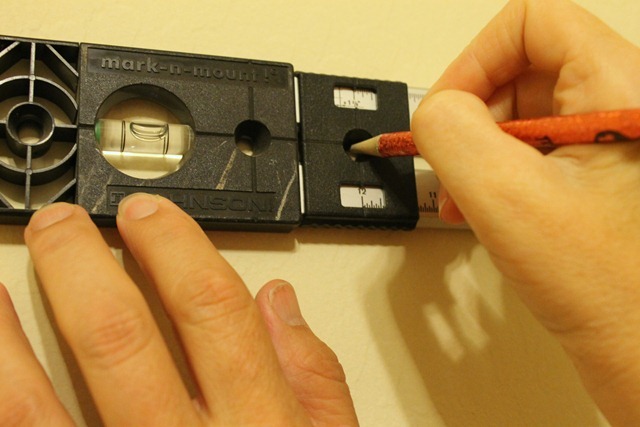
Then take the Mark and Mount and place it on the wall. There is a built in level.
(I apologize for the quality of photos. Most of the really heavy artwork was hung after Mr. Décor got home from work.)
The center of each rectangle has a small hole where you make your mark. If your frame is light weight or you are lucky enough to be nailing into a stud you can simply just hammer in a nail and hang your art on the wall.
If you cannot nail into a stud you will want to put some molly’s (also known as drywall anchors) and screws in the wall to hang heavy artwork. The anchors are shown in the photo below. Here you can see how to install them. (Because why try to reinvent the wheel?)
Some people prefer to use a toggle bolt (shown below). This hardware should be used for artwork that will NEVER be changed. Trying to remove a toggle from a wall will generally result in a large section of drywall needing repair. I avoid them at all costs.

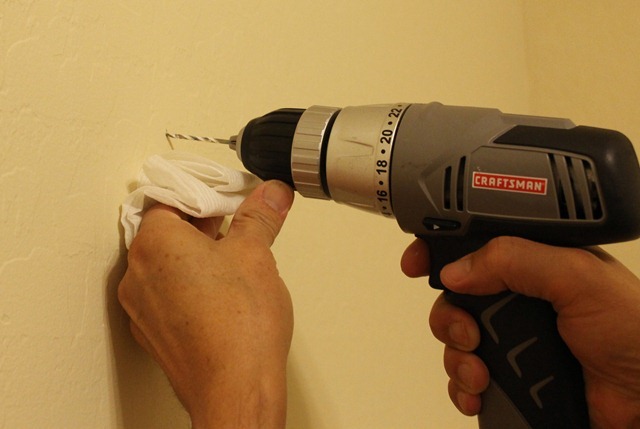
TIP! ~ Mr. Décor is a well mannered handyman. He takes a damp cloth and holds it underneath the drill to catch all the drywall dust. Sweet!
So there you go. All my tips, tricks and tools I use to hang pictures perfectly!
Laura
Linking to:
Between Naps On The Porch, Today’s Creative Blog, SSS, StoneGable, Tip Junkie, Someday Crafts, The Shabby Nest, Tatertots and Jello, Positively Splendid, The 36th Avenue, SNS

Lot's of great tips Laura! Great post I really enjoyed it!
Hugs,
Cindy
you are my new HERO.. this is exactly what I needed to see cause ya know that pinterest wall I posted and about to do in my home has lots of art..
I hope its ok to say this..
you are sooooooooo pretty and the pic in the middle of this post is what should be your profile pic.. you look so much younger, prettier and happier. just sayin:)
ps~ I can swipe the pic- get the head shot section and email it to ya..
Great tips, Laura! My hubby bought me one of those first gadgets you show a couple of years ago. I also add wire to those D ringed pictures. It makes it so much easier to hang. I should see about getting that Mark and Mount. I wind up doing a lot of measuring when I have pictures like that to hang. It looks like it would save me a lot of time.
Thanks for these tips Laura!! I always struggle with this one!!!
I've never even heard of the Picture Place or the Mark and Mount, but I LOVE THEM! Much cheaper than marriage counseling (just kidding!) and they look very user-friendly. I'm so glad you posted this. It looks like you're making great progress putting your new home together. I'm so glad! Enjoy your week.
I like those tools you have! I must add those to my collection I'm thinking!!
That's a mighty smart contraption! I did a post a couple of weeks ago about hanging a wall of pictures using waxed paper. It worked with a little adjustment and I found in on Pinterest! 🙂
Be a sweetie,
Shelia 😉
These aids were new to me, so thank you! Mark and Mount could work on my concrete walls?
Thanks for the tips on those tools. I have never heard of either one of them and I would really love to have them. Where can I find them?
Fabulous tips, now where do I buy these things. I need them. You look fabulous in the pics too. So cute. I had a great time Sat. Lots of fun with lots of neat ladies. Hugs, Marty
Great tips! Especially the little gadget that you push in. I have never seen that! I am one of those that just guesses and of course my walls have lots of holes….LOL (but covered up with pics) Thanks lady! Kit
great tips! the engineer boyfriend always measures everything so precisely, whereas i eyeball. love your strawberry print top!
That is SO much better than make a pencil mark, back up, poke a hole with a thumbtack and hang it temporarily, realize it is out of place, poke another hole….
MUCH more husband-friendly, I must say! Thanks for the tips!
~april
You are so right about the slots being evil! If possible, I ignore them and string the piece for normal hanging. One last tip – don't try to do any of this without a helper or you'll be standing on a stool, holding a heave piece of art in one hand, a drill in the other and almost no chance of getting it right! ~ Maureen
Excellent suggestions, Laura!! 🙂 Thanks.
Laura,
I will have to add a “Picture Placer” to my bag of tricks. These are great techniques. I wish it were so easy with plaster walls.
Your Friend,
Deborah
FairfieldHouseNJ.com
Wow I learned a lot of great stuff from you today! I thought of another thing Sweet Boy can help with on Saturday. Looking forward to seeing you later this week!
And this is why I love blogs! Thanks so much for sharing links – I'm ordering booth tools today!
http://www.chattafabulous.blogspot.com
Great tips Laura, projects can really take a lot of time otherwise!
I miss your visits and hope you have a fab time at Andrea's Party!
xoxo
Karena
Art by Karena
2012 Artists Series featuring Harrison Howard
Those are great tips about great tools! Never knew they even existed!
Oh my goodness….do I need to say anything else??? Where have these tools been ALL and I do mean ALL my life???
Wonderful tips…Hubs usually helps me hang all our pictures (a little over to right, no, over to the left, just a little higher on the right)LOL….
Have a sweet day, Elizabeth
Great tips! Love that picture hanger thingy, will have to get me one of those! Btw, you look lovely dear!
Thanks Laura…great tips! I hope you don't mind but I've pinned this!
Okay, I now think you are a genius…thank you thank you thank you!
Great tips. I've never seen the first gadget before. I would like to have one. This is a timely post for me. I am in the process of hanging some pictures. Thank you very much.
Me and Paintings don't seem to have a normal relation.
The problem: Me! I tire too easily (it must be the Gemini in me ahahah) so a little while after hanging them I want them removed and the walls bare; driving husband crazy ;).
That piece is soemthing I've never seen. Might give it a go for somew painting that isn't going to be moved in some months.
Lovely tips, as usual.
Thanks,
T
Didn't want to write this along with the moaning: Love your Strawberry's Blouse and you look so lovely and rested that many would dare going through all you have just for that skin and baby blue eyes ahahahah.
Light always come after dark for those who hang on.
Love,
Teresa
Great gadget. Great tip. Thanks for sharing.
Thanks for all of the great tips!
Laura, This is a great post! I am so thankful for all of your very helpful tips. I am always making unnecessary holes in my walls. My husband thanks you for this post too!!!!
PLease stop by StoneGable and join in TUTORIAL TIPS AND TIDBITS, going on now and link up this wonderful post full of tips!
Ooh… those tools sound awesome. I hate hanging art and pictures… which is why there isn't any in our apartment. Now I need to find these tools!
He he he… love the swearing sailor bit. “Mark & Mount”… what a fabulous invention. Nobel Prize worthy fabulous. Thanks for all this great info Laura! 🙂
Laura, found you via Positively Splendid, and now your latest fan. What FABULOUS information, I will be getting this handy little tool asap!
Hugs, Tanya
http://twelveoeight.blogspot.com/