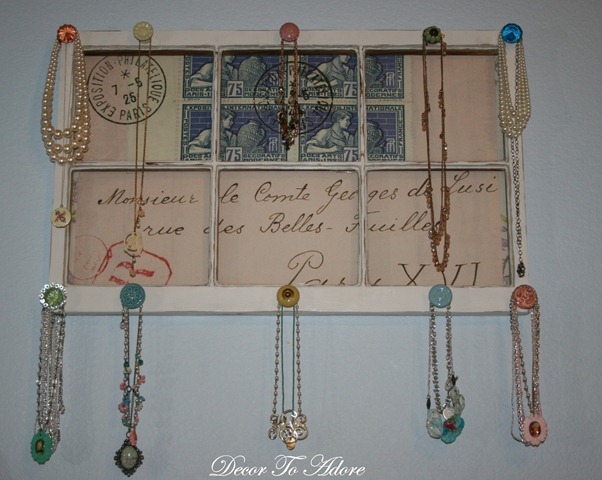
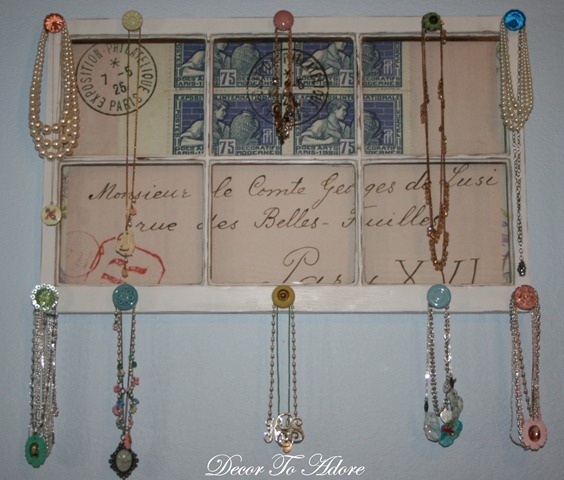
Last week I gave you a sneak peek at the springtime jewelry holder Mr. Décor and I created from an old window. I hope you enjoy Spring Jewelry Holder Tutorial Man Versus Woman.
Spring Jewelry Holder Tutorial Man Versus Woman
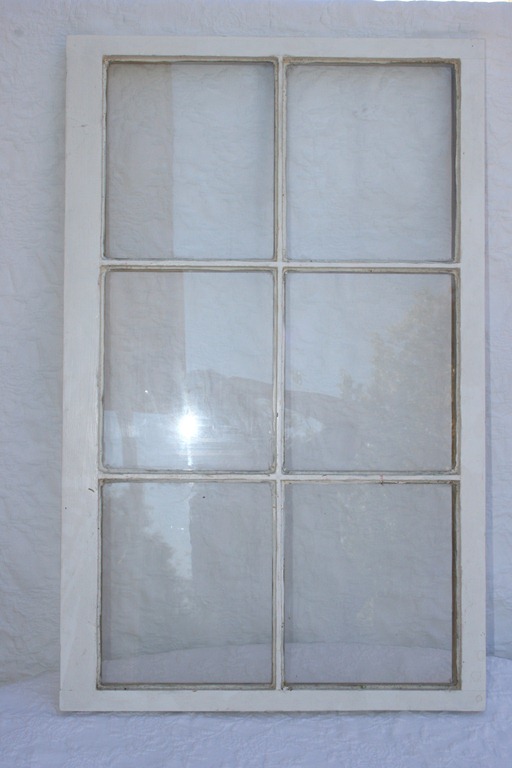
I have had this old window sitting in our garage for oh, eight years. Recently, I wrote a post about using old windows in your decor HERE. I like to think of myself as a hoarder collector of interesting pieces. But since I have been spring cleaning with a vengeance a moment came where I decided it was “use it or lose it”.
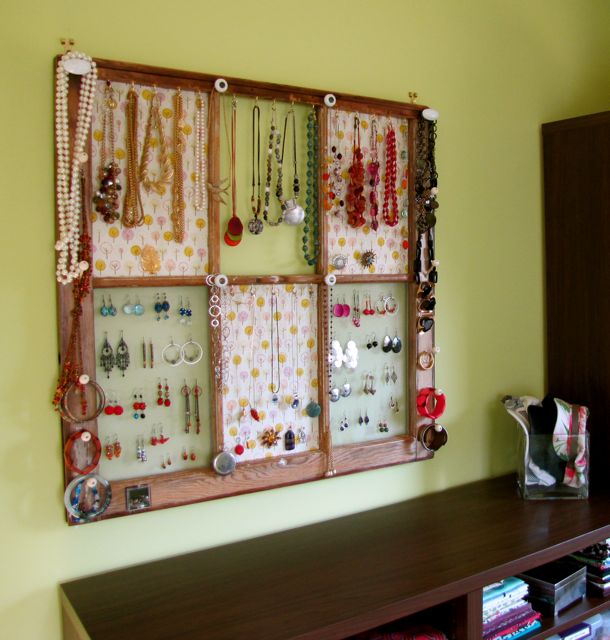
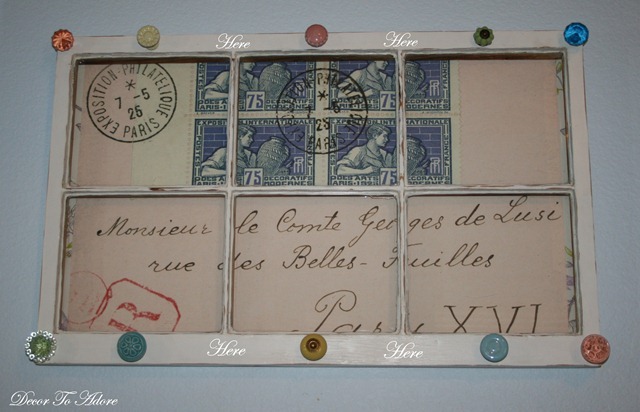
I found inspiration from this image and decided to take the idea and make it my own.
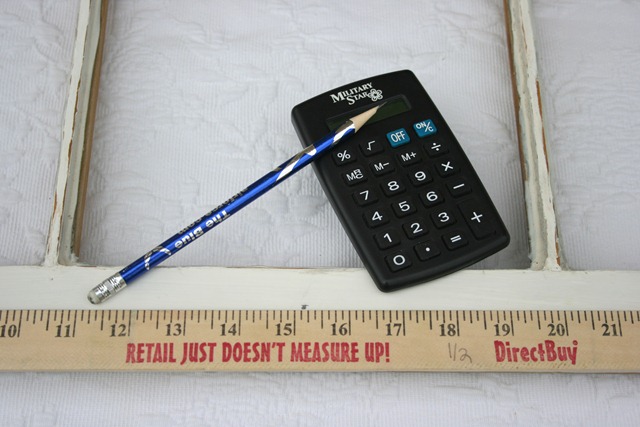
For me, the worst part of a project like this is the math. I love to use a calculator for help with dividing up a length of wood to determine where the knob placement, IE where the drilled holes, should be. I used a ruler, pencil, and a little something I call “eyeballin” to make my marks.
The Tools
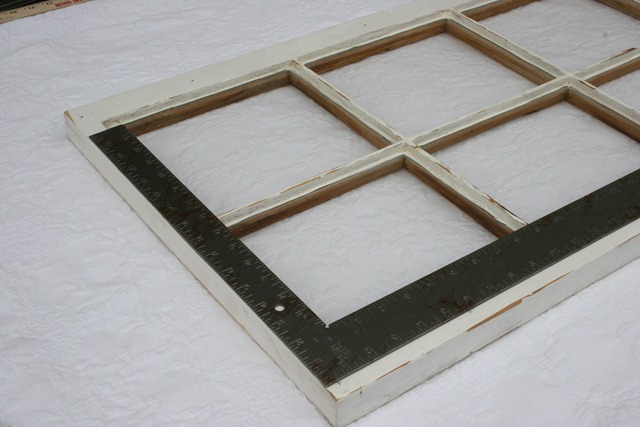
Mr. Décor has a degree in aeronautical engineering. Yes, that is B.S. (Bachelor of Science). His Master’s is in business with a fancier title I can’t remember. So he likes to use tools such as the square…
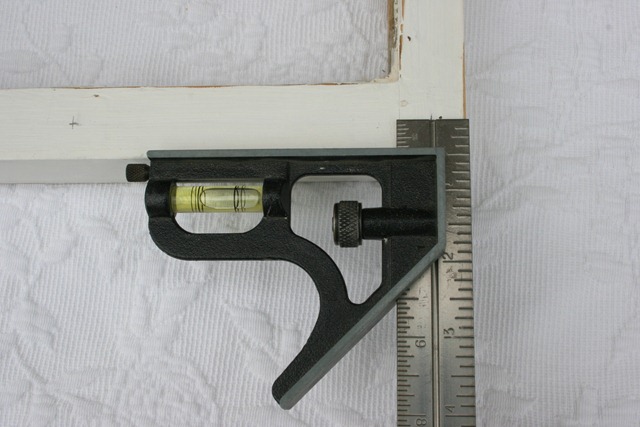
As well as the slide square which provides really precise measurements for you to then mark and drill. The method of choice is yours.
Gathering The Hardware
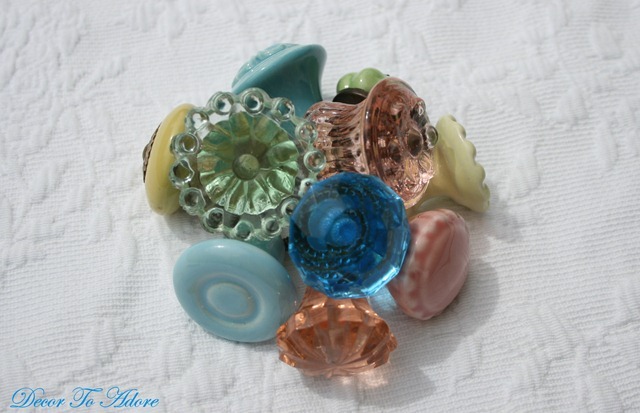
I collected eight knobs from two different Hobby Lobby stores. Five were purchased on a 50% off sale and three were in an almost free clearance bin. Two pieces of hardware came from Anthropologie. It has to be called hardware if it is from a nice store. Smile. I was thankful that our darling daughter works for the company and therefore I got a nice discount. The total cost of the 10 fancy schmancy knobs was $20. If you have purchased hardware recently then you may now nod your head when I say “That’s a REALLY good deal.”
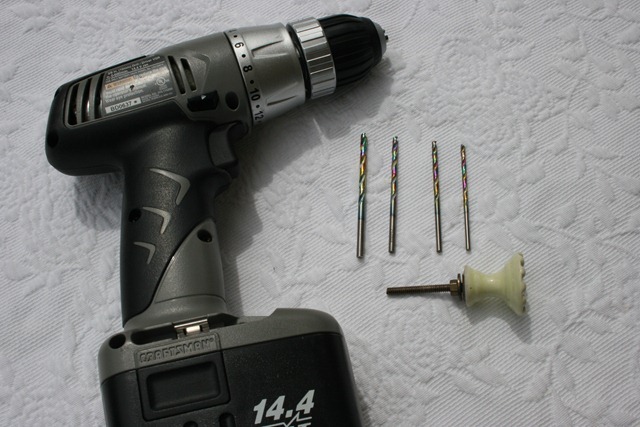
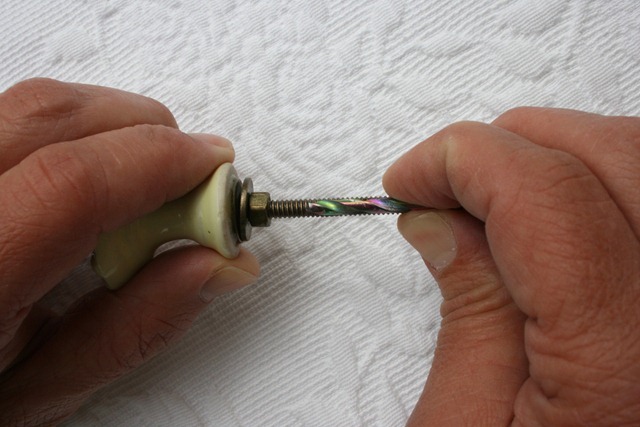
Now this next step might be repetitive for some, but for others here is a good way to determine which drill bit to use. Select a few bits as well as your knob.
Measure the screw of the knob against the drill bit. This drill bit was still a “bit” too small as you can see the “teeth” of the screw behind the bit. So we went one more size up.
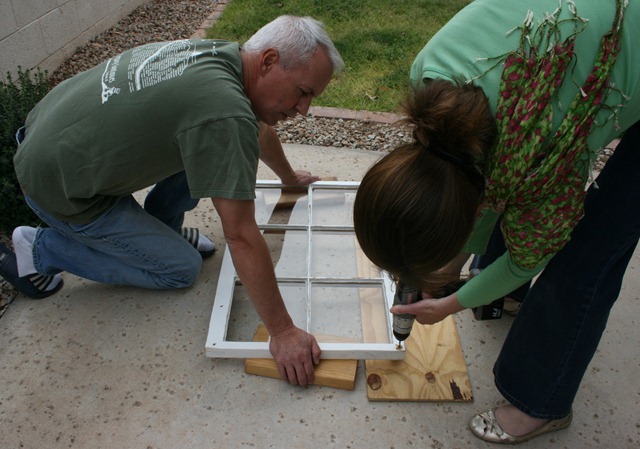
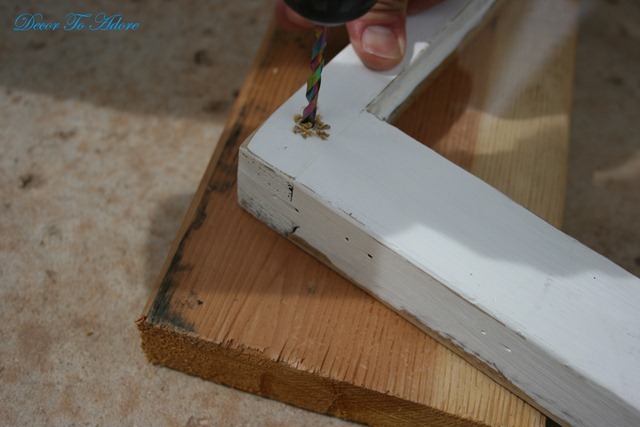
Mr. Décor and I like working together. While I drilled my side of the window he held the frame to keep it steady. I am sure that he also scratched his head admired the view of his wife wearing a scarf and gold flats during a home improvement project. Doesn’t everyone?
Then our roles were reversed and I held the frame while he drilled his side of the window. Sweet Boy wanted to make sure that I told you he took the pics of his mom and dad working.
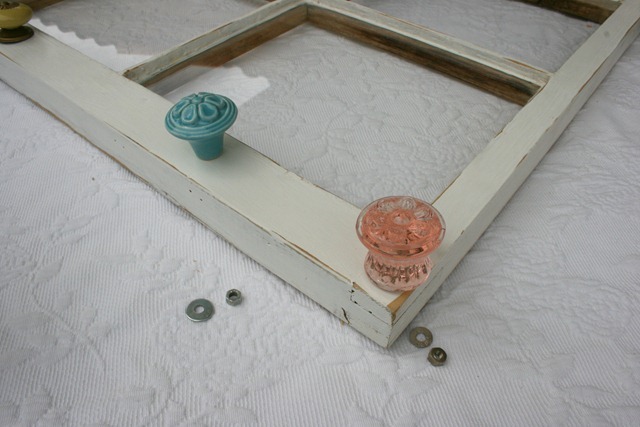
Doing a fit check. It appears that both of our measurements were satisfactory.
How To Shorten Screws
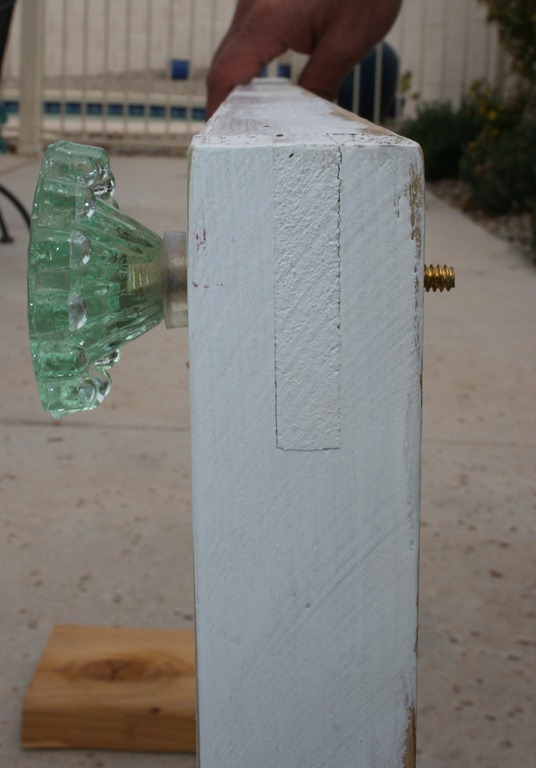
A few of the knobs had fairly long screws attached and since we needed the window frame to sit flush against the wall they had to be shortened.
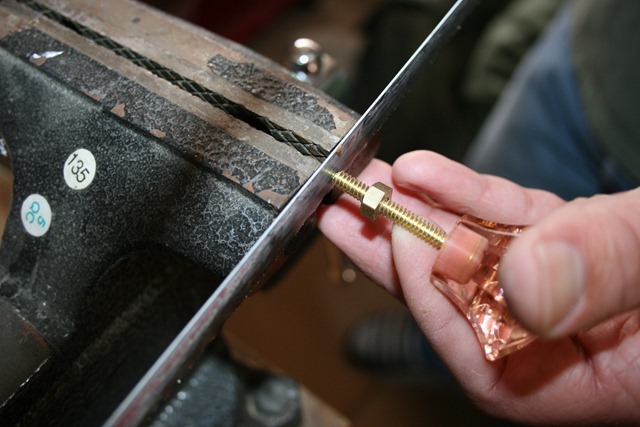
A mark was made on the gold screw with a red sharpie. The knob was placed in a vice and cut to a shorter length with a hacksaw.
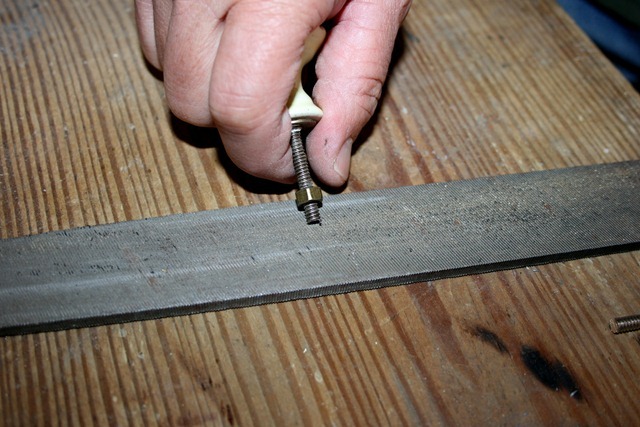
The newly cut screw had a few rough edges that were made smooth with a metal file.
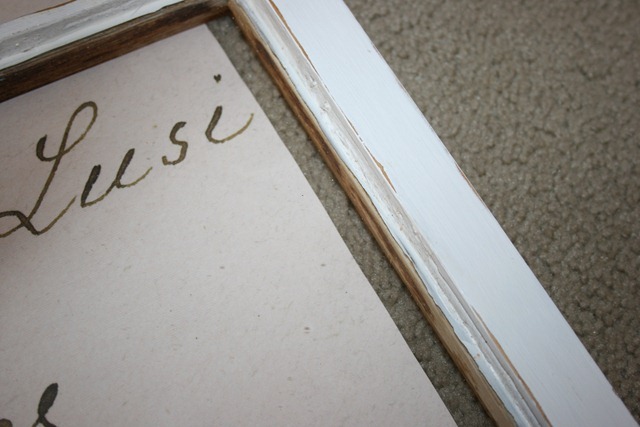
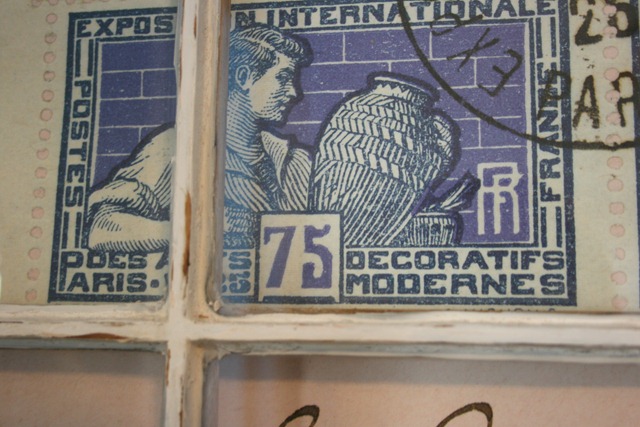
While the window frame could have been hung up on the walls as is, I liked the idea of lining the back with paper. I found the perfect piece of wrapping paper at Papyrus. It was $5 for one sheet which is ridiculous but the heart wants what the heart wants. I got it home and guess what? It was too short.
I looked around a bit and could not find anything else I liked. So I just glued some other wrapping paper I had to the edges. I told myself that once I put the necklaces on I wouldn’t even notice and I don’t. I just love the details of this wrapping paper too much.
A Gem Of A Project
I attached the paper to the back of the window frame with scrapbooking tape so I can change the paper whenever I want. I may add four more knobs if I need more hanging space.
We used a heavy-duty ring hanger (from the framing section of the craft store) on each side to hang the window on the wall next to my dresser in the bedroom. I keep piling on the baubles and it is still holding strong.
So tell me, would you make this gem of a project?
Laura
I absolutely would. It's just great.
Of course, with the amount of jewelry here in my studio. I'd need about 10 of them. I'm so not kidding.
Why not it's lovely. I have my necklaces hanging on a pretty rose patterned wall plaque with 3 hooks. Could do with lots more though. Would love some ideas on how to store bangles and bracelets too.
x
Oh yes, Laura, I need to borrow your hubby though!! I have been looking for an earring solution!
xoxo
Karena
Art by Karena
Oh goodness, I don't like it. I absolutely love it. It turned out more beautiful than the inspiration image even.
And I giggled about the drilling. I wouldn't have even thought that had you not written it. You corrupter, you.
You both ROCKED this project!! I just loveeeeeeeee it!! Looks amazing!
Great project!! The different colored knobs are fun.
Oh, that's beautiful! I love all the different knobs! (and lucky you to get a discount at Anthropologie!) I often start diy projects wearing my “nice” clothes, then halfway through I think, “Oh, I guess I should change!”
What a beautiful project! Great inspiration!
How creative! That's what I call teamwork! btw, your header is gorgeous!
Howdy from Kansas!
Like the colored knobs. Great idea and you did a super job.
Sweet Blessings and may you have a pleasant Easter.
God bless and shine on,
d
If I had a free wall to hang it on..I definitely would make it! I probably even have a window in the basement (Shhhh, don't tell!). Love the April header!
I love your jewelry organizer!!!! So pretty! I did one of my own a couple of months back, that reminds me, I have to put that on my blog sometime. Thanks for sharing!
Very very cute! If I had a place to hang one I would definitely make one for myself!
Sure shootin' I would. I would go fantastically in my very French Country Decor! (heavy on the country) Heeehehehe!
It's stunnin' sweetie and just perfect for those beautiful baubles.
God bless ya and have yourself an excellent week Miss Laura!!! :o)
Definitely the Precision Drill Team! You two did a great job!
Took one look at that frame & saw Clapsaddle art behind each pane. What a delightful surprise with your clever & great creation.
Have a beautiful & blessed Easter ~
TTFN ~
Marydon
This looks amazing! You and husband did a great job.
Je trouve vraiment fabuleux ce projet que vous venez de réaliser… Merci pour ce partage photographique.
J' A D O R E…
Gros bisous
soaking up all the incredible inspiration today!
come visit my blog and giveaway:
http://hellolovelyinc.blogspot.com/2012/04/april-giveaway.html
smiles to you.
michele
This is such a great idea! I love the variety of knobs you used!
This is such a gem of a project! You gave me a few chuckles through this post (the drilling and the scarf and gold shoes). I love the paper you backed this with, and although $5 is a lot of a sheet of wrapping paper, it isn't a lot for a statement like this makes! laurie
This is beautiful! I actually have a window pane similar that i am not using for anything right now! This would be a perfect little project!
This comment has been removed by a blog administrator.
This is beautiful! I love the colored knobs you used.
Very neat!!
So happy to stop by your blog, please stop by and say hello at my blog as well and if you are not already a follower, please take the time to become one as well at http://jessicaslilcorner.blogspot.com
Have a blessed day!! 🙂
That is adorable! I just love fun knobs and I'm always trying to find new ways to use them! I would love for you to share this (and any other creations) at my new linky party “Pin It and Win It Wednesday” at http://www.cheapcraftymama.com!
I certainly would make something similar, if I found the right window! I love the coral glass knobs in particular. Very girly and pretty.
SO cute! This is perfect, my friend was just saying how she needed to make something for her necklaces…she has a gazillion. Thanks for sharing!
Well Done! SO had to laugh at the gold shoes, it is a shame that that is the first thing I noticed in the pic. Shoe addict I am. I have done the same exact thing and my husband just laughs. THey know it is what makes us so special and quirky!! Thanks for stopping by to make such sweet comments about my wreath. and I have two such windows sitting in my bedroom,…….hmmmmm what to do, what to do…..
Kim@reposhture.blogspot.com
looks awesome love it