Yesterday I shared with you how to make a pretty velvet bookmark. Well, doesn’t a pretty bookmark deserve a beautiful book? Gifts To Make #3 Repurposed Books Become Beautiful.
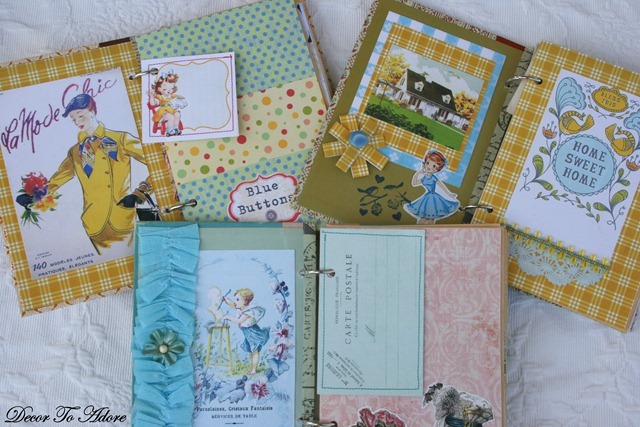
These altered books can be used as recipe holders, photo albums, journals, and scrapbooks.
Supplies Needed
A hardbound book. (I used Reader’s Digest Condensed Books found at garage sales, thrift stores, and eBay.)
Decorative tape (Known also as Washi tape~Craft stores and Etsy.)
Paper punch
A drill with a bit
A large selection of printed images. (Graphics Fairy and ImagiMeri are great sources.)
Several sheets of scrapbooking paper and/or cardstock
Scissors and a Paper Trimmer
Glue (Both hot and craft.)
Various shaped paper punches. (Any craft store)
Bookbinding rings. (Office supply and craft stores.)
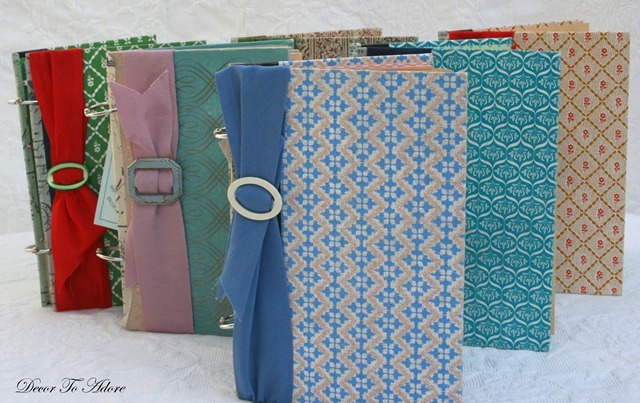
Wide ribbon (I used vintage grosgrain and seam binding.)
Small belt buckles (I used vintage Mother of Pearl purchased from Redhead Sadie! Try eBay and Etsy.)
Stickles Glitter Glue (Craft and scrapbooking stores)
Various trim and embellishments.
Patience and Strength (hee hee)
How To Make The Book
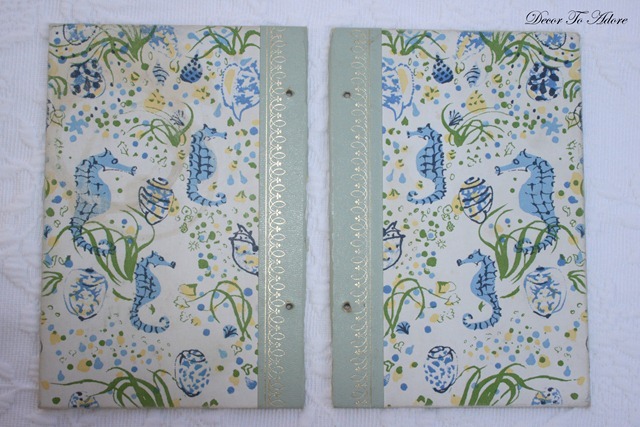
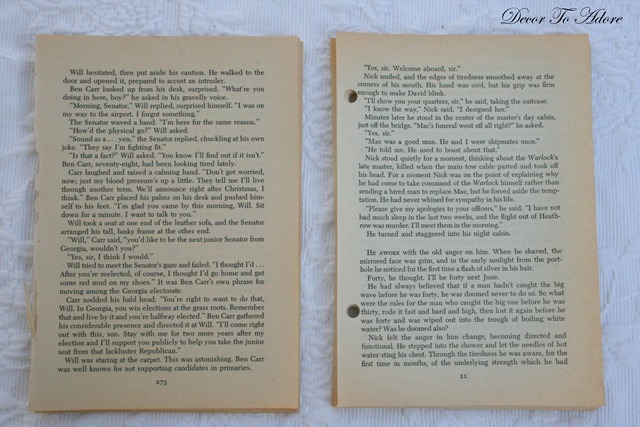
Begin by removing the hardbound book cover. This can be done with scissors, an Exacto knife, or pure brute strength. 🙂 Drill two to three holes where the album rings will go.
Remove the pages of one story in the book. This is generally around 50 to 100 pages. Trim the rough, torn edges and create paper punch holes for your book binding rings.
Cover the raw edges with scrapbooking paper and washi tape.
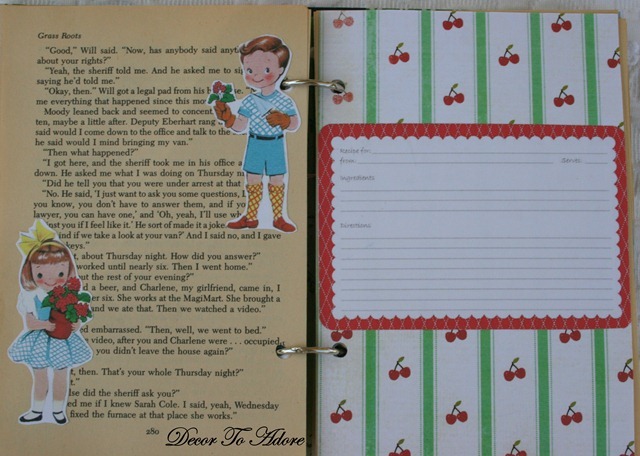
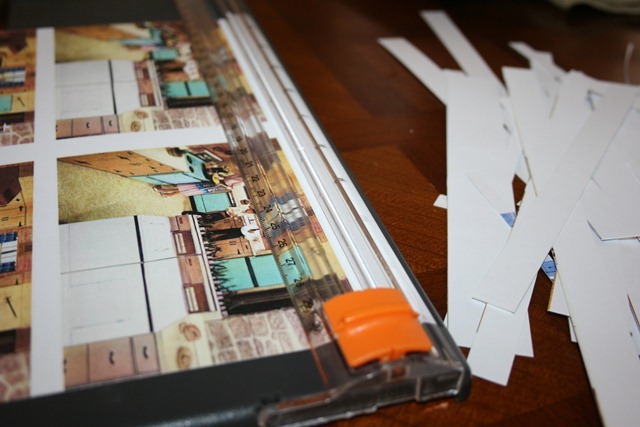
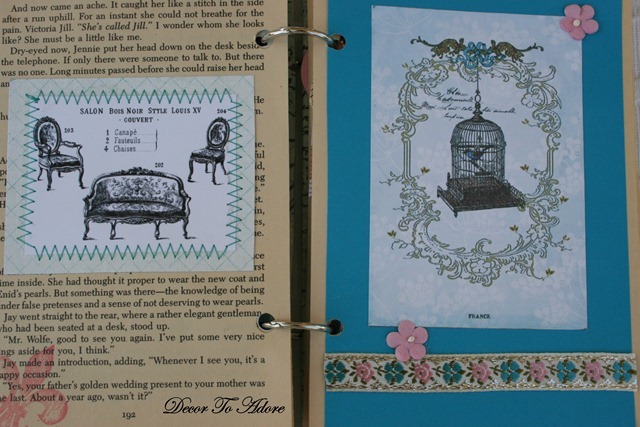
Cut out your printed images. I usually do a printed image on every other book page.
Begin laying out your scenes on the book pages. (This is the fun and time-consuming part.)
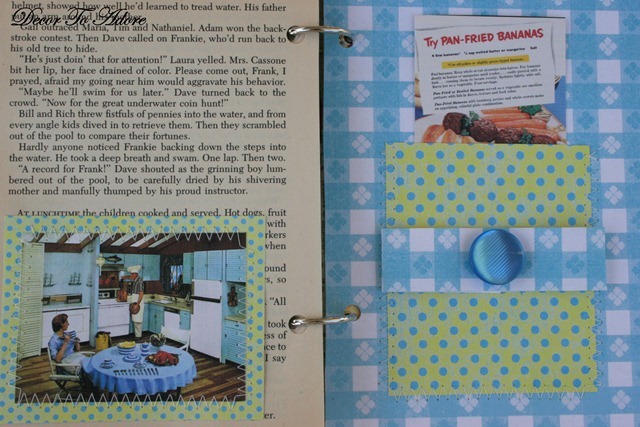
If you add stitching, do so before you glue the paper down.
Glue the images down onto the book page. (You may want to place a heavy weight on top while the pages dry to keep them from curling.)
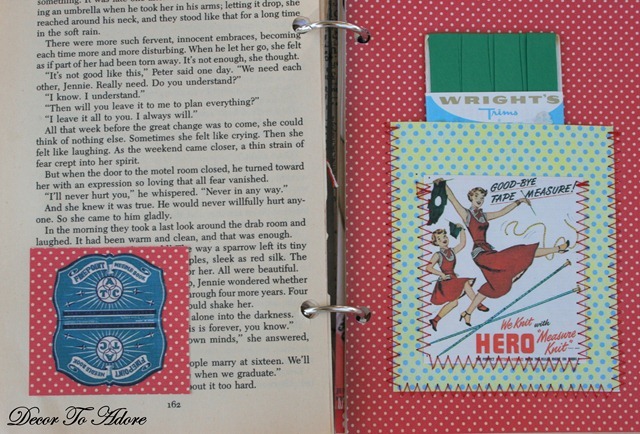
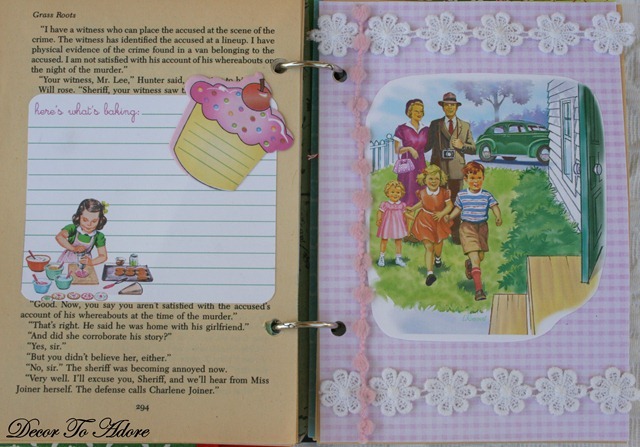
You can make fun pockets…
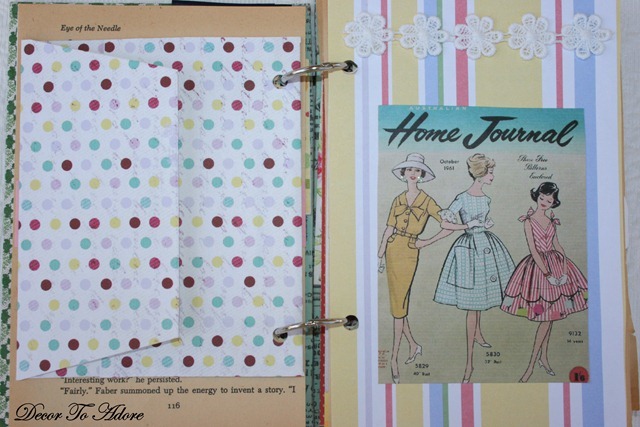
…and include paper envelopes to store treasures.
Embellish the pages with various trims and glitter glue.
Assemble the finished pages of the hardback book and add the bookbinding rings to hold everything in place.
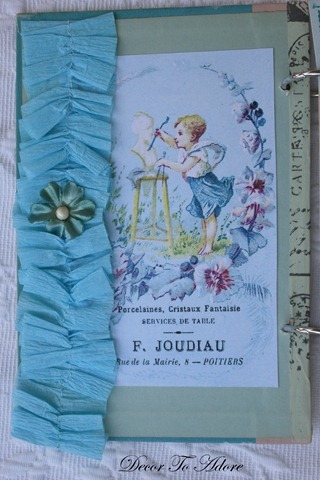
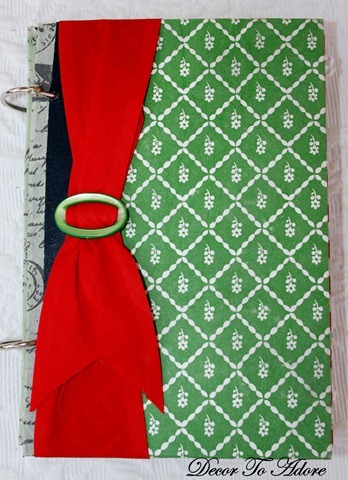
Add a wide piece of ribbon along the front of the book cover and secure it with a belt buckle.
Gifts To Make #3 Repurposed Books Become Beautiful
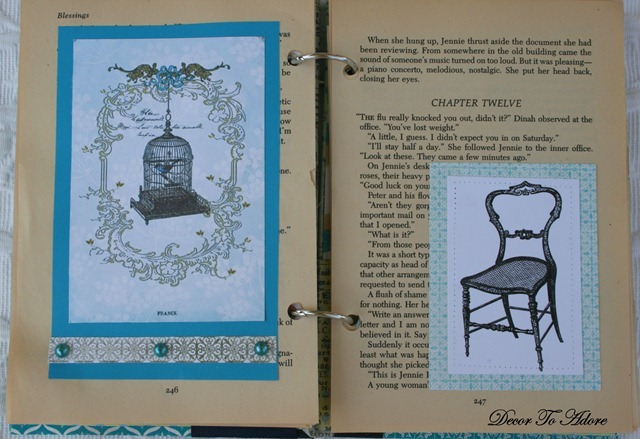
Each book’s theme can be personalized for the recipient. I created French-themed books.
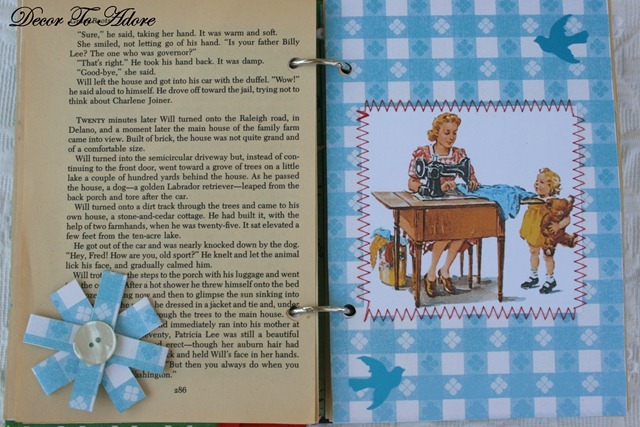
Vintage sewing notion books,
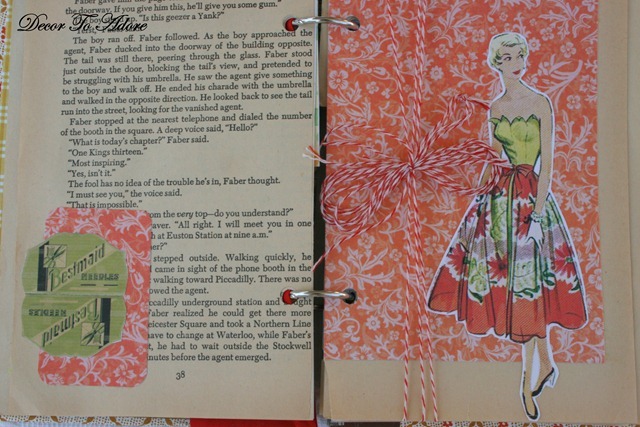
Vintage fashion books
Plus many more.
Reality check~ While this is a very fun and creative project, it is time-consuming. Each book takes approximately five hours to finish.
UPDATE: SOLD OUT! You can see several more detailed pages of the books that are listed in my Etsy shop.
Be merry and bright,
Laura
Adorable project! Now to go find some old books! LOL
Great project. I have been working on an altered book but I never thought about deconstructing it and using rings.
Thanks for sharing the fun idea! 🙂
Tout un programme dites-moi ! C'est formidable…
Gros bisous
What a fabulous project. I love it. Thanks for the tutorial. Hugs, Marty
Wow wow wow wow!! These are GORGEOUS Laura!! Love them!! :):):):):):):):):):):)
WOw! Super creative and wonderful! Who wouldn't want one of these gorgeous books! Thanks so much for sharing the process with us too.
Hugs,
Terri
ADORABLE!
These are so cute!! You have been one busy lady! Have a great week end!
Laura — these are absolutely beautiful books. I love your instructions! I will be a follower from now on!
That is so creative. I love how those came out. I saw you over at Centsational Girl's party and had to stop by.
Thanks for dropping by my blog! I love this idea for repurposing books!
This is just way to cute! I love old books and will be making one of these real soon. Your blog is really nicely done!