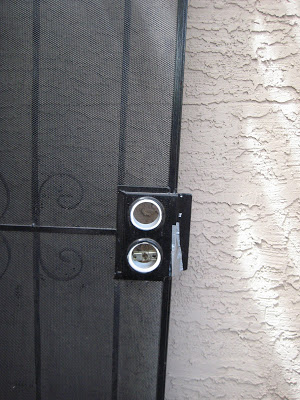
In the last post, I showed you the Fashionista’s new apartment. That was the good. Just so you could appreciate what we did a little bit more I thought I’d give you some ugly. The first thing to greet us was a screen door with no handle. How to decorate your first apartment on a budget.
How to decorate your first apartment on a budget
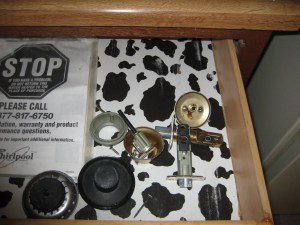
But don’t worry, much of the missing hardware was found in a cupboard. Like ALL of the cupboards in the apartment, it had cow print contact paper. Nice. I spent a day chiseling it all off.
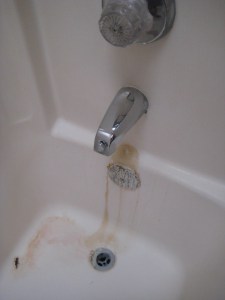
Every faucet and nook and cranny looked much like this: (Oh and yes, that is a dead bug, he wasn’t lonely though, he had MANY friends.)
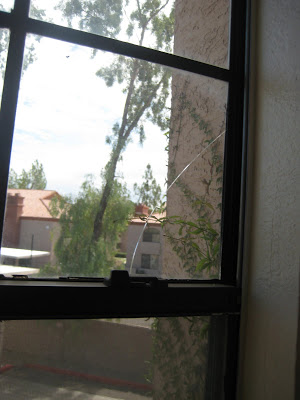
Cracks in windows really help to bring the blistering Arizona heat indoors.
In short, it was a dump. Most of our time and money went into getting the bones of the place restored. So once again it was time to get creative when it came time to decorate.
So, onto the How To’s:
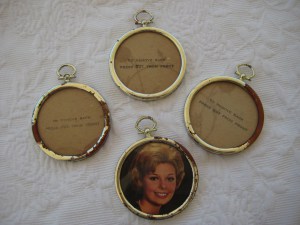
These old frames belonged to my great aunt. You can date them by the photo. The gold paint was peeling off.
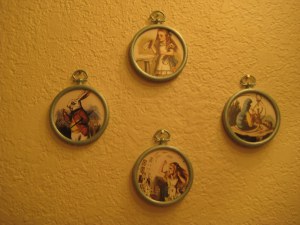
A bit of spray paint and some vintage images brought new life to them. I love how they are reminiscent of a pocket watch. Perfect for the white rabbit who is always checking his.
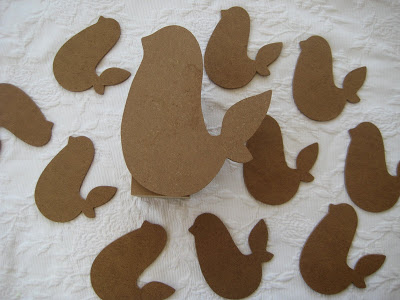
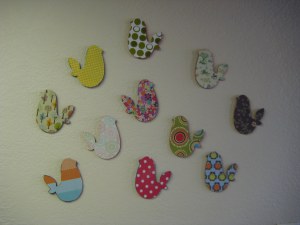
The condo has generously sized walls. With no artwork budget, we had to get inventive. This set of chipboard birds were at Michaels in the dollar section.
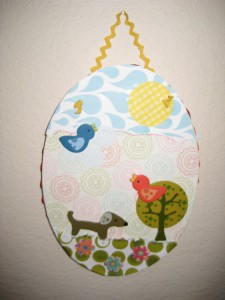
Most of the projects for the Fashionista’s apartment were created before school was back in session. The best way to entertain Sweet Boy was to enlist his help. I had this chipboard oval in my craft stash.
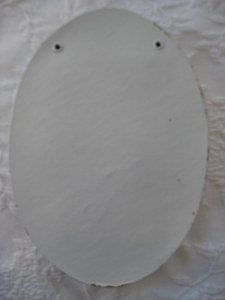
Once again leftover scrapbook paper and mod podge came to the rescue. A few wooden cuties and some vintage rick rack made a precious piece of artwork he was so proud of. (Yes, I helped.)
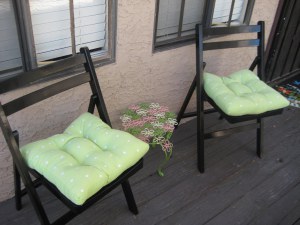
Have a seat
Once a month our neighborhood has bulk trash pickup. This is when my neighbors set out their broken and battered discards. You know what they say. One man’s trash…
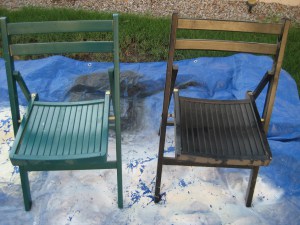
Becomes another woman’s treasure.
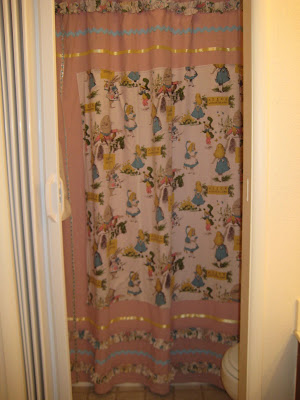
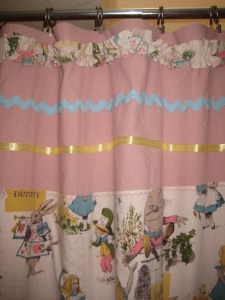
The shower curtain was made from a painter’s drop cloth that was dyed. We then embellished it with some vintage Alice fabric.
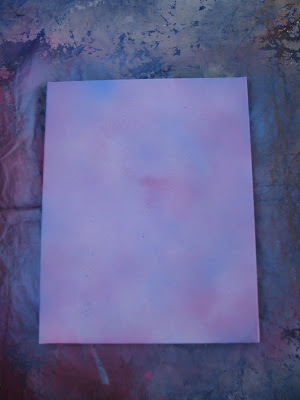
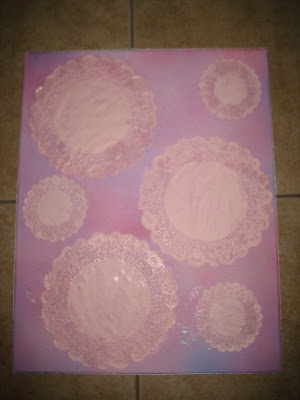
To cover up the power box that was oh so conveniently placed in the center of the main bathroom wall I purchased a white artist canvas and added a few spritzes of pink, blue and lavender spray paint.
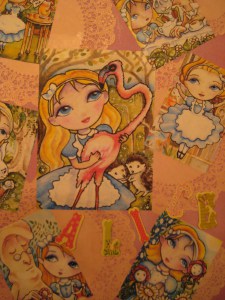

I've got lots of ideas for wall art.
1. I take photos of “stuff” that coordinates with the room I'm trying to create, get it printed in an 8X10 (less than $2 at Wal-Mart), buy a basic frame (11X14) and do it yourself photo mat. Something that would have cost me $100 or more from Art.com, cost less than $20.
2. At Michael's they have thin, plastic frames where the glass (might actually be heavy duty plexiglass) pops out the front. I've wrapped fabric scraps around the cardboard insert and snapped the glass back in. This was an $3 project for a grouping of three.
3. I got those same plastic frames in 8X10 size, put scrap book paper in the frame and glued pre-painted wooden animals (they have soccar balls, stars, etc) on top of the glass/plexiglass. Really cute & you get something with dimension. This was an $8 project for a grouping of four.
4. A variation of #3, I did this in my daughter's bedroom with wooden dolls that were supposed to look like paper dolls. I used floating frames and painted the wooden dolls myself (I even mixed paint to match the exact hair color to my daughter – red). I also embelished with some rhinestones. The floating frames were more expensive (8.99 with a 40% off coupon) so these were about $12 each.
4. I used foam board and ribbon on another project. I cut the foam board to fit those DIY frames from Michael's. Then, I glued 1/2 inch ribbon in criss-cross patterns on the foam board (I used two patterned, 2 solid). As a final touch, I got fake Gerbera Daisies, pulled off the heads, closed my eyes and tossed one on each piece of foam (for random placement). You just push the daisy into the foam board and glue in place. This project was the most expensive because of the DIY frames – I estimate about $30 each. If you used the pop out frames (which are really cheap), you could probably get this down to about $12 each.
You've given me some splendid ideas as usual! Thanks!! You're so crafty and frugal – a lovely combination 🙂
Great creative changes, Laura. My go to for decorating on the cheap is your blog! lol!!
Have a happy week! 🙂
xoxo
Jane
Your ideas are so stinking cute..
Gotta love Alice..
You always have such wonderfully creative ideas!!!
If you get a chance, stop by my Blog for a visit and say hi! I just put up a new post…
Have a great day,
Aimee
Tres Chic! I knew you would find some more projects for all your rick rack. So adorable! Makes me want to make your cute daughter a Alice decoration myself. You are so wildly talented!
~Dawn
Where were you when I had my first apartment!!?? 🙂
Everything looks so great! Wow, that must have been a lot of work!
What was really valuable to me when I moved out was to spread the word. An aunt of my mothers friend (aged 93) was going to a home for the elder. Of course she had a lot of chairs and stuff 'left over'. My neighbors sold their caravan and gave me their cooking equipment and stuff. As we say the knife cuts on both edges: People are pleased when they don't have to throw away things and of course I was happy to get so much for free.
Art idea: paint an Ikea glass box, I don't know how you would call it, those are little wooden chests about 12″ x 8″ on top of it is a glass that can slide. You can hang them landscape or vertical. When you paint those and put some ordinary stuff in it, they look great, repeating is the secret. So paint three boxes black inside and out. Put a garlick press in each of them and you have something chic, really. These boxes come in smaller sizes, about postcard size too, but I am not 100% sure whether Ikea still has those boxes in stock. My husband always urges me to go to that area of Ikea where we need something! He doesn't like looking around the way I do! Love this post and the comments too!
Everything looks great! I love those little birds. I should have picked them up when I saw them.
Thank you for stopping by, and Happy early Birthday to your son!
I love all the sweet personal touches, the flock of birds are my favorite.
My girl has a limited decorating budget too. She found some high end art she liked and has asked me to recreate it for her new place. A couple of canvas and craft paint we already have on hand will be budget friendly.
I have to laugh..i have the same folding chair..I painted mine cream..my Mom found it at a sale for .50 cents…
Such great ideas. It all looks wonderful. laurie