I have saved the best for last. This is the story of a dress that almost wasn’t. It was almost impossible to create a 18th-century dress sewn for under $30.
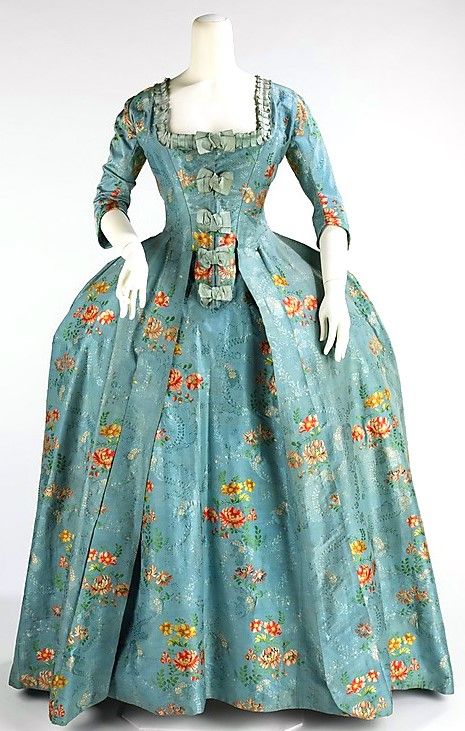
For many years I have admired the gowns of the 18th century. Such as the robe à la française (French sack back gown).
*You may click on each image to learn more about the gowns pictured.
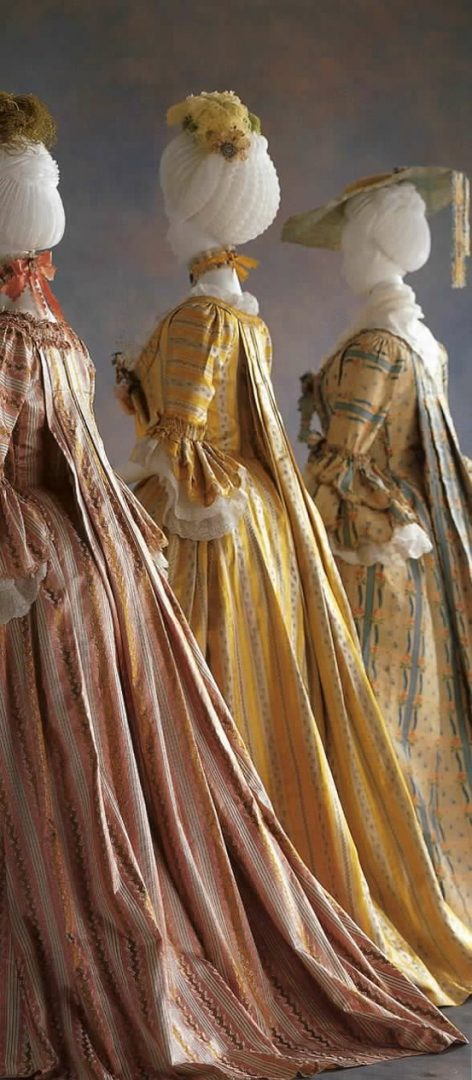
The lovely robe a la polonaise (Polish dress) with its raised and draped skirts.
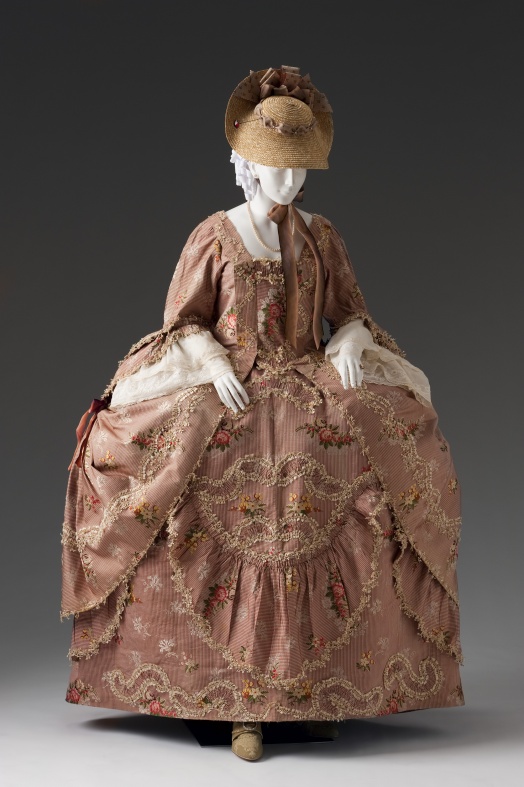
But my favorite was the robe à l’anglaise (English nightgown).
The beautiful blue and aqua silks.
The soft greens and sages.
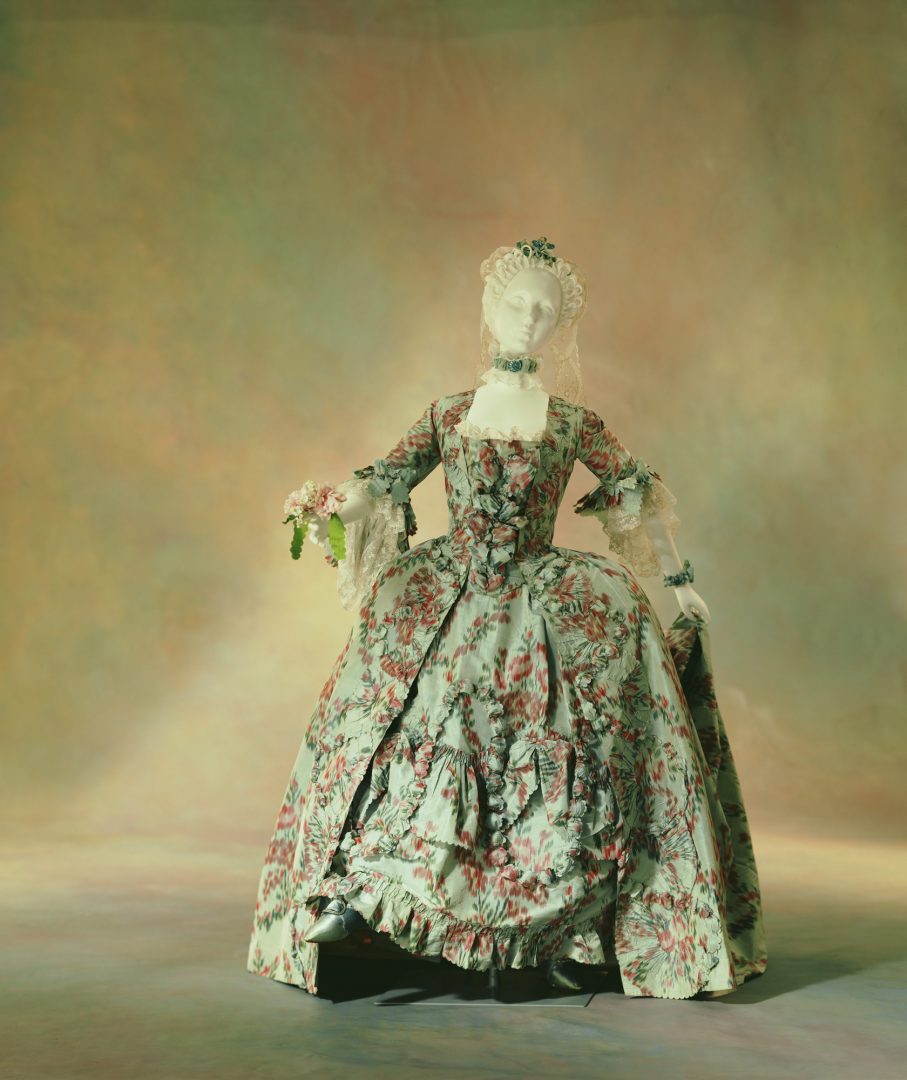
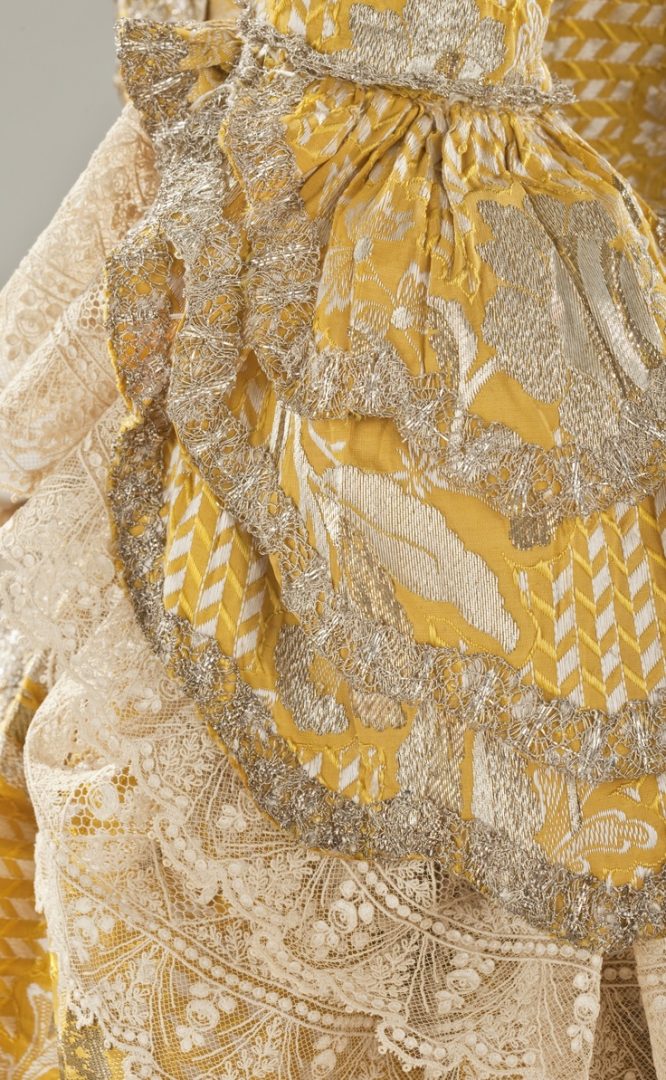
I can never get enough of the lavish details.
Such sumptuous embroidery.
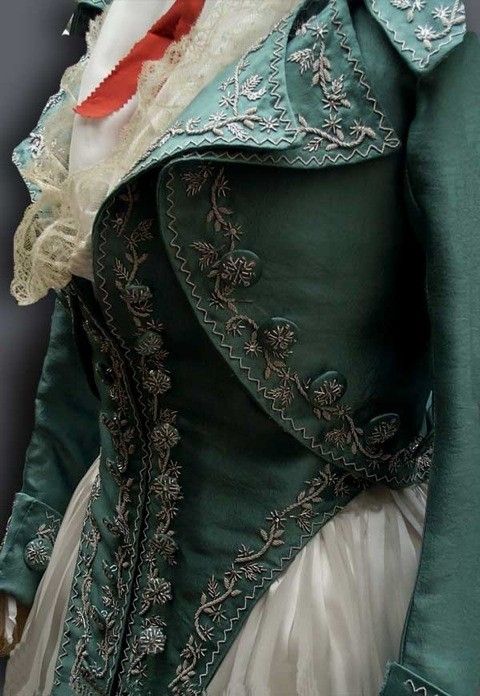
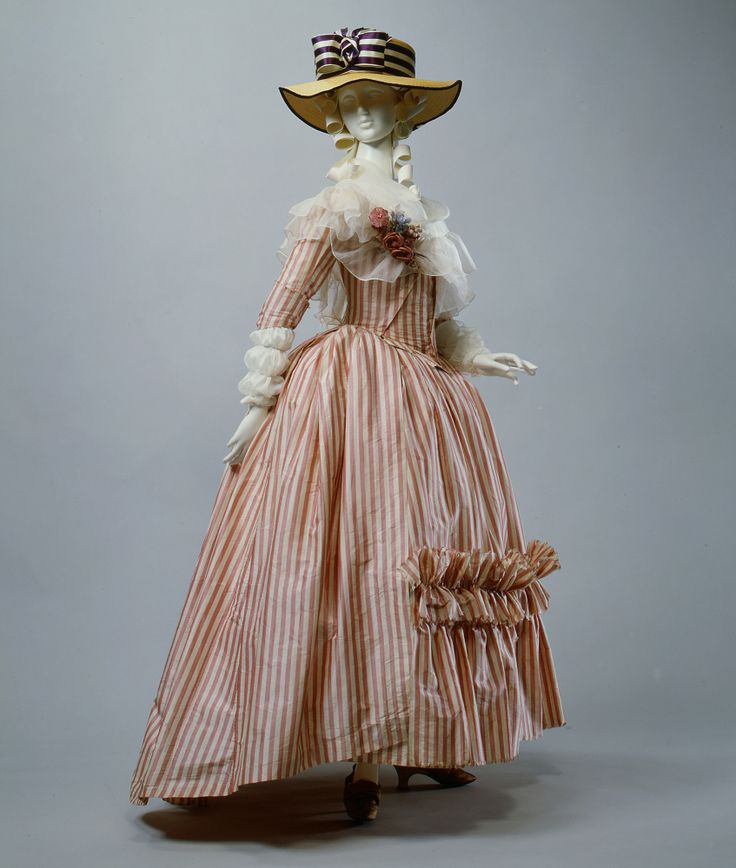
Whether the dress is solid, plaid, floral or striped, I adore them all.
A 18th-Century Dress Sewn For Under $30
Back in June, I had purchased a Mill Farm “A Robe Polonaise” pattern from Colonial Williamsburg. It provided the amount of fabric needed right on the back so I went over to my favorite discount fabric store in Phoenix and bought 9 yards of discontinued Robert Allen green floral cotton fabric for $3.00 a yard. Yes, you read that right. 🙂
On a fine summer day in August, I finally opened the pattern and Houston did we ever have a problem. The instructions were JUST WORDS. No pictures. I am the type of person who is a hands on/visual learner. You can throw words at me like there is no tomorrow and I will still never grasp the concept. Show me once and I am good to go.
So I called in my friend Meri who is an amazing seamstress and has made several Renaissance costumes. It was all Greek to her too. Next up was my friend Jenny who is also very handy with a needle.
The verdict: Three strikes and this pattern was OUT!
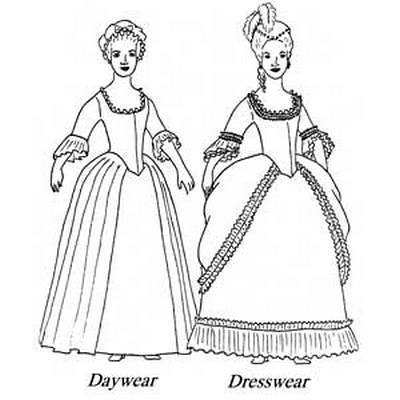
I then purchased the Simplicity #4092 pattern on a .99 cent sale.
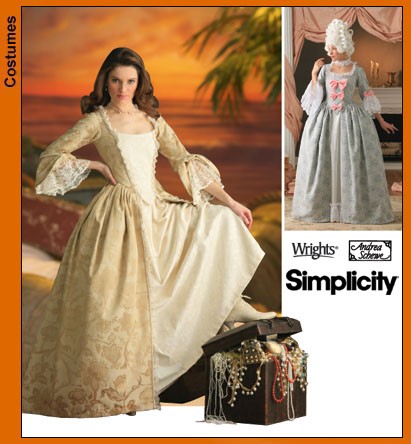
The Process Begins
It took me over three hours to cut out the 60 pattern pieces. The bodice alone required three layers of fabric.
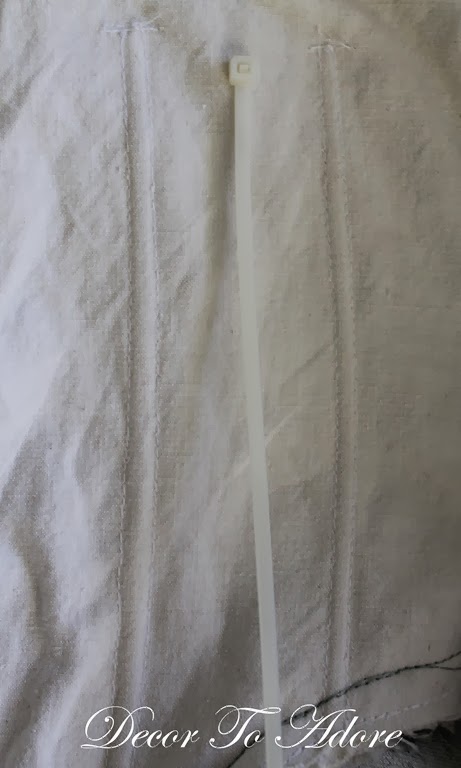
Once I began sewing I realized I needed stays for the channels sewn into the bodice. Not wanting to purchase anything else I went out into the garage and found our collection of zip ties. They worked perfectly. I just snipped the tops off.
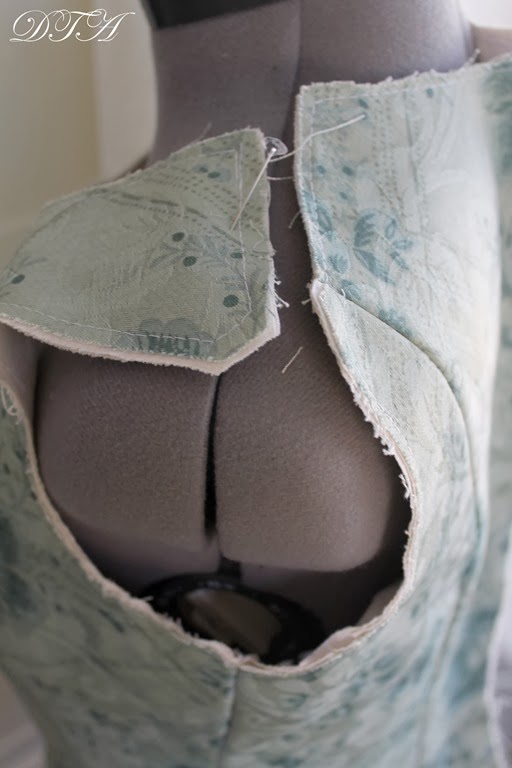
There were times that the pieces just would not match up. I would re check the pattern and sure enough, I had cut it correctly. It was an exercise in patience to be sure. A good example is the neck pieces that needed to be re~cut to fit.
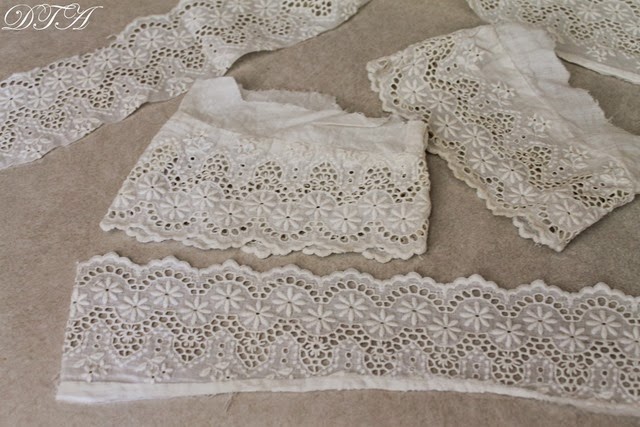
I tried to use era appropriate materials whenever I could. I dug out some cotton eyelet that had once graced a Victorian blouse. It would be perfect on the neckline.
Sew, gather, pin. Sew some more.
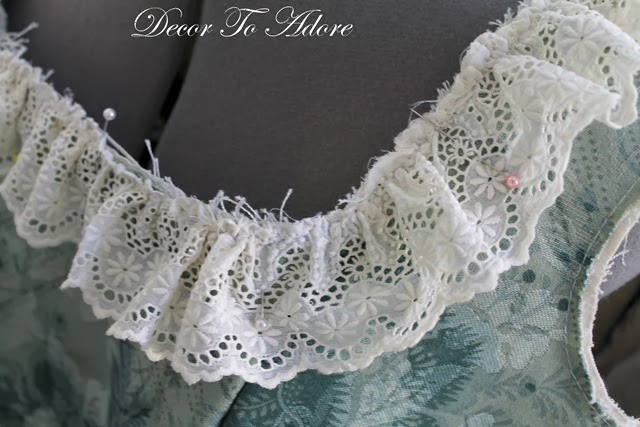
The neckline had to be hand finished to lay down just right.
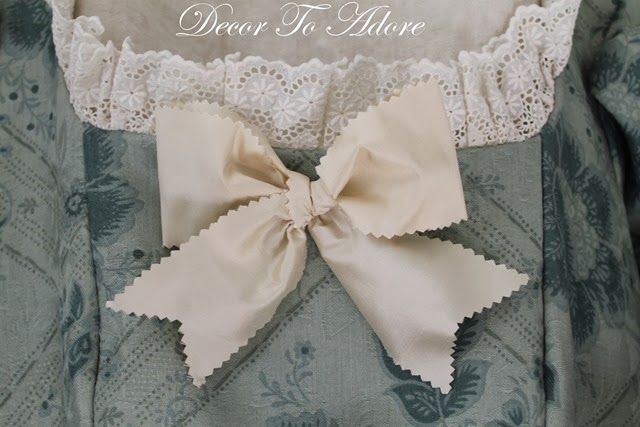
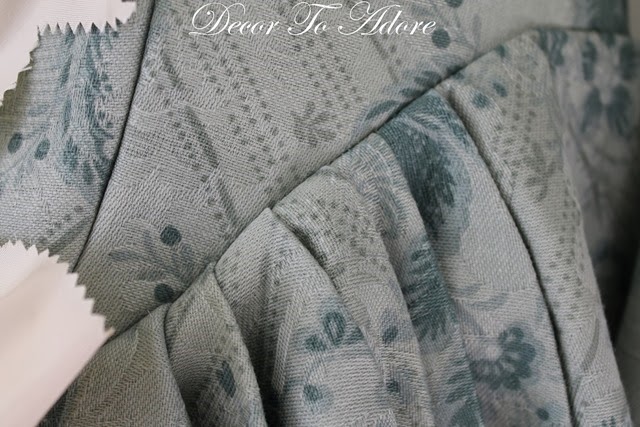
Three times I tried following the pattern directions to create the overskirt pleats. I finally gave up and pleated it the way it made sense to me.
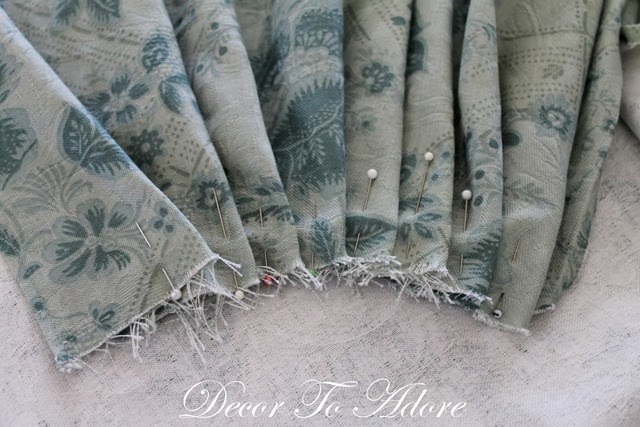
Miraculously it worked out, curves and all.
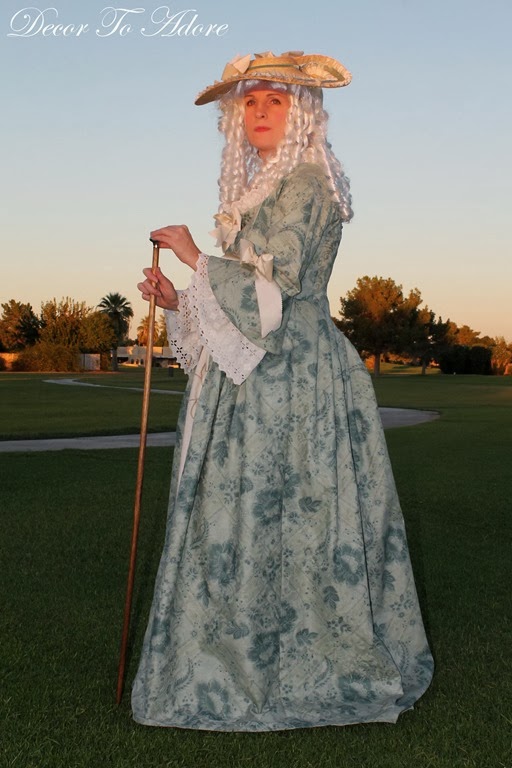
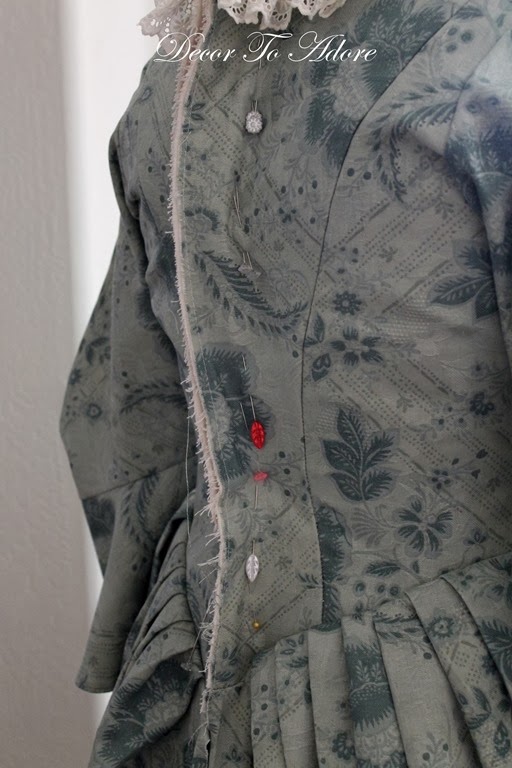
I often used a dress form as I was constructing the gown. But when it came time for the final bodice fitting what you see is me in the dress and darling daughter pinning it to perfection.
The pattern called for a zipper. I am a stickler for accurate details and refused. There were no zippers in the 18th century! I found some vintage hook and eye tape in my stash. But it was bright white.
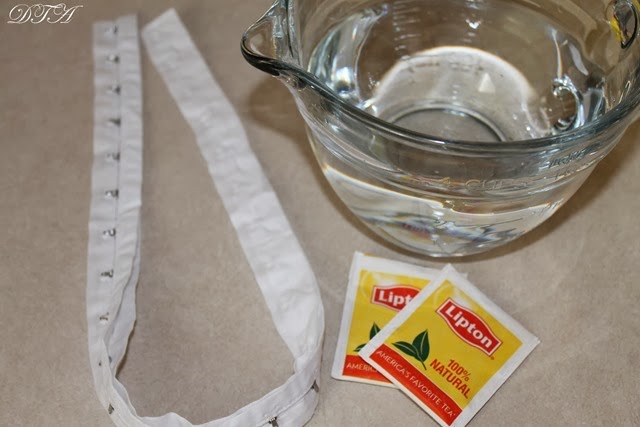
So I tea dyed it to blend.
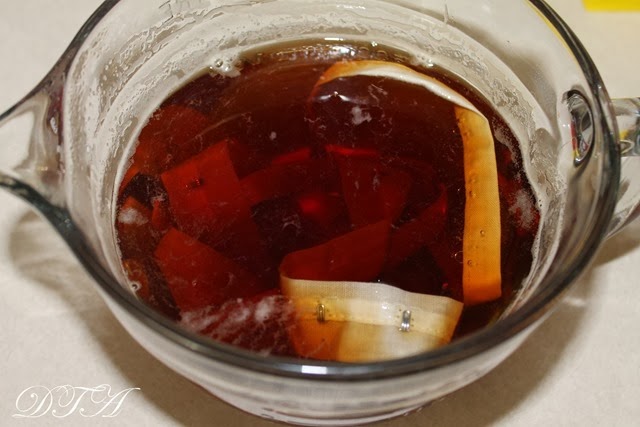
Pinning and then lots of hand sewing. Cotton thread of course.
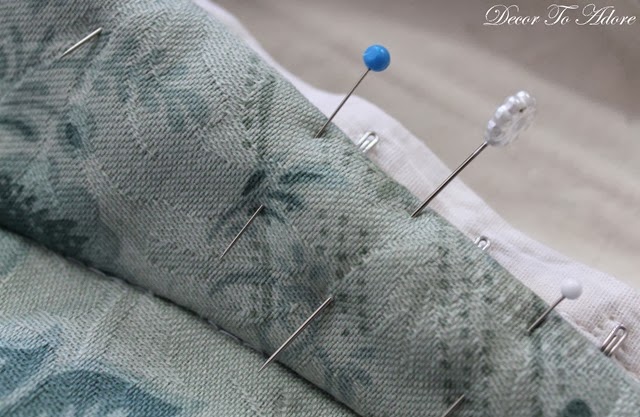
If I were to make this dress again I would probably try a lace up corseting technique. But take a peek at how well I got the back pleats to lay. I didn’t follow the directions there either. 🙂
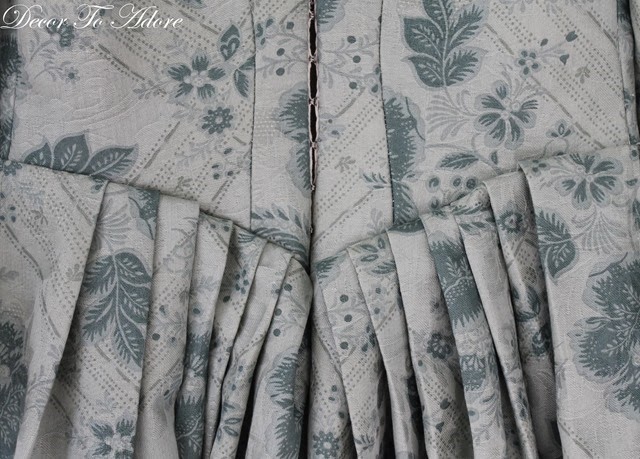
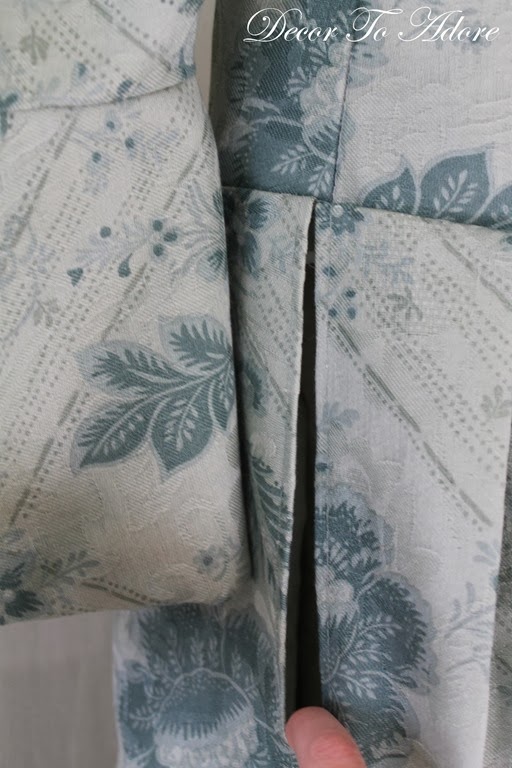
The dress is by no means perfect. For example at the sides of the skirt, which open to allow access to a ladies pocket, the seams don’t quite match up. I am ok with that. There are errors on the ceiling of the Sistine Chapel too.
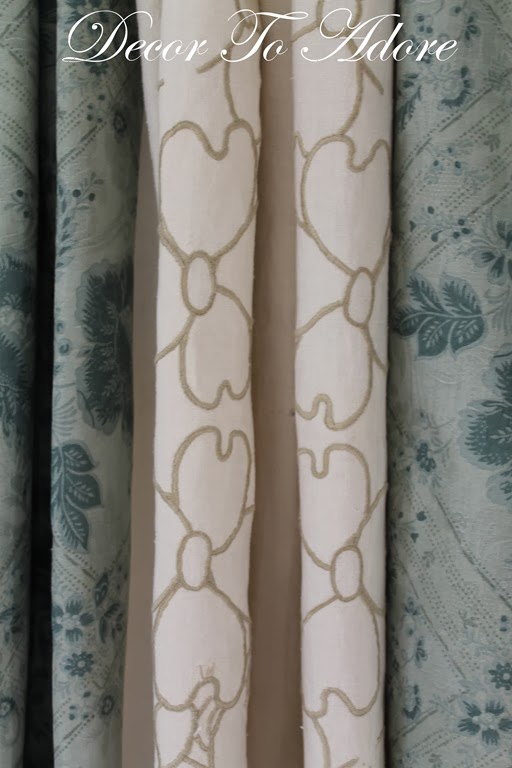
The last part of the dress that I made was the separate underskirt. When I had originally purchased the other pattern it called for 9 yards of fabric and that is what I bought. The Simplicity pattern called for a total of 11 yards of fabric. I knew for a fact that there was no additional yardage available. So what is a girl to do? She improvises with an antique linen tablecloth. After all, it could really no longer be used as there were some spots on the fabric that had holes and other areas where the stitching had come undone.
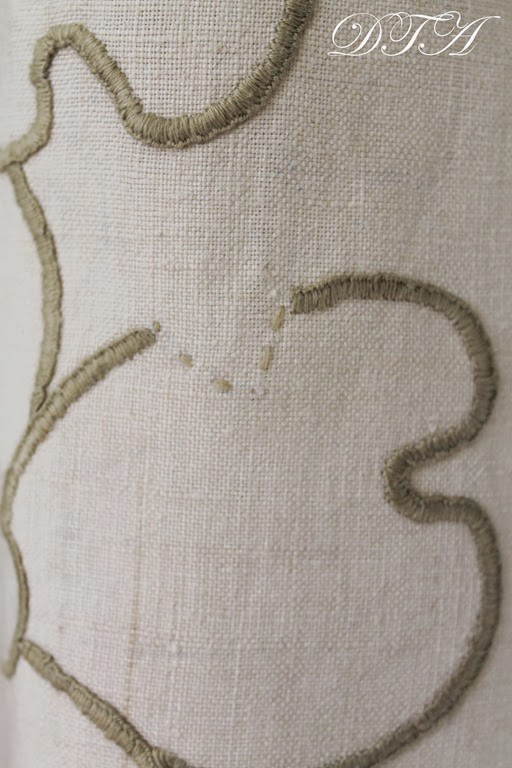
But once it was sewn and gathered those blemishes really no longer mattered.
A 18th-Century Dress Sewn For Under $30 Finished!
I had cried, I had perhaps cursed, but the dress was DONE!
Sew, other than my sanity, what did this dress cost?
Pattern: .99 cents
Outer fabric: $27
Inner fabric: leftover antique linen ~ free
All vintage and antique ribbon, lace, and thread: from my collected stash~ free
Creating an entire 18th-century dress for under $30~ PRICELESS!
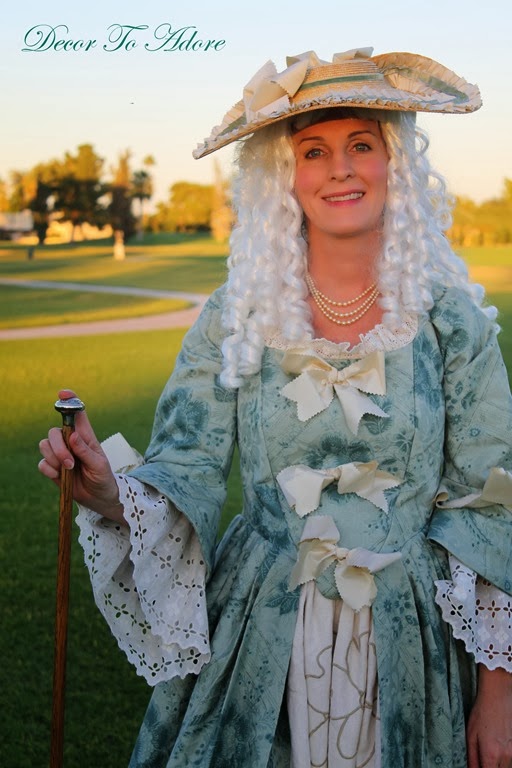
All The Details
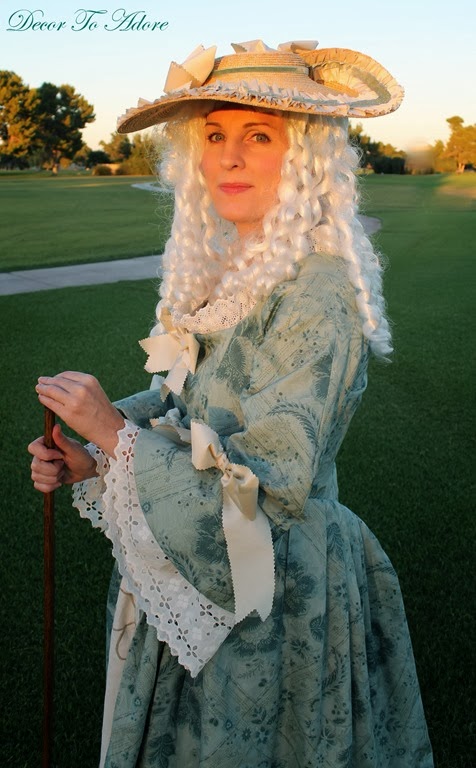
For details on the hat, you can go HERE.
Specifics on the shoes are found HERE.
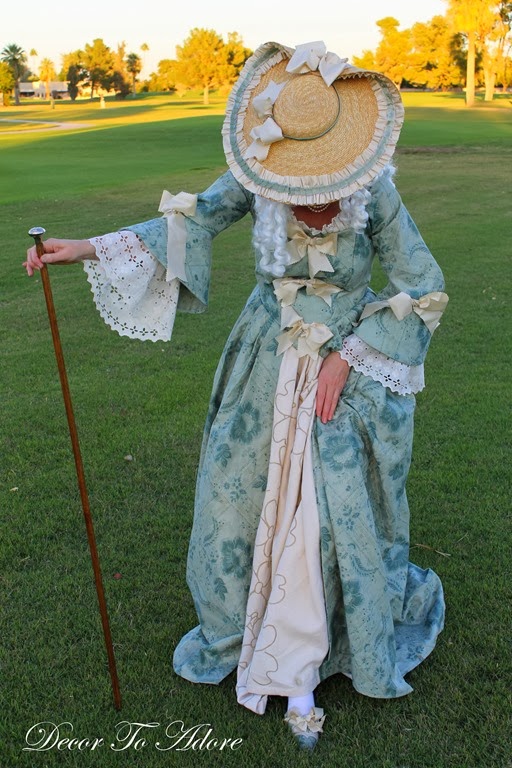
Lace sleeve ruffles were featured HERE.
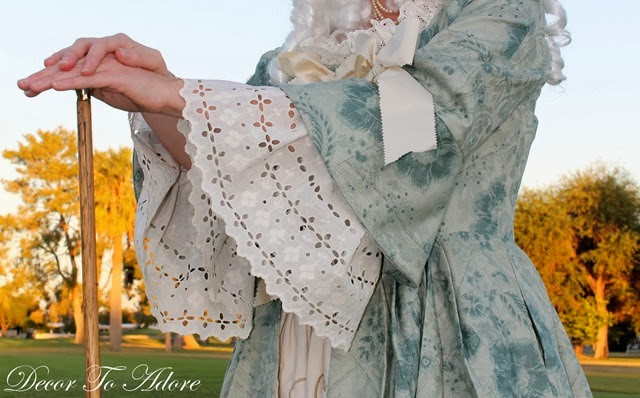
Fine points on bum rolls and Colonial pockets can be viewed HERE.
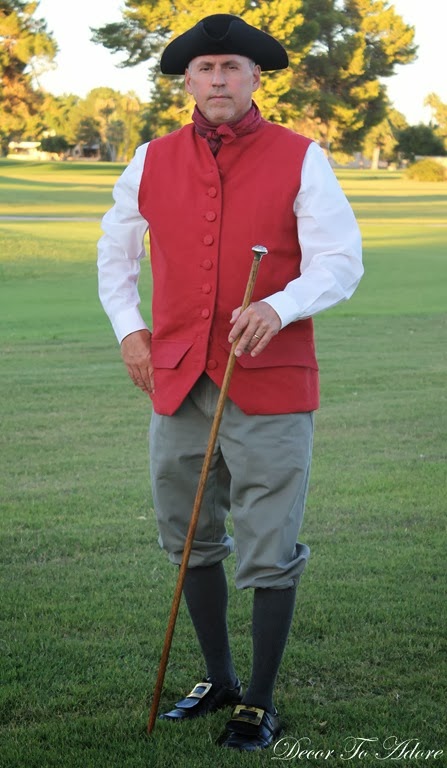
The 18th Century Gentleman’s Costume Post is HERE.
We do so hope you have enjoyed this festive frolic.
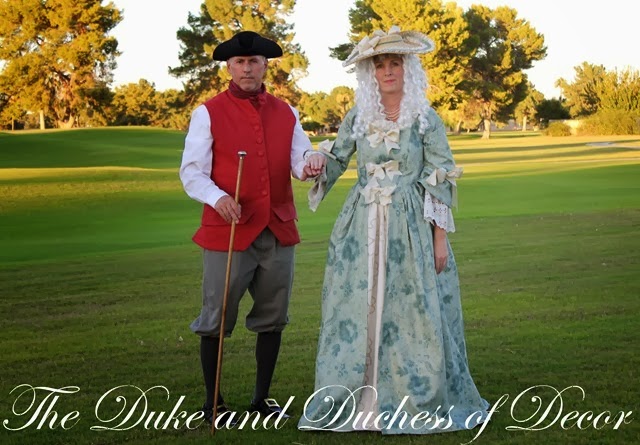
While no awards were bestowed on our costumes we graciously thank you for all your kind comments.
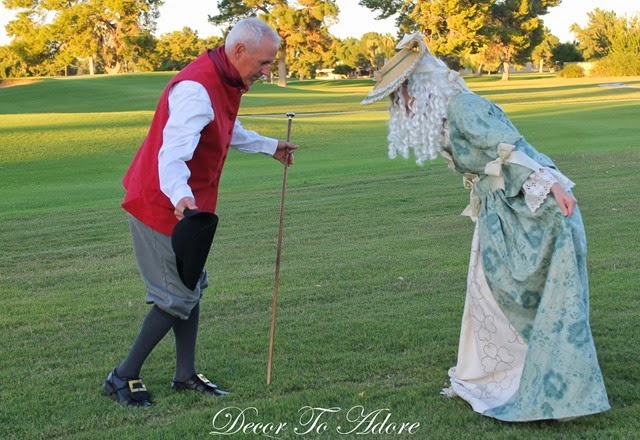
If the Duke and I show up at your manor door what kind of candy will you be passing out? (smile)
Laura
I can't tell you how much I have enjoyed this series, particularly since I cant sew a straight line. I appreciate your attention to detail and your ingenuity while honoring authenticity. Bravo on the finale.
Jane Austen is one of my favorite authors. I have read and watched her books multiple times over the years. I would really love to see you re-create a Regency Era gown, as my daughters and I pour over the details while watching the movies(A&E versions). Thanks again for sharing!!
I have enjoyed seeing how your costumes came together!! So happy you found a pattern that worked for you!!!!
Thoroughly enjoyable!!
The thought and time you put into this dress is impressive.
You and the Duke can come by our home ANY time and we'd have tea (or what ever you desire.)
Absolutely gorgeous! I am a seamstress and enjoyed reading the entire thing! I need to go back and read the others as well….I know I'll love them!!
You did an amazing job on both your costumes, Laura! The time you put into your gown shows in how beautifully it turned out.
I still can't believe all the detail in this piece. Totally amazing and gorgeous. Hugs, Marty
I made a “sew easy” skirt for a ball a few weeks ago out of tulle and taffeta and it just about killed me, so kudos to you and this amazing job!
You are a great seamstress…for me even attempting to sew this would make me a great seamSTRESSED!!! so pretty and I love the other pictures you posted of the beautiful dresses. I think my treat for you would definately be chocolate!!
Oh, Laura! You are a marvel and so is that dress!
You, know, I think I like it best with the linen in the front because it adds more interest. That was a blessing in disguise. You win first place in my contest, for sure.
Reece's peanut butter cups… Want some?
I bow to your mastery! Not only have you created a lovely outfit (well done you) but you've managed to fill many posts about the process……you leave me speechless with envy.
Love you,
Meri
Holy smokes this is a marvelous and ambitious creation~ it looks utterly fantastic!
You, Madam, are a Queen of The Sewing Machine. I am in awe! Go YOU!!! Xoxoxoxo Jenny
Laura you have more perseverance than I could ever have!! Your dress and your husbands period costumes are so detailed and truly amazing!
Xoxo
Karena
The Arts by Karena
Your dedication and attention to detail is so impressive. You did such a fabulous job on the dress ( both costumes). I would happily invite you in for some licorice and dried fruit ( trying to keep with your theme)
To answer your question. I would absolutely love to read posts as you create a “Regency Era” gown.
Hugs!
All I can say is that you are amazing.
My granddaughter (8 yrs. old) has developed a passion for Shakespeare and I'm about to fashion her a Juliette gown for a Christmas gift. I don't expect to come close to what you have done in period dress, but you have inspired me. Thanks you for this series!
i think you should sew an Elizabeth Bennet dress!
I'm passing out chocolate covered dachshunds!
I feel like jumping off a bridge now because all I have is the rejected Mill Farm pattern cited here! If you had to do it again, would you tackle the Mill Farm Pattern next time, since you improvised so well? Where do you live? Help! I need this by Thanksgiving, so for Halloween I could bribe you with…uhm…Gift certificates to local vintage and fabric stores???