You can make an inexpensive desk and shelving unit in just one day. Here is how we created a DIY Desk & Shelving Unit Teen Boy.
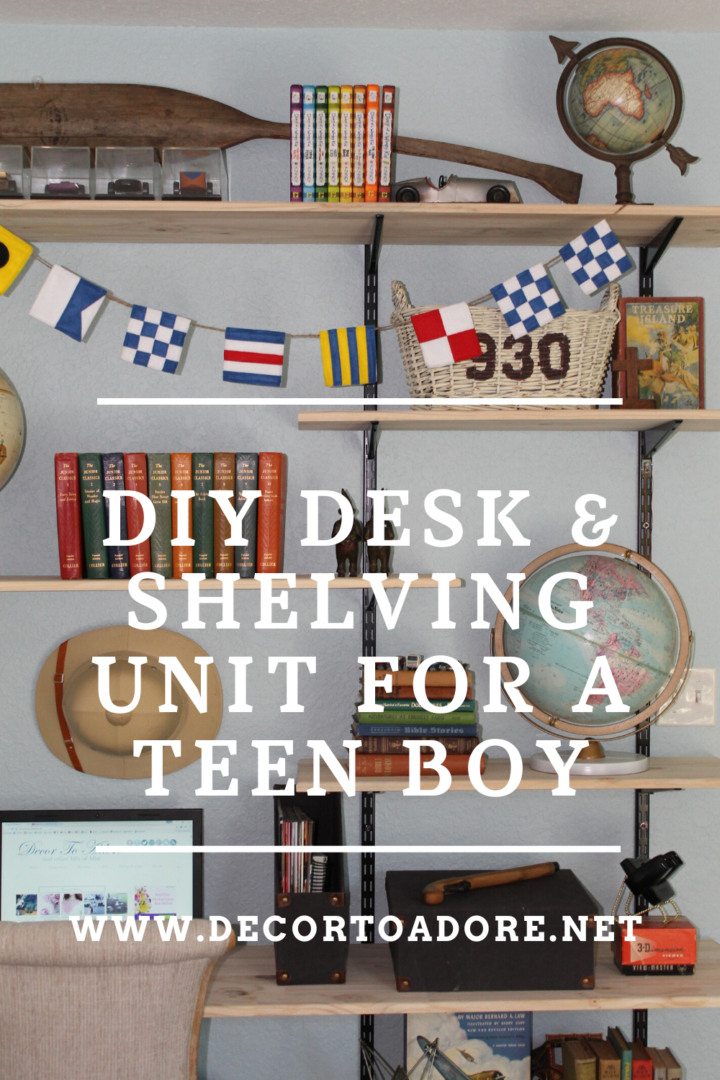
DIY Desk & Shelving Unit Teen Boy
This set of wooden shelves, which incorporates a desk, was created for Sweet Guy’s room this past Saturday.
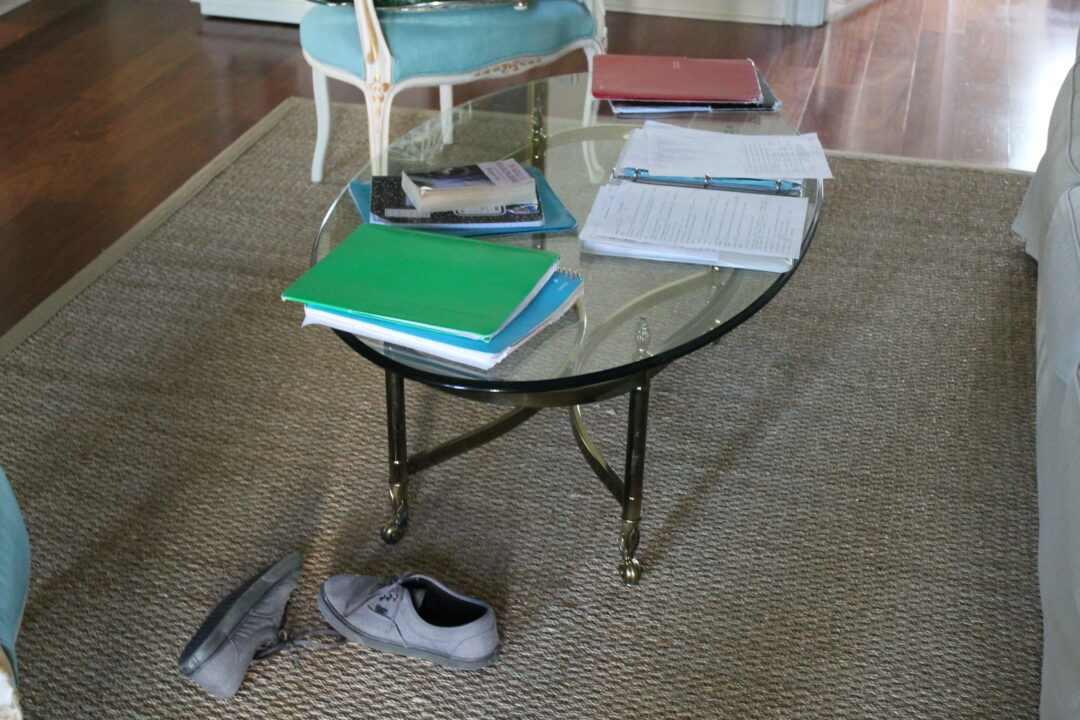
It is said that “necessity is the mother of all invention”. This is absolutely true in this case. I had grown weary of finding textbooks and other schoolwork paraphernalia strewn across various rooms in our house. To be fair Sweet Guy did not have a designated area for his studies but that was about to change.
After looking at Pinterest for inspiration, with a bit of input from the student, it was decided that a combination of black metal shelving tracks and brackets would hold simple wooden shelves. This look is decidedly rustic and somewhat industrial, which is perfect for a boy’s room.
Supply list for the look as shown:
- Two 1” x 12” x 8’ wood panels (for top shelves)
- ** long shelf measures 64” L after the cut, medium shelf measures 42 1/2” L after the cut, two short shelves measure 31 1/2” L after cut **
- Nine 11.75” steel shelf brackets (to hold top shelves)
- Three 70” steel wall mounted shelving bars, double track
- One 1” x 16” x 8’ wood panel (for desk and printer shelf)
- ** desk measures 64” L after the cut, printer shelf measures 30” L after cut **
- Five 14.86” steel shelf brackets (to hold desk and printer shelf)
- Screws for installation
Tools used:
Power drill, circular saw, level, stud finder, router, and hand sander.
You can also have your home improvement store cut your shelving/desk pieces to size to eliminate the need for some of the tools used.
Decide where you would like your wall-mounted tracks.
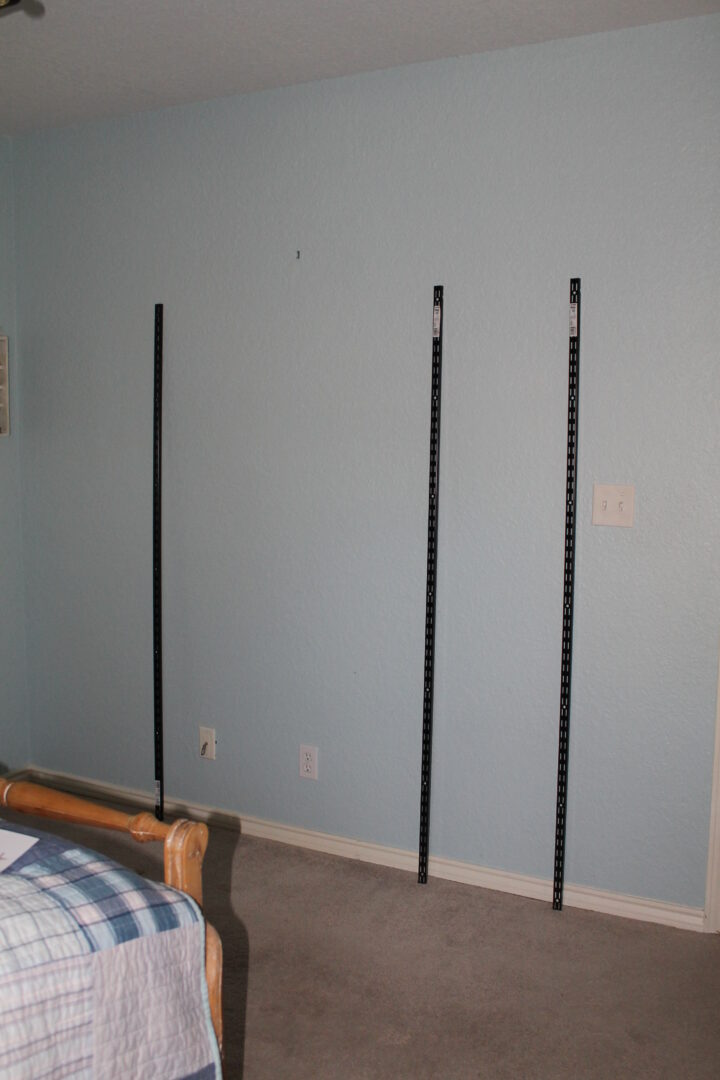
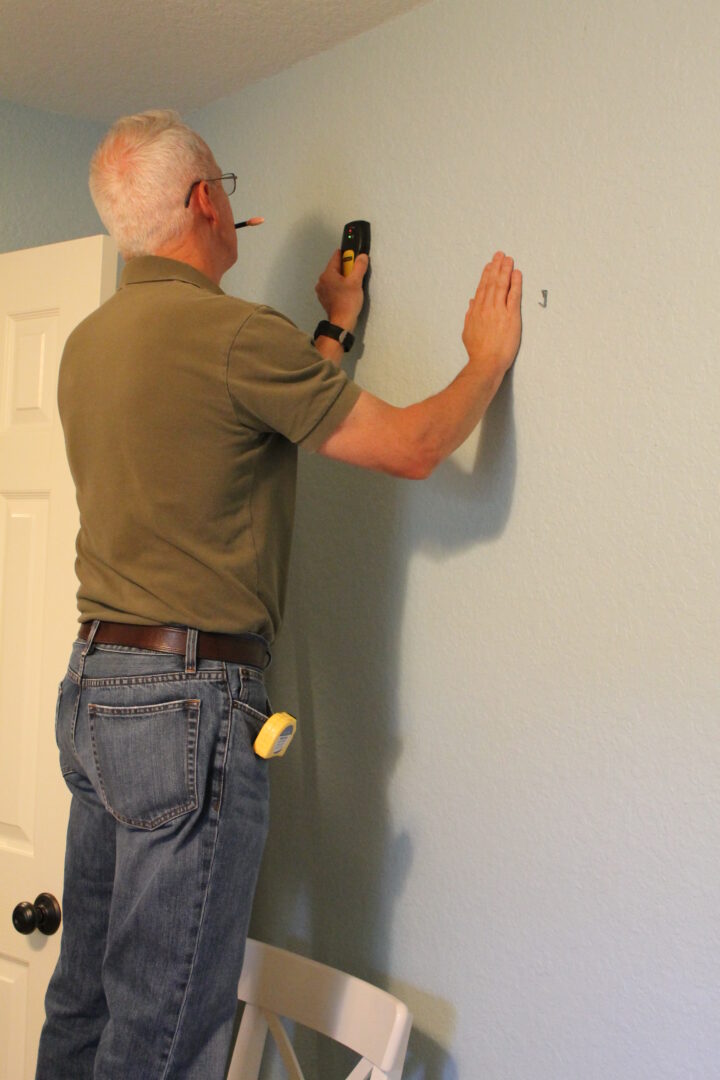
It is best if the wall-mounted tracks are screwed into wall studs for maximum support of the shelves and their contents. A stud finder can give you an accurate location.
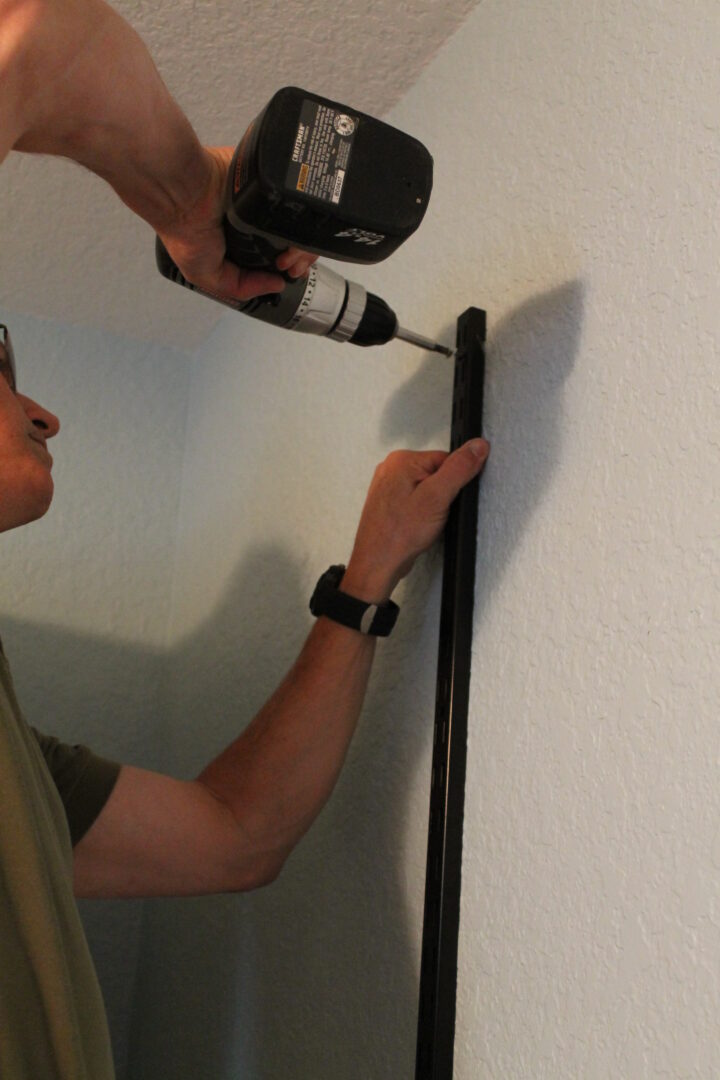
After determining where the metal track is to be installed simply use a drill to insert a screw into the wall to secure the tracking. We applied the screws at the top, then the bottom, then the center.
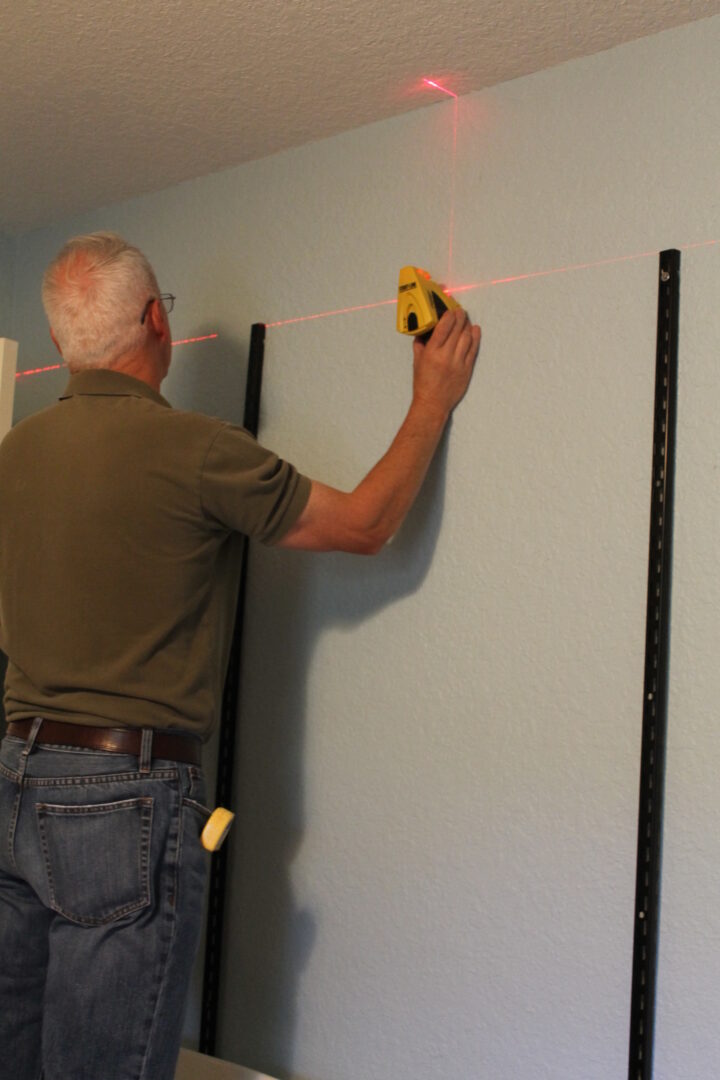
Repeat the process for each track used. It is recommended you use a level to ensure straight placement.
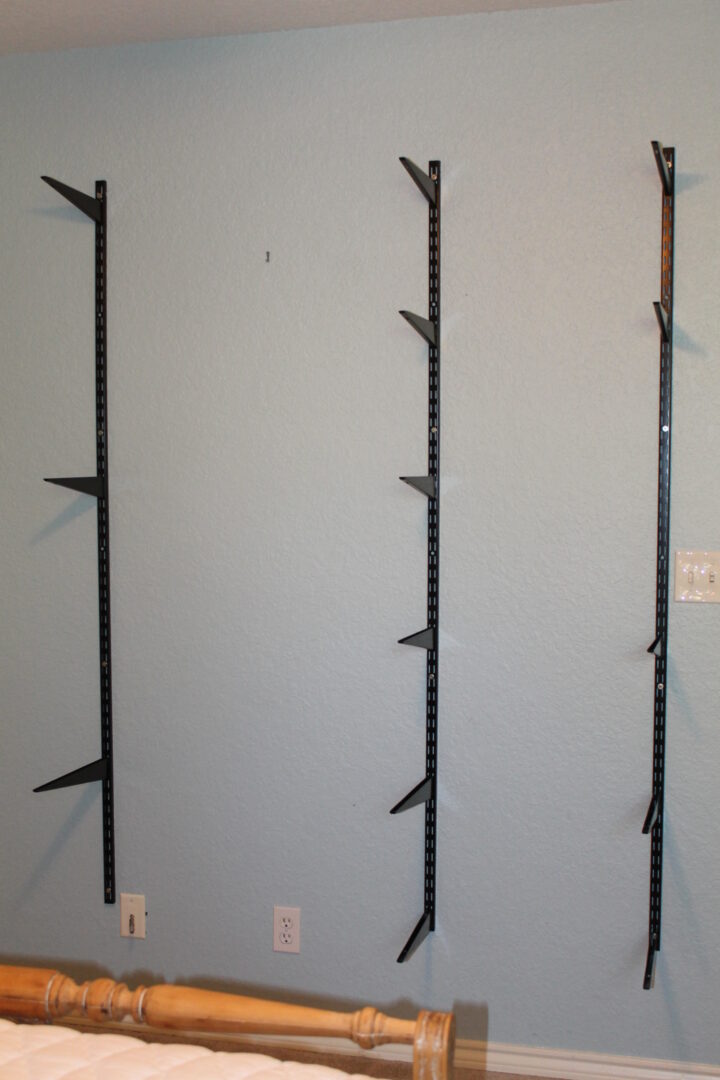
The brackets, which hold the shelves, simply slide into the tracking.
I am pretty proud to say that I myself cut each of the wood panels down to the size needed. This was my first time using a circular saw. I made sure to measure twice before each cut to ensure no mistakes were made. Mr. Decor sanded the panels smooth.
To smooth the wood finish and ensure there are no splinters a quick pass of the hand sander was applied. You can also use sandpaper alone.
Safety tip: make sure you wear goggles and earmuffs to protect your sight and hearing.
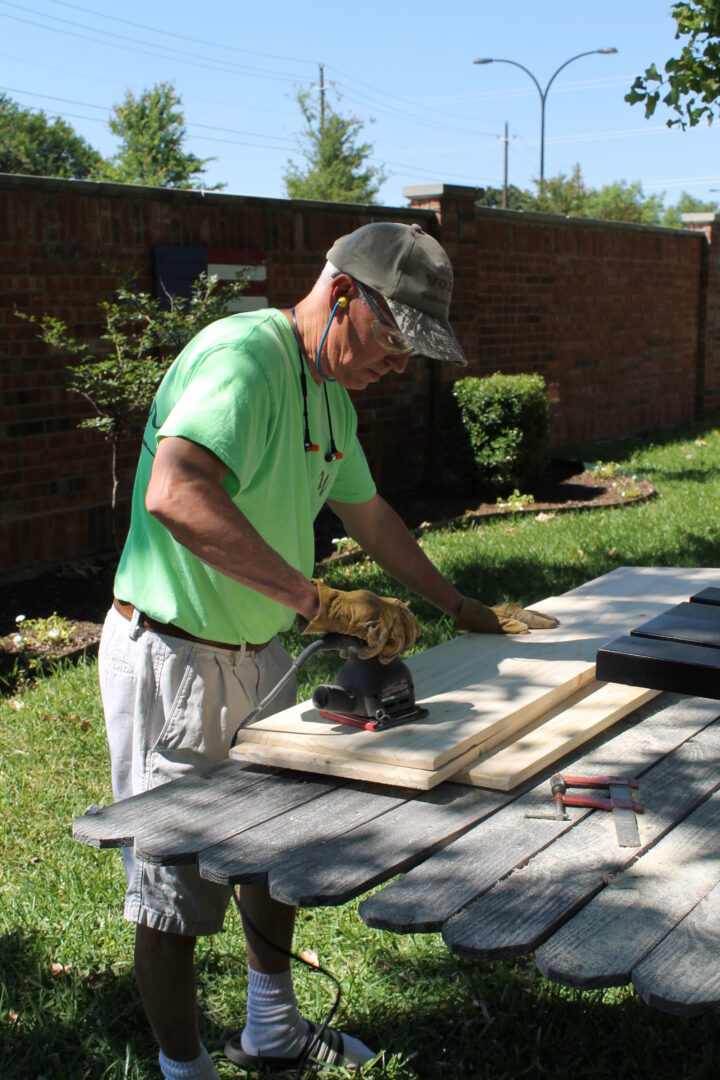
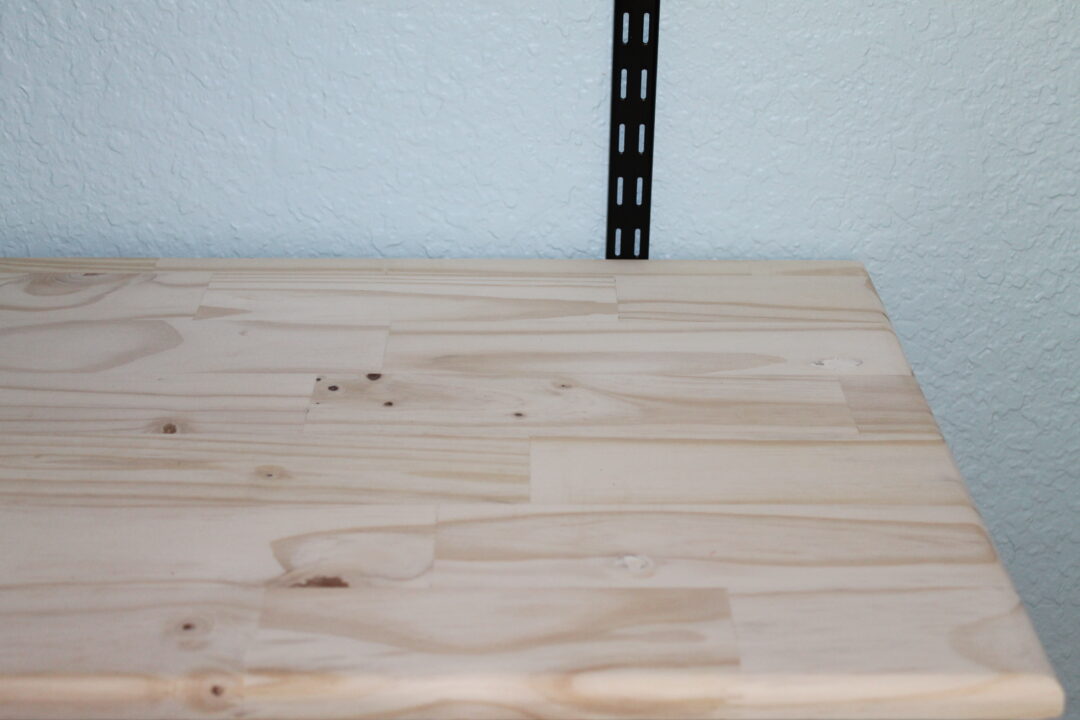
You can simply use the shelves after cutting them to size. We opted to round the edges making them a bit safer.
This is done by running the edge of the wood along a router. Different router bits create various edge finishes.
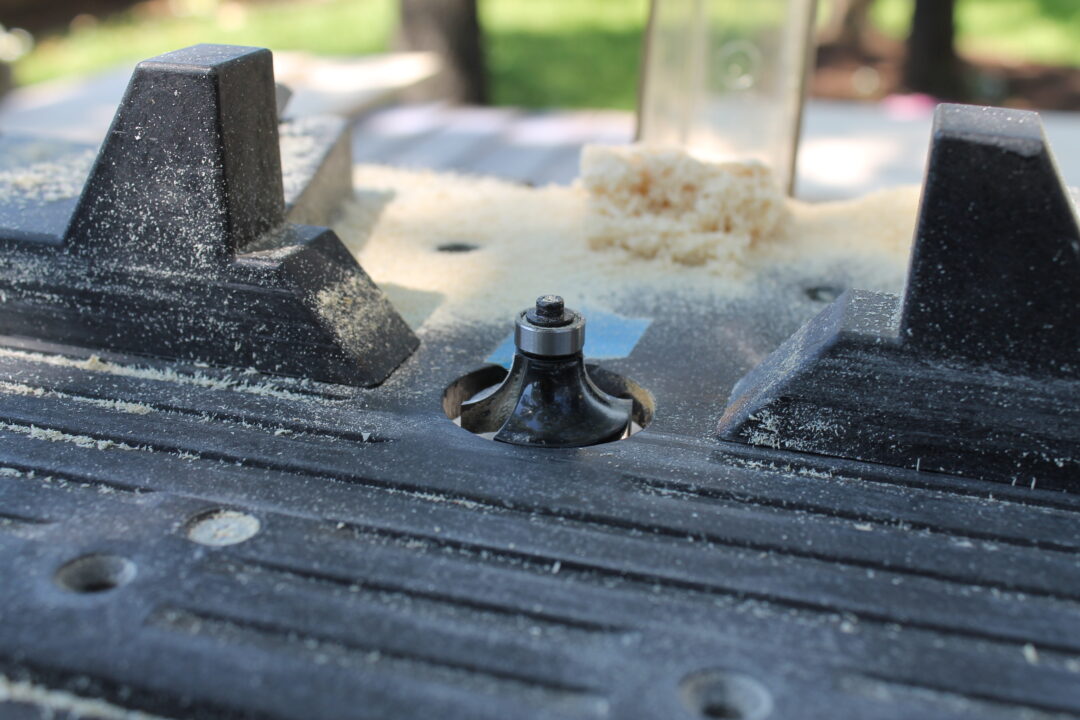
Then comes the best part, styling the shelves!
As always I look for meaningful objects within our own home to display first. Then I fill in with treasures found at estate sales, thrift, and discount stores.
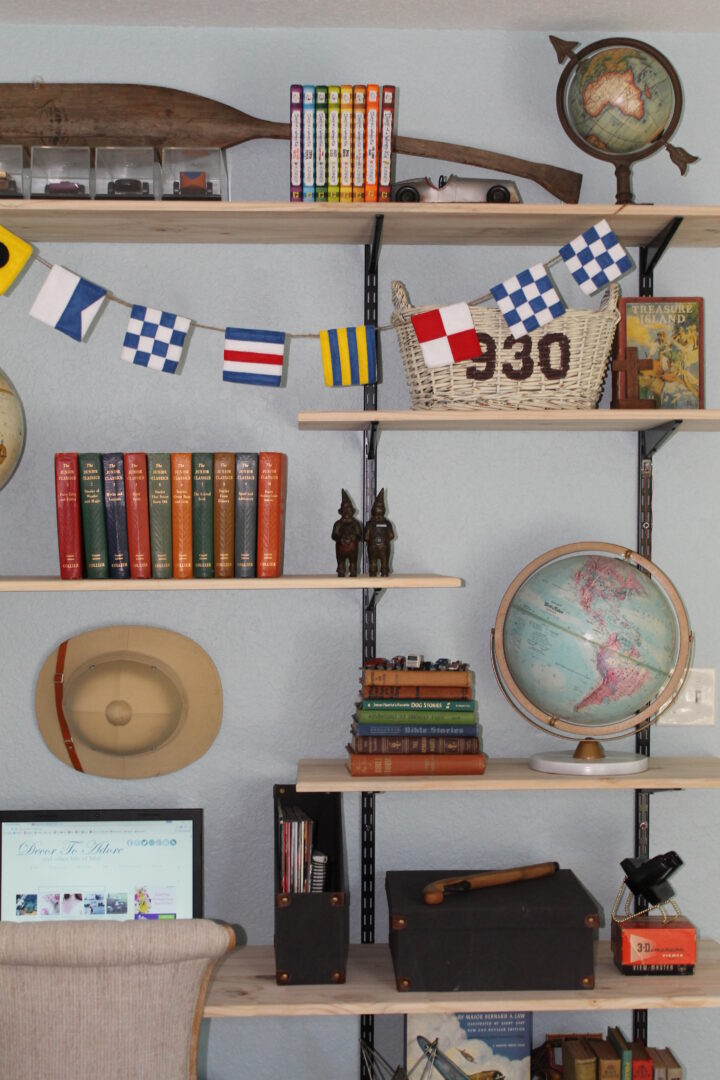
Top shelf: vintage oar belonged to my dad, Norman, Sweet Guy’s own Cub Scout boxwood derby cars in display cases, set of “Diary Of A Wimpy Kid”, metal car Homegoods, small globe Hobby Lobby.
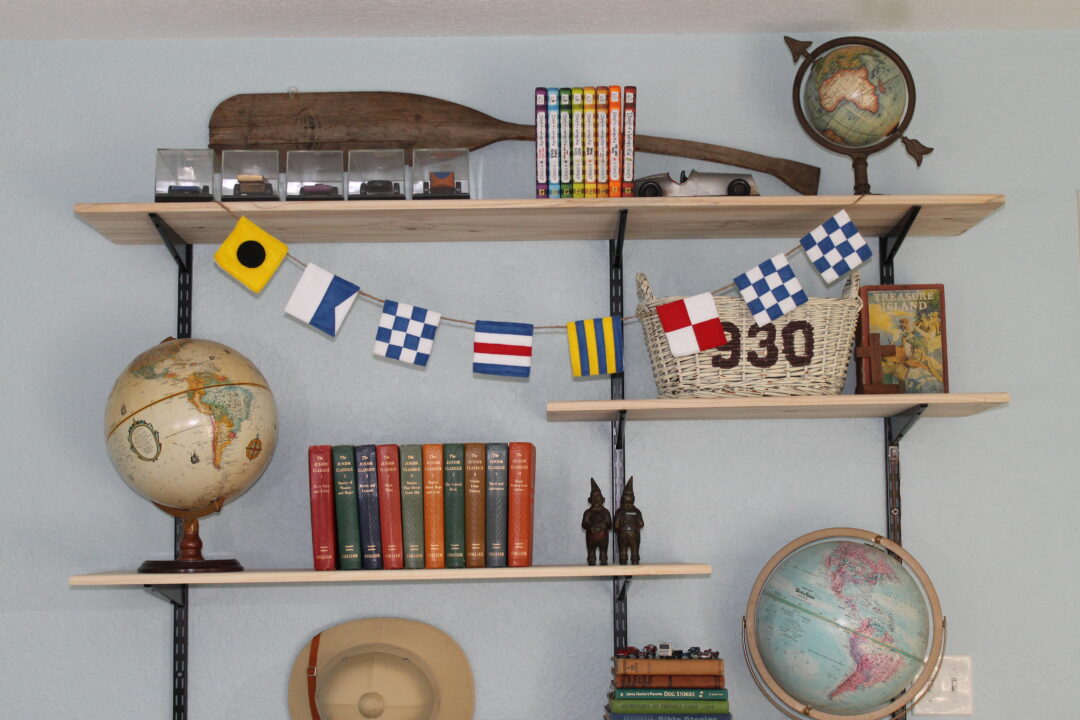
Second shelf: maritime signal flag garland, typography basket, small wooden cross (made by Uncle Pete), and a vintage edition of Treasure Island that belonged to Papa Jack.
Third Shelf: vintage globe, vintage collection of The Junior Classics that belonged to my mother, Karen, and a vintage metal clown bank that belonged to Mr. Decor’s mother. (The two pieces are shown unscrewed.)
Fourth Shelf: vintage globe, various vintage children’s hardbacks topped with vintage “Tootsie Toy” metal mini cars.
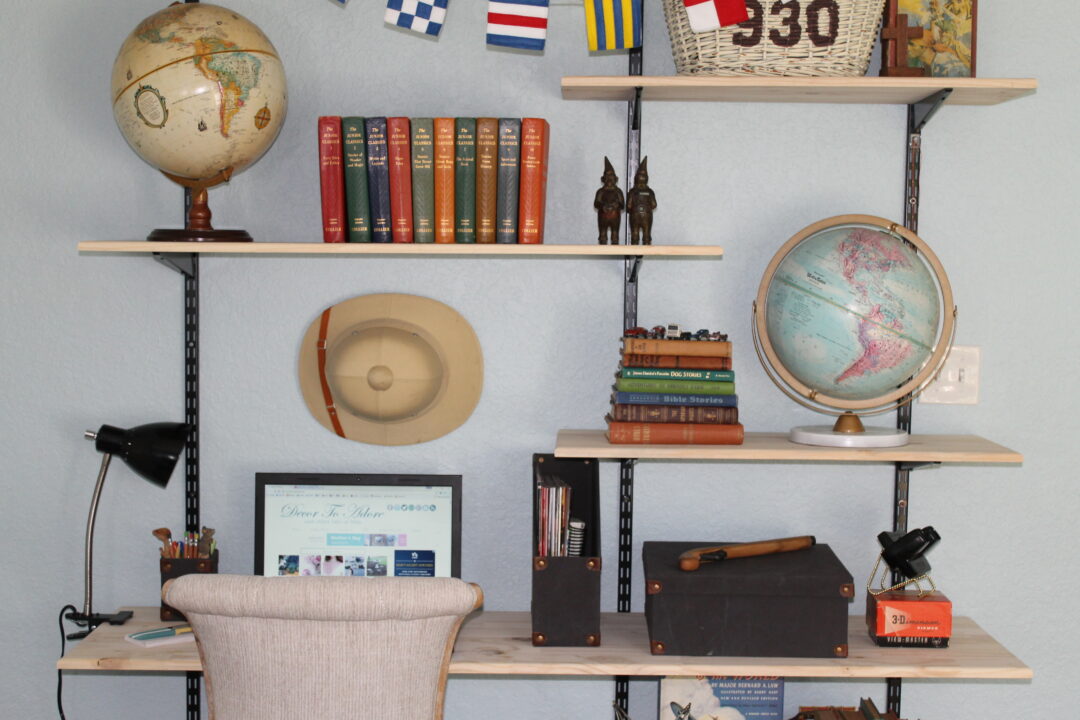
Desk: clip-on desk lamp, vintage Pith explorer helmet, pencil, magazine, and paper holder Homegoods, antique replica wooden toy gun, vintage 3D Viewmaster belonged to my mother Karen.
Bottom shelf: various children’s hardbacks, toy double-decker buses, metal star sculpture Homegoods, vintage Homeco stagecoach belonged to my Papa Jack who worked for Wells Fargo.
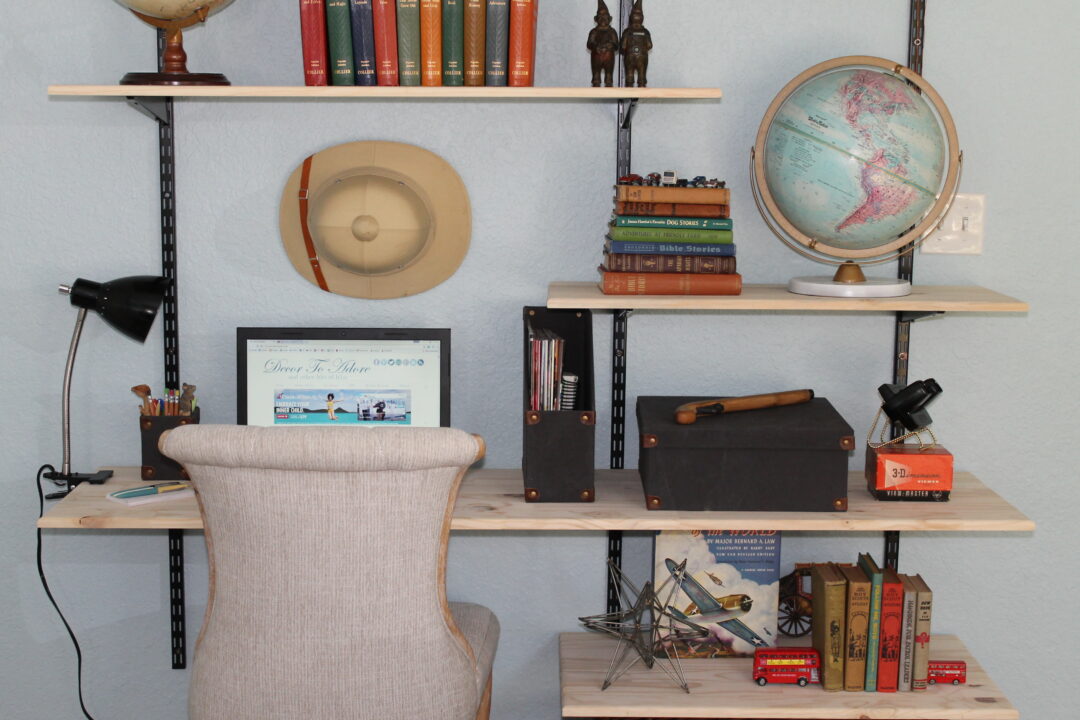
The total for this project was $132.64. Far less than similar units we had priced.
Sweet Guy loves his new desk and shelving and I love not having schoolbooks strewn all over the house.
What have you created lately?
Laura
Laura,
That looks really, really nice!! Everything at your house looks so put together. It's definitely not the case at my house and I seriously doubt it's ever going to be the case. We just have a ton of stuff, very limited space to keep things and I don't have the will to go through everything and clear it out.
Love, Linda
I love it and you have it styled so beautifully too.
Sweet Guy's desk looks great! Every one student needs their own study center to keep their books and tools. The shelving unit makes a great industrial look for a guys room but these could easily be 'prettied up' for a little more feminine look as well. How brave of you to use the circular saw. I have used the miter saw and even the table saw once but draw the line at that beast. lol
Thank you for sharing your awesome project and Happy Studying Sweet Guy! Another school year is almost over 🙂
That looks fabulous, Laura! And very good instructions. But in the get-real department, how long do you think the shelves will stay so tidy! I'm thinking in the teen boy world I used to be part of — maybe a day?
Here's hoping your Sweet Guy is a little better about it because it looks terrific!
You're braver than I am, Laura. I'd be missing at least a few fingers if not my arm, using a saw LOL
The project turned out great 🙂
xoxo,
rue
Oh, Laura, what a beautiful unit has been created. I loved seeing the pictures of you and Mr. Decor working on this project together. The end result is wonderful! I loved reading the description of what was on each shelf and the sentiments behind each one. What a treasure you have given Sweet Guy!
xx
Dianna
Love it, Laura! I have a small circular saw I recently got and I'm dying to use it. (Kind of scared too ha). The shelves and desk turned out wonderfully. And all the special objects on them! How cool! I enjoyed reading about them.
Way to go, Laura! Beautiful job, and I would so love to use power tools. That's fierce!
Looks GREAT! Meaningful styling is the best. Great job and very attractive.
The unit is functional, yet quite attractive. I love how the shelves are styled for visual interest, as well as providing functional space for a busy student.
Such an attractive and yet completely functional solution to your problem, Laura! Thanks for sharing your posts with us at Vintage Charm 🙂
This looks awesome, Laura! I think this may be the answer to organizing my son's room–he needs space to display his LEGO creations, and you can only fit so many free-standing bookshelves into one room. But I could fill a whole wall with shelves like these, and I love the fact that you can tailor the height of the shelves to whatever is needed. Thank you for the thorough instructions!
Thanks so much for joining the Grace at Home party at Imparting Grace. I'm featuring you this week!