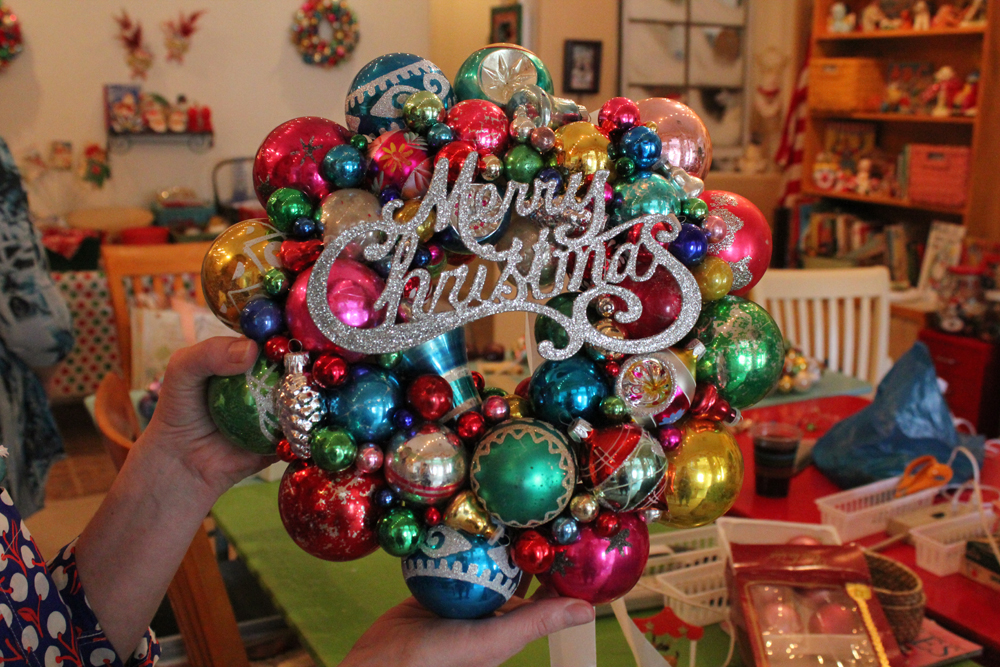
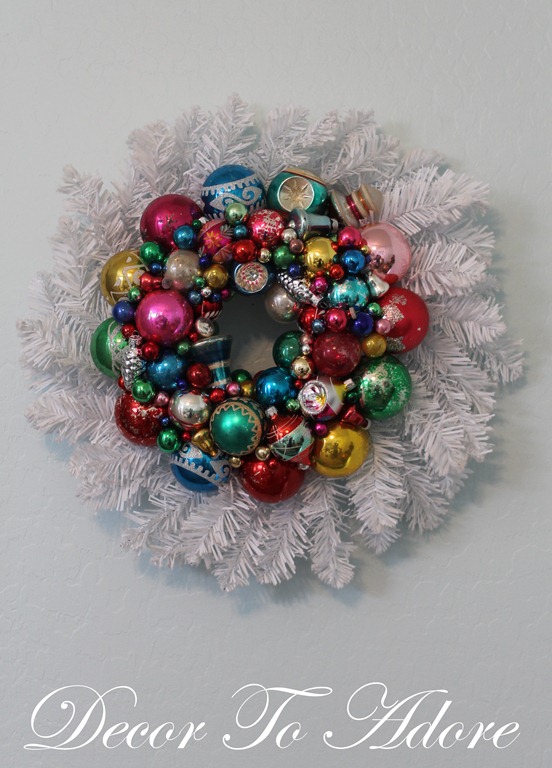
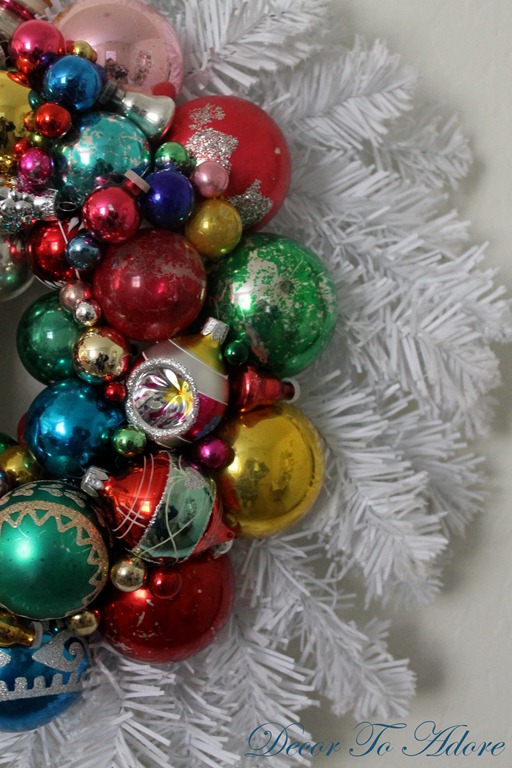
It seems that every holiday season I create a new wreath. But I think that this may be my favorite yet! Here is the Sparkle and Shine Wreath.
It’s been a long time coming.
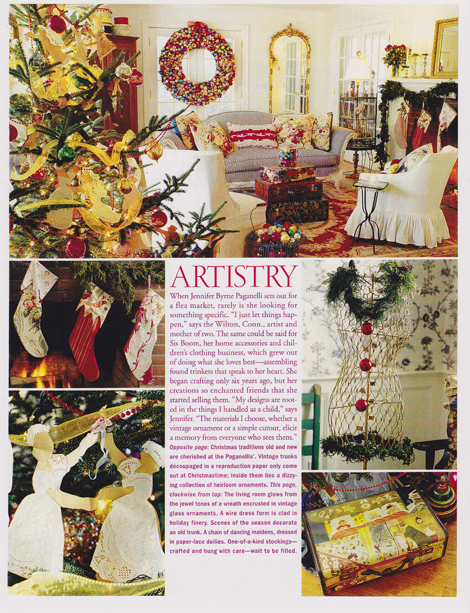
I can remember the exact moment I spied a vintage ornament wreath. It was way back in 2001 ~ nestled within the pages of Country Living’s December issue. Its creator was Jennifer Paginelli of Sis Boom fame. I was completely and utterly captivated.
Sparkle and Shine Wreath
Better late than never! Eleven years later I completed my own (slightly smaller) vintage ornament wreath.
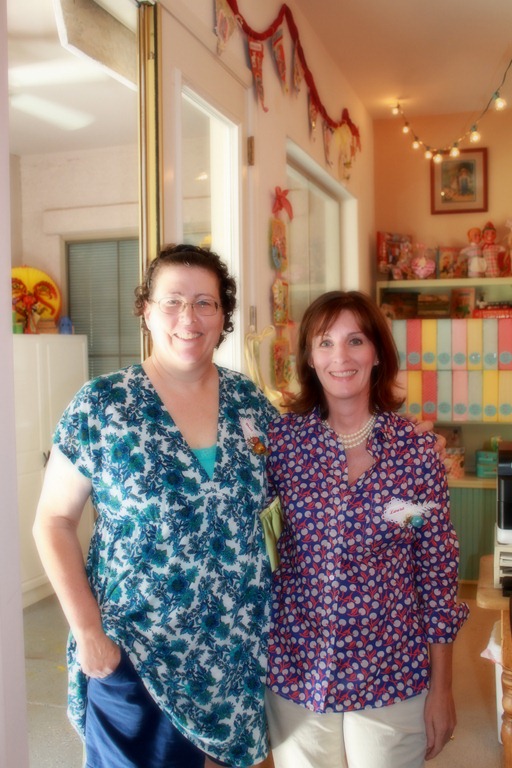
My dear friend Meri hosted a workshop in November on how to make the wreaths and I knew this was just the ticket to get me motivated. She provided a great tutorial HERE.
(If you ever get invited to her studio, GO! 🙂
How To Make The Wreath
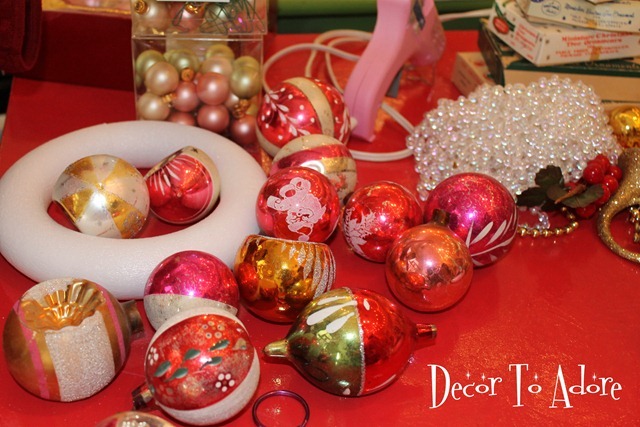
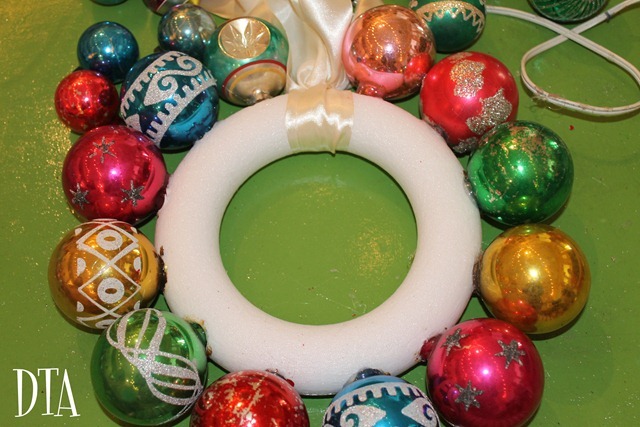
You will need one styrofoam wreath. The size is up to you.
A very hot glue gun and PLENTY of glue sticks.
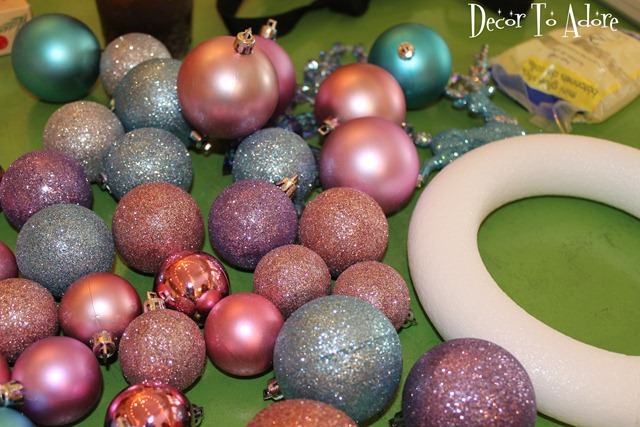
Then, of course, there are the ornaments. For the 7” wreath I used well over 100 small, medium and large vintage ornaments.
If you don’t happen to have a large collection of vintage ornaments you can also use new ornaments. These sparkly gems were from the dollar store.
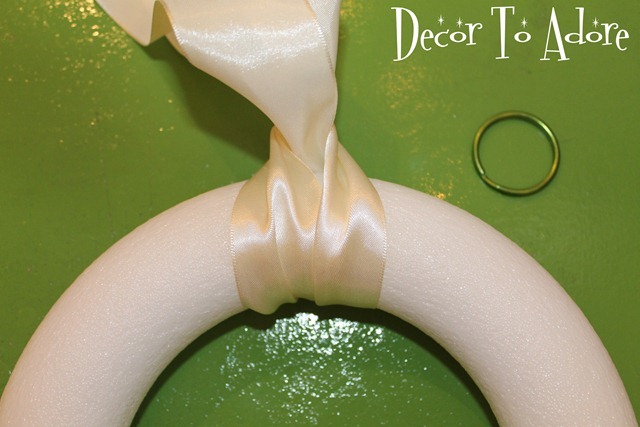
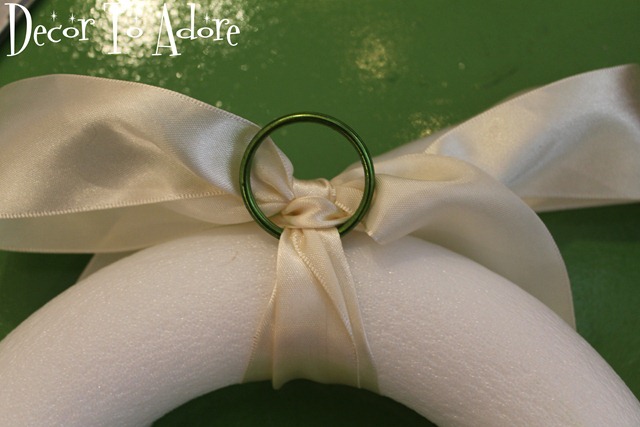
You need a way to hang your wreath. I began by looping satin ribbon.
Tie on a key ring.
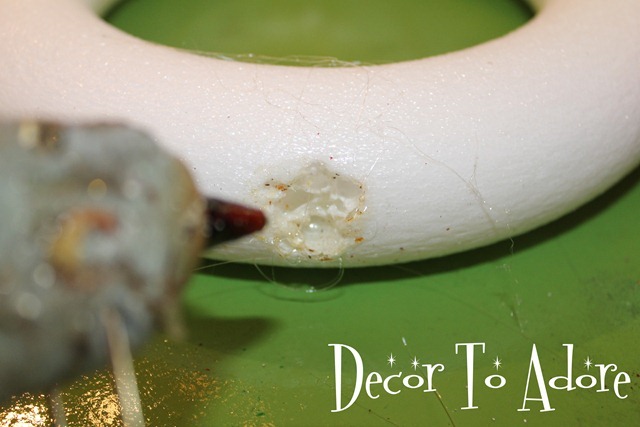
Lay your styrofoam wreath on a flat surface and position where the first ornament will go. Create a hole with the hot tip of your glue gun. (Use just the tip, do not fill the space with glue.)
It will sound like popcorn popping as you burn an ever-enlarging area.
Then add a bit of hot glue to the ornament top and position in the hole.
Be forewarned, if you try to push or shove your ornament in, it will shatter. It took me a few lessons before I learned this. 🙂
Lather, rinse, repeat.
Keep On Adding Ornaments
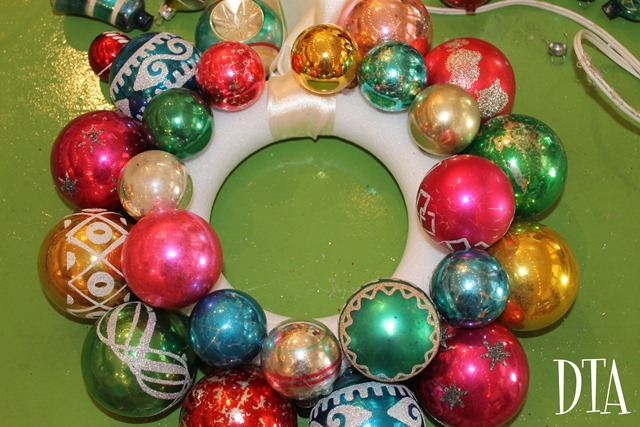
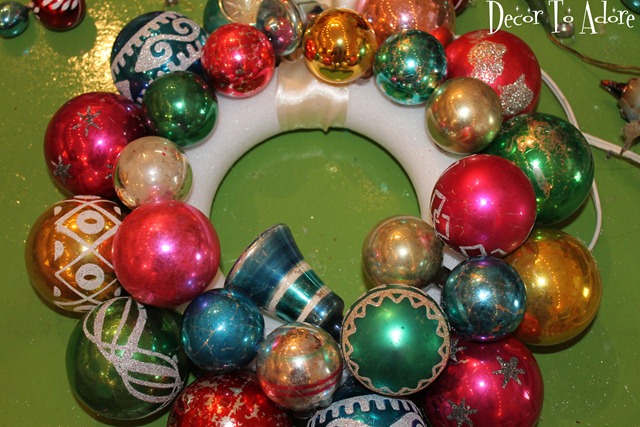
On the second layer position the ornament in the middle of two ornaments on the first level.
Keep filling in the wreath with ornaments. I was so glad I was at Meri’s house and there was a delicious lunch break. You will need several hours to complete the wreath. Particularly if you are a chatterbox. Once the larger ornaments are in place you will fill the empty areas with small and extra small ornaments.
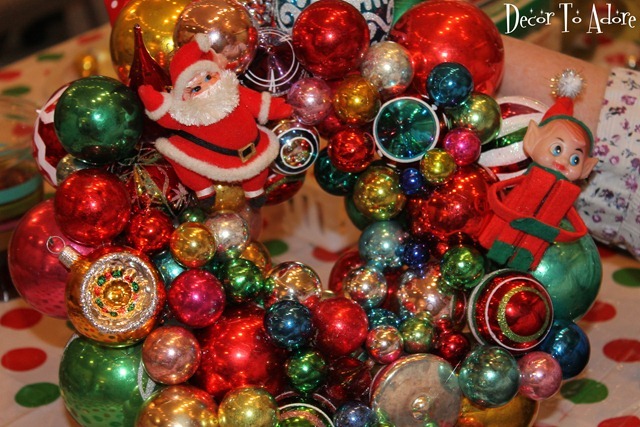
Here was my wreath when I left Meri’s.
Other Wreaths
This was Gail’s finished wreath of dollar store ornaments. Stunning!
I just had to include Sandy’s darling wreath for cousin sweet T. She has had the exact same Santa on her Christmas tree every year since she was born. We have a family joke about this ole St. Nick. I know this will make her smile.
Once I got home I tried out my wreath in a variety of areas and it just didn’t look right. It was too small.
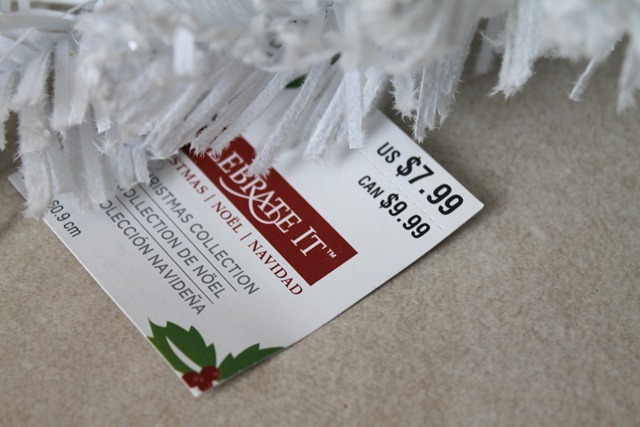
Cruising Michael’s with a 50 % off coupon I had an “Ah ha!” moment.
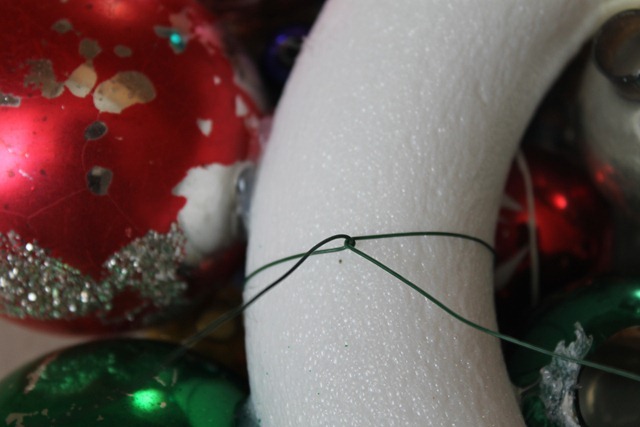
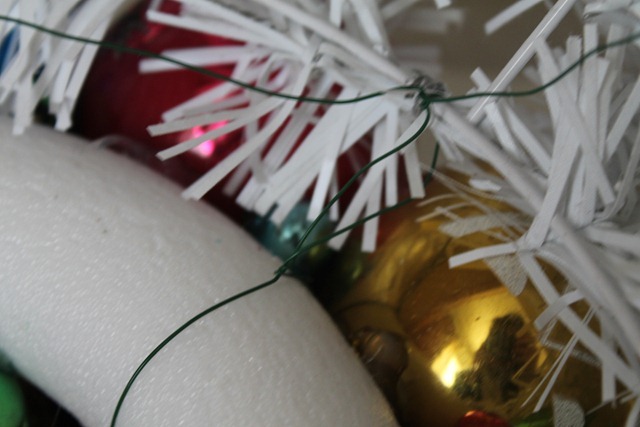
I removed the white satin ribbon from the wreath and then carefully threaded florist wire under the wreath weaving through the ornaments.
Then I secured the wire to the flocked white wreath and twisted the wire several times so it would be secure.
I then hung it up and stood back.
It was as if a chorus of angels began to sing the Carpenter’s “Close To You”.
“On the day that you were born the angels got together
And decided to create a dream come true
So they sprinkled moon dust on your ornies
And golden starlight on your bulbs of blue.”
This post is dedicated to my mother, Nadine, on her birthday. You are missed ever more with each passing year.
Have you shared some sparkle today?
Laura



Hi Laura,
How lovely!!! I've always wanted to make one of these and now I'm inspired.
hugs
Sissie
I absolutely LOVEEEEEEEEEEEE how yours turned out!!!! I am loving the white flocked wreath behind it!! That is just genius!!!!
Love your posts!!! You always give me good ideas, thank you, Julia
Beautiful. what a great tutorial.
I do have to say, my 2 favs were the poem and your birthday wish for your Mom. She's only a wish away..
Love, love your wreath, Laura! So pretty and festive! Great tutorial. Thank you for sharing! I think I will have to give it a try!
Oh how fun, I love yours, it looks amazing. Great tutorial too. Hugs, Marty
That was such a fun day……..I wanna' play again!
Your tweaking is amazing as usual.
Love ya'
Meri
Laura,
Your wreath is the best one I've seen in blog land! It sparkles and shines just like you. 🙂
Beautiful job. Thank you for the tutorial.
Your Friend,
Deborah
FairfieldHouseNJ.com
Your ornament wreath is so pretty. I love the white wreath behind it as a base. That would be a fun class to take.
No matter how long it has been since a loved one has passed away, Christmas time seems to leave a little ache in our hearts as we all gather for our dinners and celebrations. Keeping their memory alive with small traditions are a sweet tribute and tie all the generations together. {Hugs}
Your wreath is beautiful, Laura! I love your solution for making it bigger. I've done that with two grapevine wreaths before {to bulk up wimpy wreaths} but this is just perfect for Christmas.
Gorgeous wreath-love the vintage flair! Happy holidays to you and your family-Claire
Adorable!!
I too remember that wreath in CL…and I might or might not have drooled!!! I'm amazed at how many ornaments your wreath required….I wonder how many are in that large one?
I've been enjoying your projects.
Merry Christmas!!
so so fun and lovely Laura! I've wanted to make an ornament wreath for several years too. My hubby always says 'where are you going to store it?' Sigh.
Hi Laura! OH, I love your sweet wreath and you did so good! I love it.
I made one a few years back and used plastic balls so it wouldn't get busted up! 😉
Be a sweetie,
Shelia 😉
Oh! I just love it!!!
How fun! Your wreath is just lovely! As well as your sentiment about your Mother. Think I might tackle making one myself. 🙂 Pam
What a gorgeous wreath Laura! I love how it is framed with the white wreath. Very pretty! Have a very Merry Christmas and thank you for joining me at Home Sweet Home!
Sherry
Oh wow your wreath turned out beautiful, I love all the pretty vintage ornaments you used….
Now I want to go and make one….lol….
Thanks for the great info…..
Happy Holidays~
Mari
The white around your wreath adds “punch”! Perfect.
LOVE your tree topper!!
Warmly,
deb
Laura, love your picture of Jesus. God knows this pain, He gave His son. Your wreath is a beaut! One for each heart that needs prayer tonite.
Great tutorial! Thanks, Laura!
Wow!! I have always wondered how to make these. Thanks for the how-to! 🙂 Kit
Laura, I just caught your wreath on Charm of Home features. I just love it and have always wanted to make one. Thanks for the tutorial.
This is absolutely gorgeous. I love how your house is decorated for Christmas too! Thanks for sharing. Patti at OldThingsNew
http://www.patricia-krank.blogspot.com