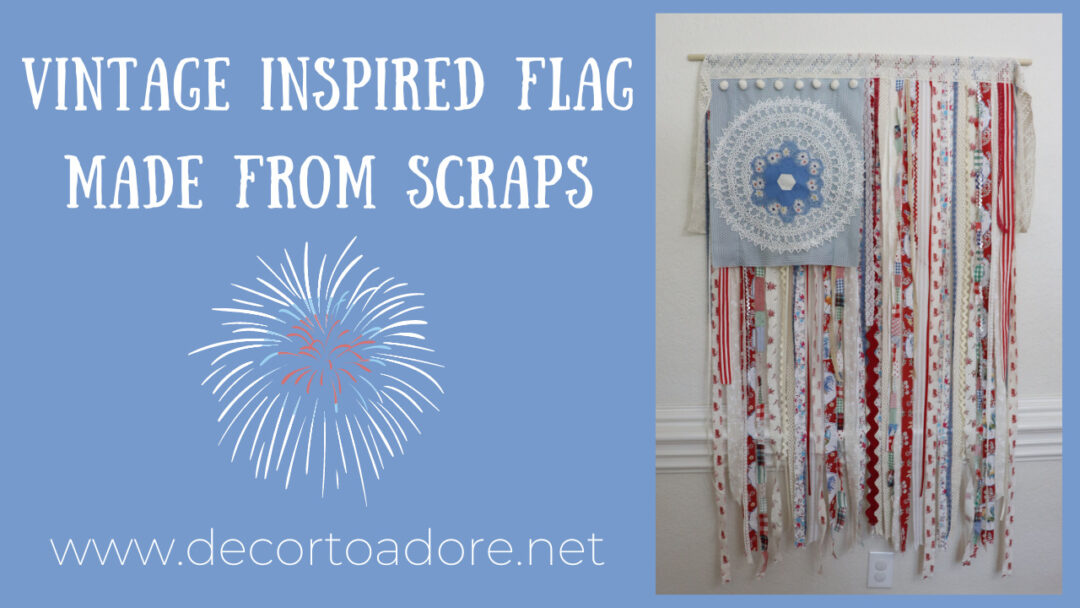
Hello sweet friends, this is a very special Fabric Friday! Today I am participating in the Patriotic Celebrations hop hosted by Follow The Yellow Brick Home. Amber’s decor truly is so inspiring and left me singing Yankee Doodle Dandy! Today I will be sharing a Vintage Inspired Flag Made From Scraps.
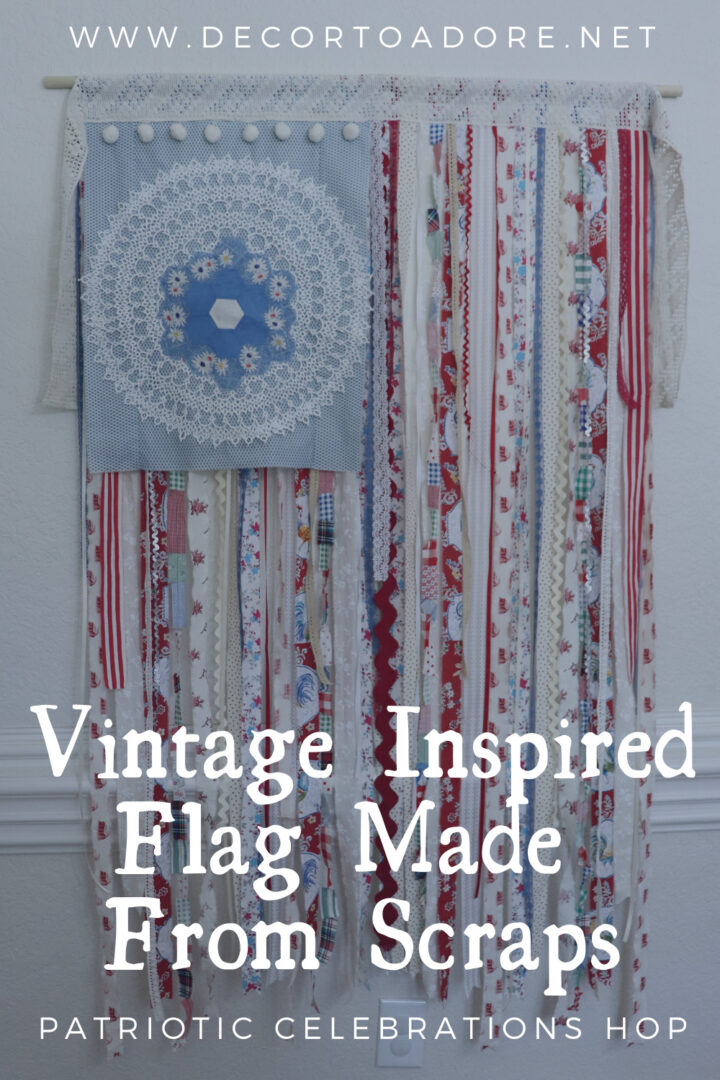
Vintage Inspired Flag Made From Scraps
Way back in 2013 I had pinned this small wall hanging created by A Gilded Life. (Their new website is HERE.) I loved all the bits and bobs that were used to create it. Apparently so did a lot of other people. I’ve seen many similar creations done over the years.

I’ve been quietly saving my red, white and blue sewing scraps for a few years now. It was felt like the time was right to finally make my own. However I wanted to put my own twist on things.
First and foremost I decided that my flag was going to be BIG.
Here at Storybook Cottage we have a flag hanging on the front of our home 24/7. (Don’t worry with a retired Air Force service member and an Eagle Scout living here it is properly lit at night.)
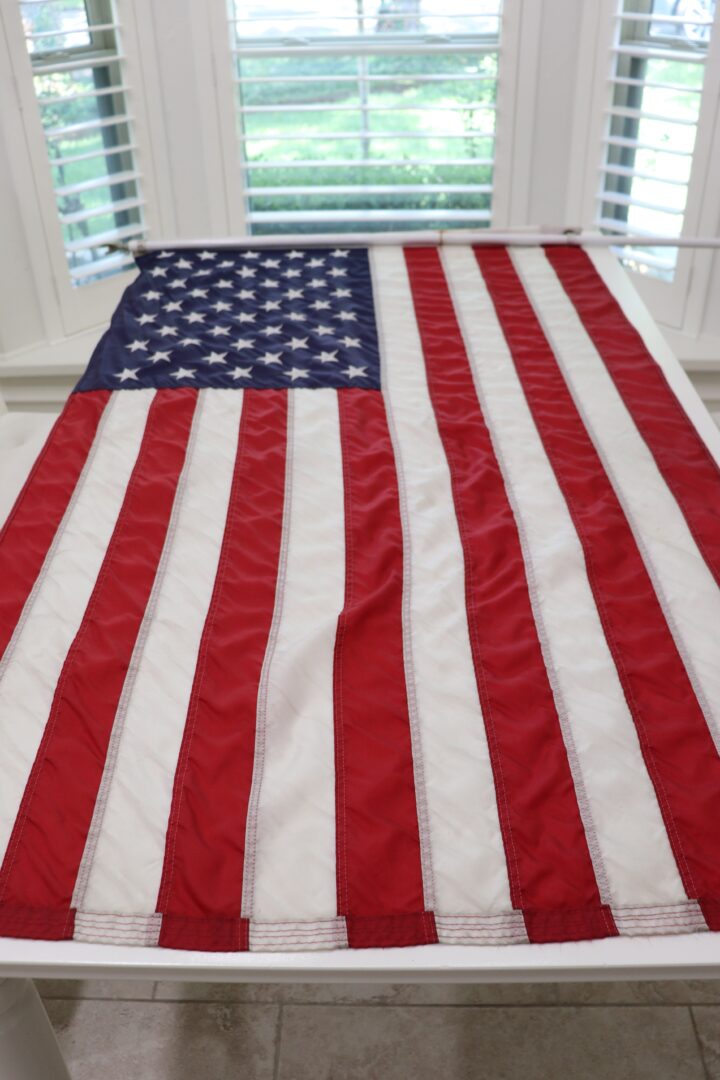
I carefully took the flag down and laid it out on our clean kitchen table to measure it. Overall it was 33 1/2″ by 57″. The Union portion (the blue rectangle with stars) measured 18″ by 23 1/2″.
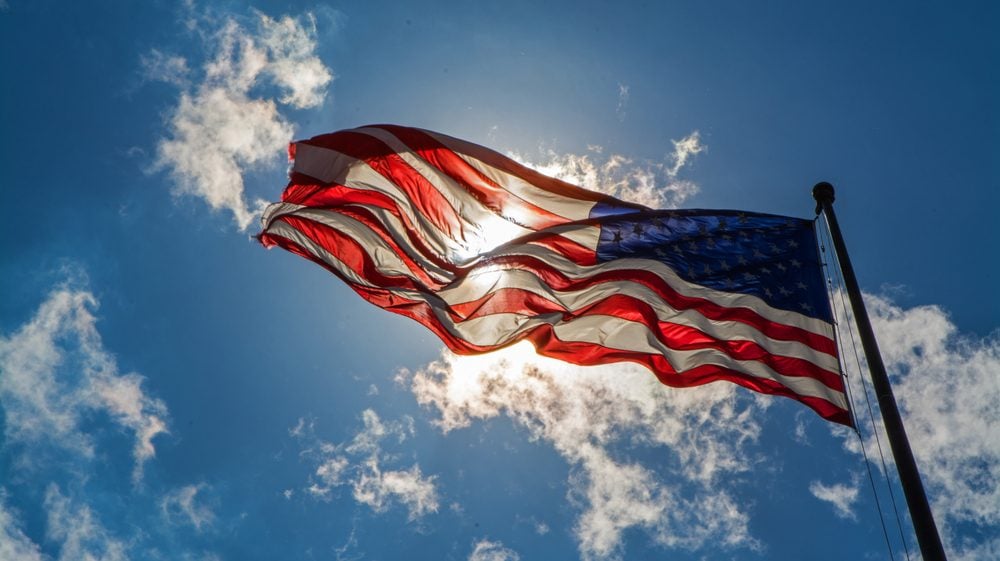
Just a note: when hanging a flag or laying it on a flat surface the Union should be in the uppermost corner of the observer’s left. The flag should never be hung backwards, upside down, or in any other inappropriate fashion. Our beautiful flag, a treasured national symbol, should always be treated with dignity.
Other Tips
- Always fly the American flag above other flags.
- You can fly a flag in inclement weather if it is made from an all weather fabric such as nylon.
- Avoid letting the flag touch the ground.
- Only fly a flag in good condition.
- Dispose of an old flag in a respectful manner. (Many American Legion posts and Scout troops have flag disposal ceremonies. Try contacting one in your area.)
I inspected our flag while it was down to make sure it was clean and in good shape. A few loose threads were trimmed off.
Supply List
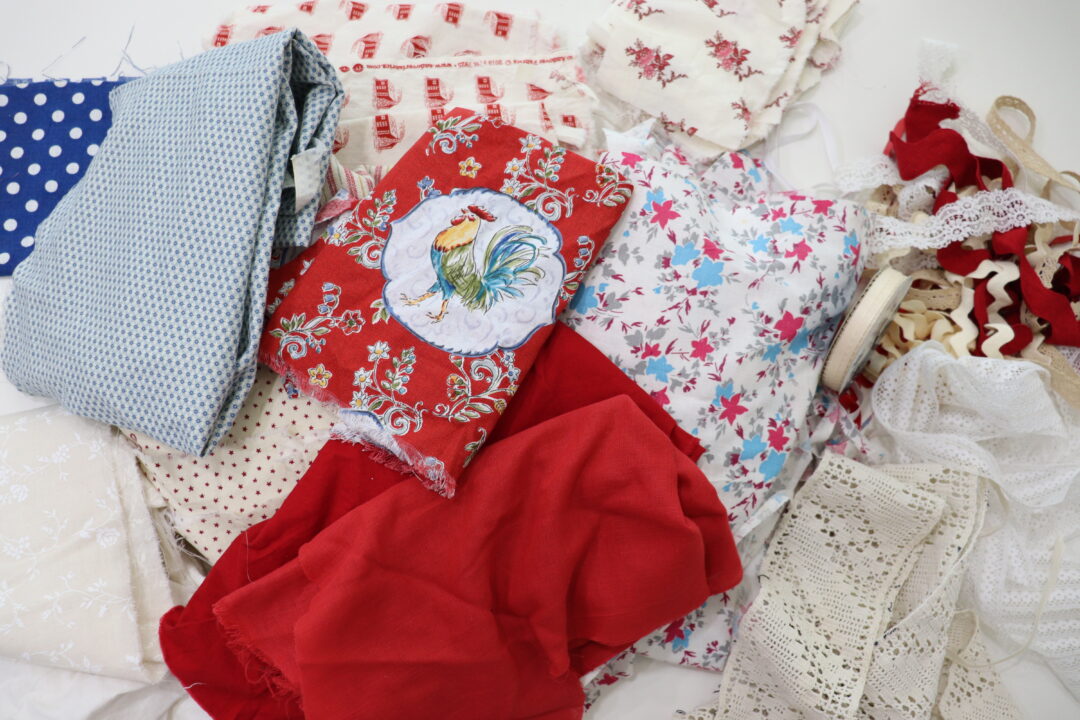
- Various red, white and blue fabric scraps.
- Assorted ribbons, rick rack, seam binding, lace
- Doily
- Sewing pins
- Sewing machine, a needle and thread or fabric glue
- Scissors
- Iron ~ optional
To hang the flag there are a few options. You can install grommets like a traditional flag, sew button holes as well or simply snip a hole in the fabric for a nail or hook to slide through.
I opted to create a fabric base out of white muslin that would have a channel sewn in for a wooden dowel to slide through for hanging.
All of the steps to create the flag can be found in this week’s video. It’s a bit easier to understand the construction process if you view it via live action.
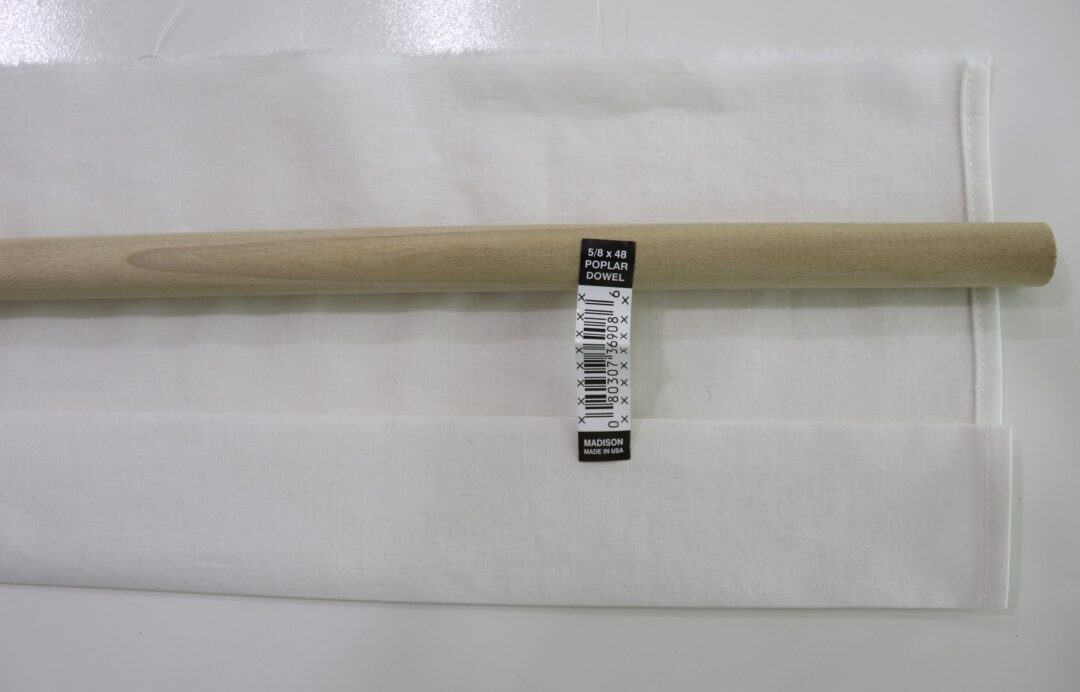
My plan was to finish off the tops of the fabric scraps with a bit of vintage crochet. But ribbon, fabric or lace will also work.
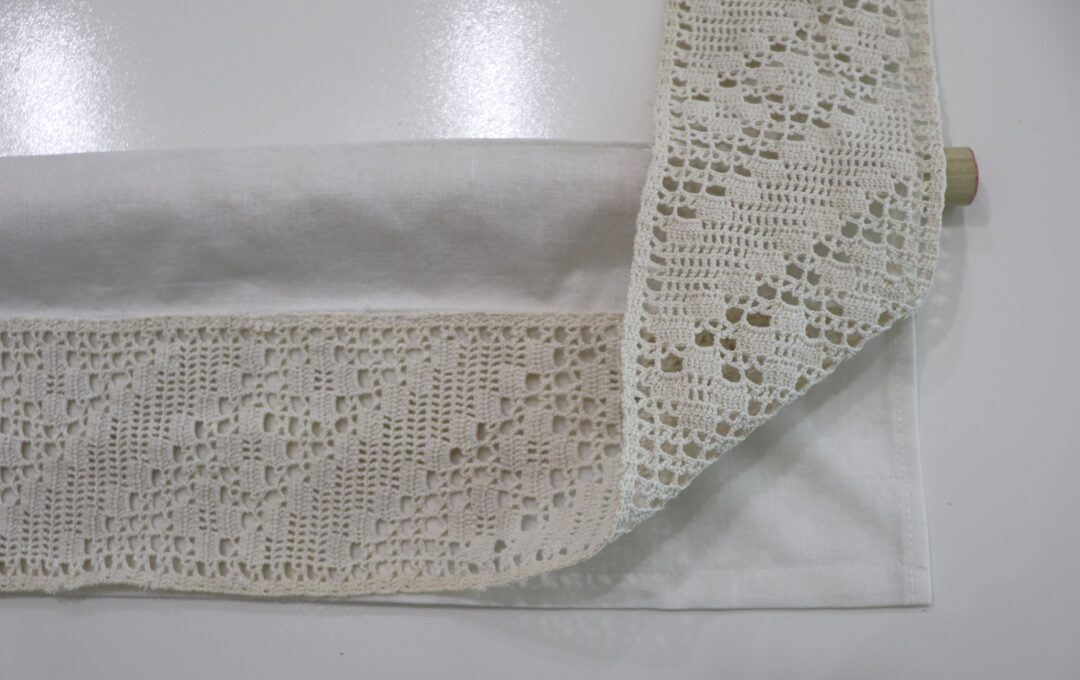
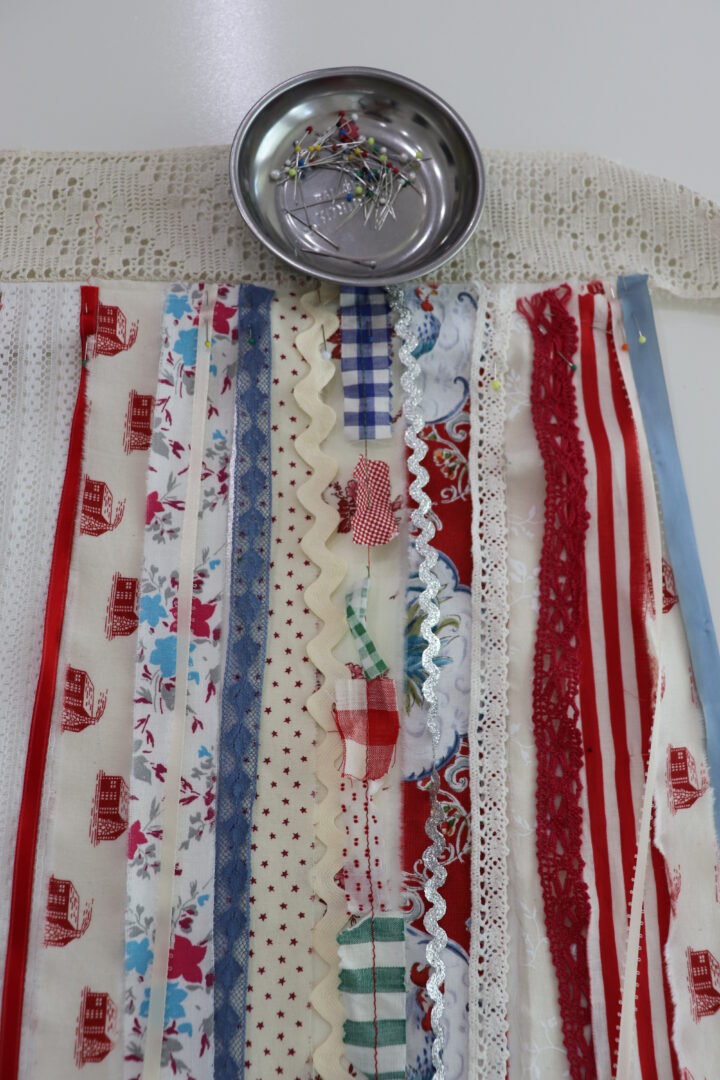
Various strips of fabric are pinned to the muslin base then stitched on.
I opted to tear my fabric strips as it was quicker and results in a more even finish than cutting the fabric.
Then a second layer of fabric strips and trims were added for a full and lush look.
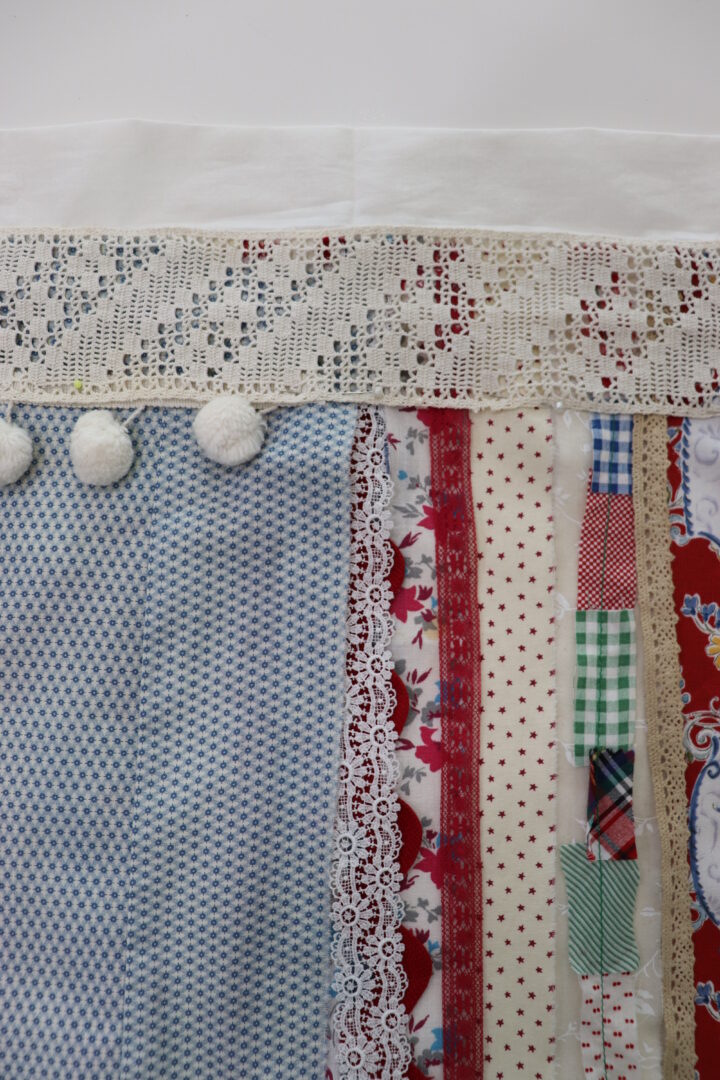
A More Inspired Union
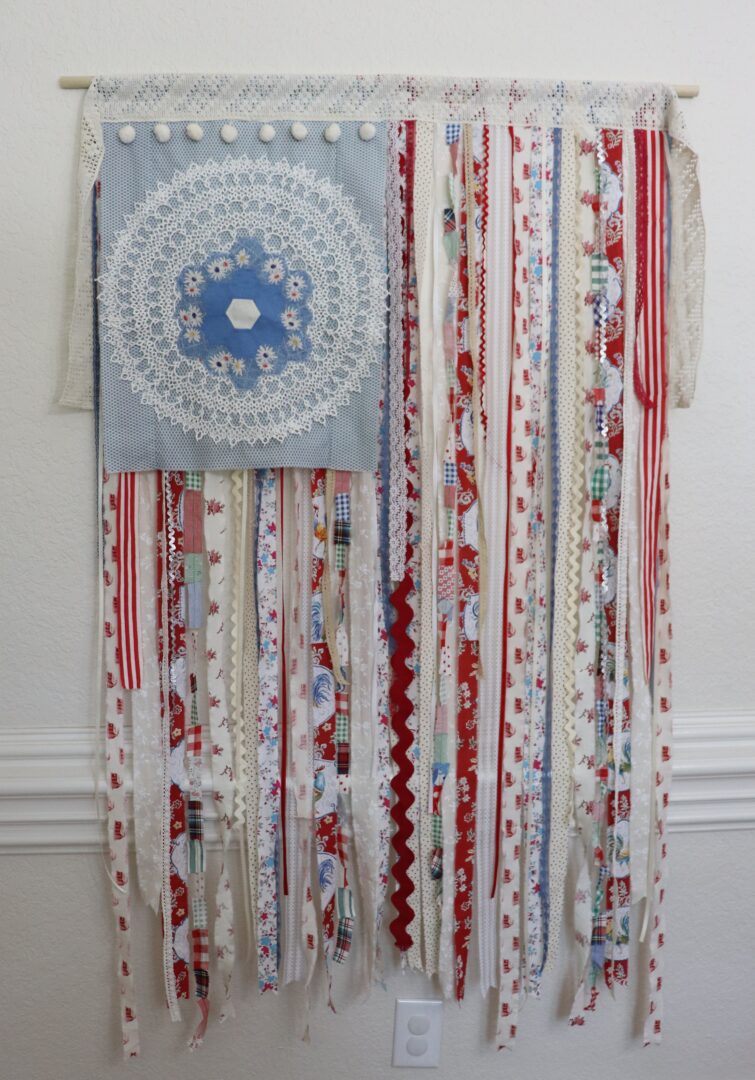
A blue fabric rectangle representing the Union was added to the upper left corner along with a row of vintage pom poms. Both were stitched in place.
Next, the crochet trim was pinned down and sewn in place to cover the upper edge of the fabric strips and Union.
The last step is to then sew down the remaining muslin (shown at the top). It rests behind the crochet and sandwiches in the fabric strips. This creates the dowel channel.
At this point I was looking at the flag and it seemed a bit ho hum. I felt like that the simple blue rectangle of fabric was a little plain.
I looked at old flag styles and a lightbulb went on. Betsy Ross’ original design for the win!
The Birth of the Flag, by Henry Mosler
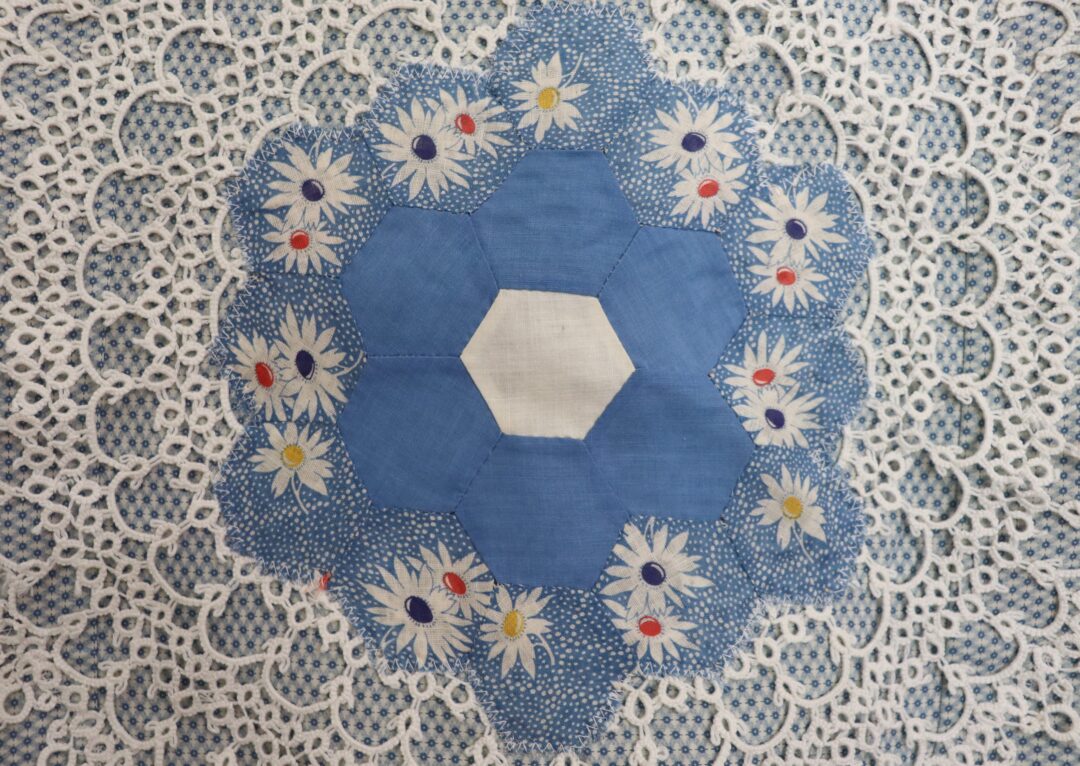
A doily and a single Grandmothers Garden quilt block were added to the blue rectangle and sewn down with zigzag stitching.
I can’t tell you the joy that this flag brings to me and our family. I plan on moving it outdoors to decorate our covered patio. I’ll share that space next week.
This Week’s Video
This week’s video shares a step by step detailed tutorial of creating the flag.
Up next is Common Ground. Debra has created an amazing display full of vintage charm.
See you on Sunday!
Laura
More Patriotic Inspired Decor
You are invited to the Inlinkz link party!
You had me a scrap fabrics! LOL. I love using what I have on hand and this is such a cute ideas. So fun getting inspired by all these ladies today.
Laura what a creative and beautiful DIY! It’s beautiful. Pinned!
This is so creative, Laura! I love all the scraps you chose and how you blended the different textures so seamlessly. It’s totally fabulous! Hugs, CoCo
Laura, I SO love this! I think my favorite element is the Grandmother’s Flower Garden centerpiece on the blue fabric. It’s so unique and creative. Thanks so much for sharing my photo. Have a wonderful summer weekend.
I really love this, Laura. Pinned, thank you.
Your vintage inspired flag is right up my alley Laura! I’m sure I have enough scraps and ribbon to make one. Thanks for the inspiration!
I really like this idea and the way you carried it out. I think made out of “scraps” it even looks more American.
What a stunning new flag. It’s huge! Love that you made it the same size and all of those strands are so detailed and cute. I bet it will be a treasure for decades.
This is such a beautiful idea! I love it so much! I love that you included the flag hanging tips and other facts too! Wonderful post!
Laura this is just beautiful! I love the scraps and colors you chose. Pinned!
I wish I could be as creative as you Laura. You inspired me so much with your vintage-inspired flag.
Absolutely adorable, Laura! I love your choice of scraps and the quilt addition adds so much. Wonderful job!
Laura your flag is the sweetest! I am inspired to make one! I agree that the little “Betsy Ross” doily was the perfect finishing touch!
Thank you for the informative tips regarding the respet and proper display of the flag.
I hope you have a blesseed and happy fourth of July!
So sweet! I recognize the red fabric with the rooster on it. I bought some of that same fabric and made a tablecloth for my friend’s kitchen table in her preschool classroom. So Country French!!!
Your flag is STUNNING!! All of the different fabrics and textures combine so beautifully. This is a gorgeous piece of art…what a super fun piece to be hanging in your home!!