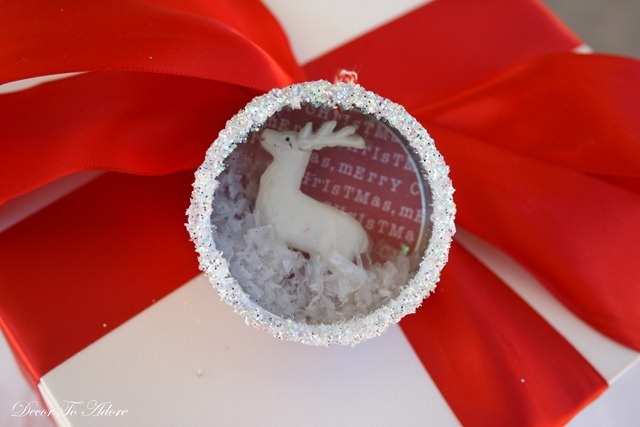
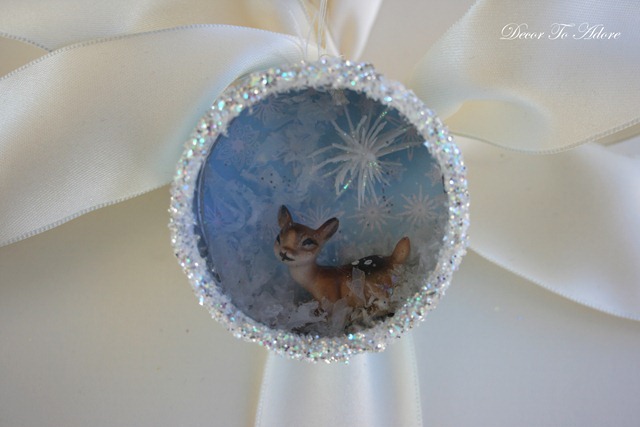
Some of you were probably hoping this was a post, Tying One On Gifts You Can Make #1, was on Hot Toddies and Wassail. (smile) Truthfully, I could use a hot drink myself. I’ve been working 14 hour days making Christmas beautiful for others since our return from D.C. I still have yet to decorate my own home. One thing that I have managed to finish is my annual handmade Christmas ornaments that I tie onto the gifts of those who love to receive them.
Supplies You Will Need
To create similar ornaments you will need a package of tin favors. You can find these at any craft store in the bridal section. I purchased mine at Hobby Lobby. They cost $20, so use a coupon.

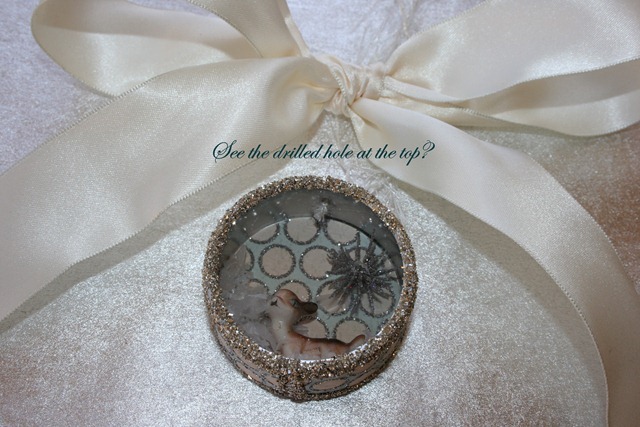
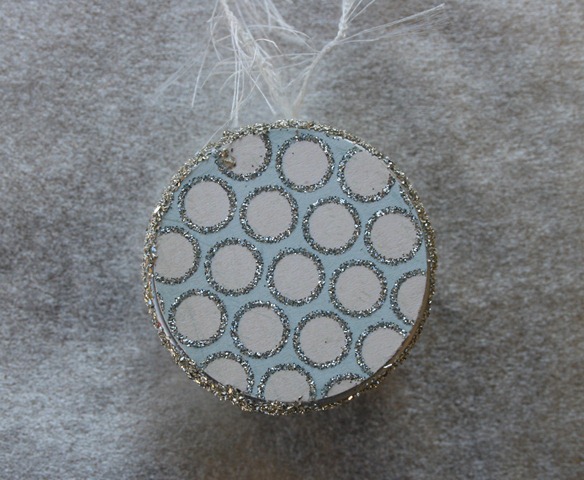
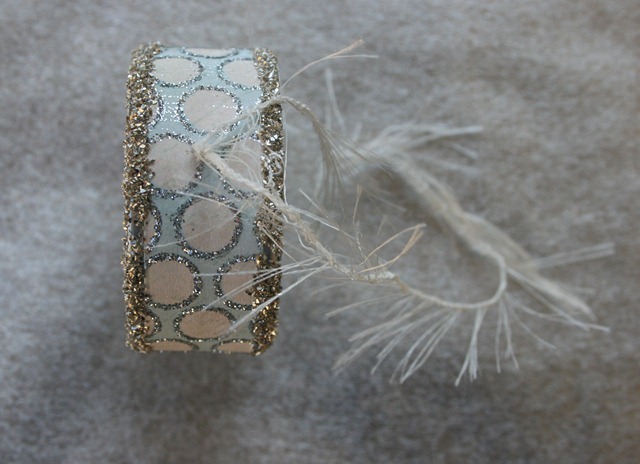
The first thing you must do if you are going to make an ornament to hang on a tree is to drill a teeny tiny hole at the top of the tin. Then take a needle and thread (I chose a spool of white fuzzy twine I purchased at Anthro last year.) and create a loop. Make sure you knot it so that the “hanger” will not slip through.
Inside the packaging, you may also find round stickers and rectangular stickers.
I set the circle stickers aside and used a 2-inch circle craft punch to create a scrapbook paper backing for the tin on the inside as well as the outside. (That’s two circle punches per tin.) The paper circles were applied with Elmer’s glue. (Hot glue just doesn’t work. Believe me, I tried. 🙂
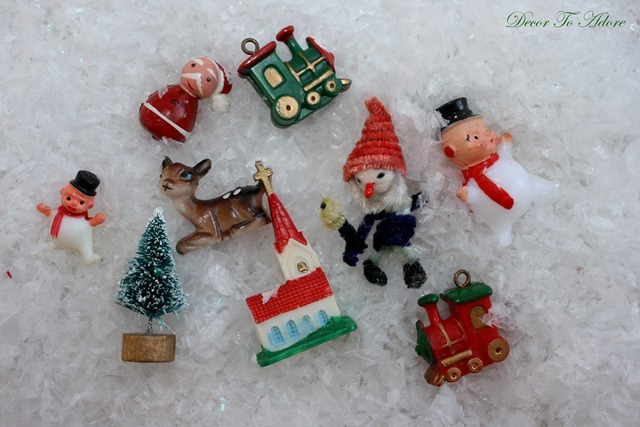
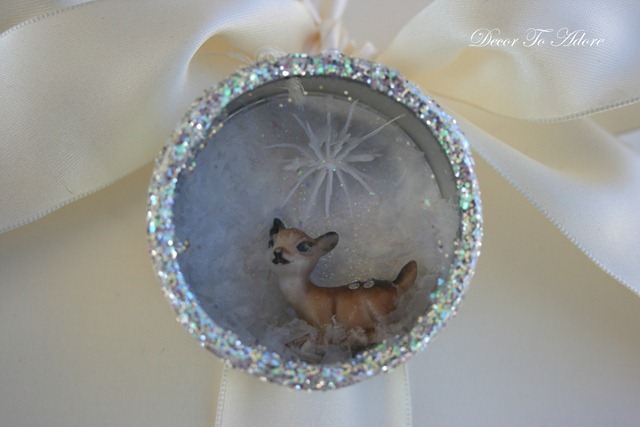
After you have allowed the paper circles to dry, you can then create a fun and festive scene inside the tin. I used bits and bobs from my vintage stash, but many of the miniature tree ornaments found at craft stores could work too. I also added a bit of “faux snow” for a snow globe effect.
Once you are happy with your scene then secure the lid on top. Use the rectangular stickers that come with the kit as a pattern to cut strips of festive scrapbooking paper to wrap around the sides. (Use Elmer’s glue to secure.) This seals the tin shut. Then add a thin line of glue around one edge, add glitter and let dry. Repeat on the other side. (Do not try to do both sides at once as one side will smudge when you set it down.)
Tying One On Gifts You Can Make #1
Finally, have fun adding your ornament to presents, wine bottles, and of course a tree!
Each ornament takes approximately 30 minutes to make. Although with drying time the actual time is a bit longer.
UPDATE: SOLD OUT! For those of you who may be short on time, never fear! I have added several ornaments to my Etsy shop.
You will love Gifts You Can Make #2.
Have fun tying one on!
Laura
Thanks for your sweet words about my mantle! 🙂
I love your ornaments and I actually have a whole bunch of those little tins! I know what I'll be making later today! 🙂
Have a wonderful day and a very Merry Christmas!
Love you my sweet friend!
Missy
Oh those are adorable! what a great idea. The deer looks so sweet.
Very pretty, Laura! I love the one you are showing as an example. Such pretty colors and I'll bet you could find lots of things to put inside that would work.
Such cute ornaments. Good luck on your procedure.
The ideas you come up with… so lovely and the choices are endless.
Thank you and May God Keep you in His Care during the procedure.
Take Care,
Teresa
Those are too cute! And I've never noticed those favor tins at Hobby Lobby! What a great idea!
So adorable, so unique! Love the easy how to. Wonderful!
what a sweet idea Laura tres jolie
Trust all goes smoothly demain
Fay xx
These are so cute!
Sweet ornies…nice you make one for each year!
Thinking of you as you have your procedure…and that the Lord gives you peace.
These are so cute! I have some of the little tins I bought at a discount hardware store in our area. And I am always looking for another place to glue glitter on!
Thanks for sharing this fun idea! 🙂
Je suis très admirative… TRES JOLI. Je vous envoie de gros bisous.
What sweet ornaments you've created, Laura.
I'll be thinking of you tomorrow – and today as you plan.
Thanks for sharing your idea. Your tiny vintage ornaments are so cute–I love the trains!
Praying for you for tomorrow, Laura.
You know mine has a place of honor on my work table! Now I know the work that goes into it, but I couldn't manage to do that myself! Sending a note off to you now~
I'll keep you in my prayers tomorrow. The ornaments are adorable!
those are so cute.. thanks for sharing them.. said a prayer for you!!
Wow wow wowwwwwwwwwwww! These are GORGEOUS Laura!!!! I loveeeeeeeeeeee all the glitter! :):):):):):):):):):):)
And PS… good luck with your procedure tomorrow!! Prayers being sent! 🙂
Good luck tomorrow and I will say a prayer for you.
I love the ornament…..so cute.
I hope you get a chance to rest and take care of yourself.
What a cute ornament and a wonderful way to preserve those heirloom ornaments from my childhood…. my mom has wooden soldiers and rocking horses that are 40 yrs old!
These are so darn cute!!! I love it! I have already made my package toppers for this year but I am bookmarking this to save for next time. Thank you for sharing so many great and creative ideas.
Now how did you come up with that!? 🙂
Too CUTE!
~Liz
These are so very pretty Laura! I had an inspiration picture that I saved several years back for ones similar and am so glad you reminded me of these wonderful gift ideas!
One party down- the Hospice Employee Dinner is the next one- next week! Am hoping to pamper these wonderful people loads!
bee blessed
mary
Oh my goodness, I love these! Thanks for sharing, Debbie
Oh, wow, I just went on a sentimental trip reading that post. I must've done something like this when I was little because it brought back warm, fuzzy memories of making ornaments with my Blue Bird troop!
I'll be making salt dough ornaments with my kids next week and now I think I'll add these to my project list. They're so sweet. Thanks for sharing!
These are really gorgeous 🙂