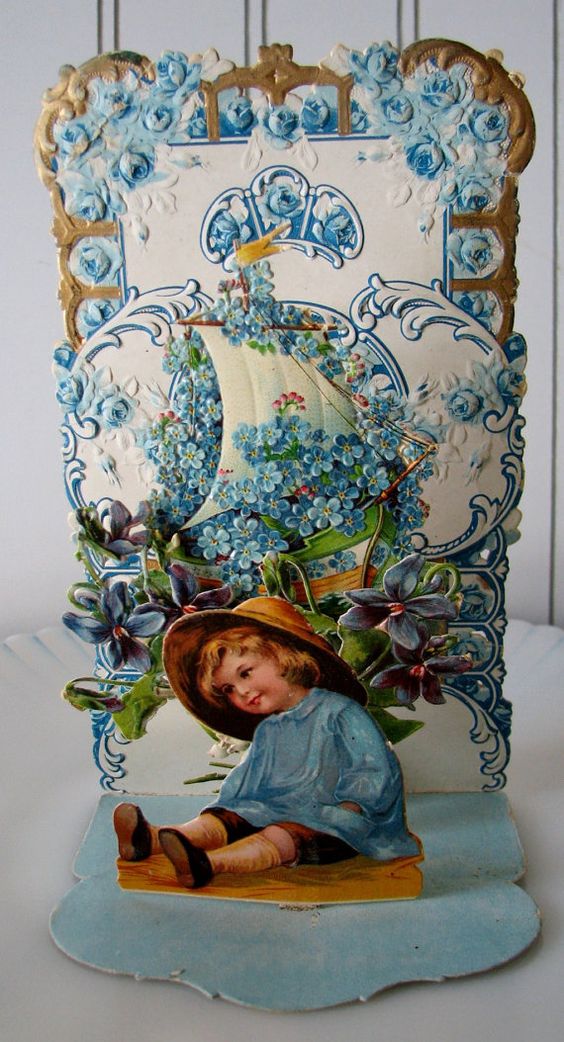
Lately, I’ve been immersing myself in learning about all things Victorian. Here is A Modern Take on a Victorian Valentine.
Antique Valentine Inspiration
Did you know that most of our Valentine traditions come from the Victorian Era?
Namely, the Valentine card itself.
People have exchanged handwritten love letters for centuries. But after the industrial revolution printing techniques became truly advanced in the area of cardmaking.
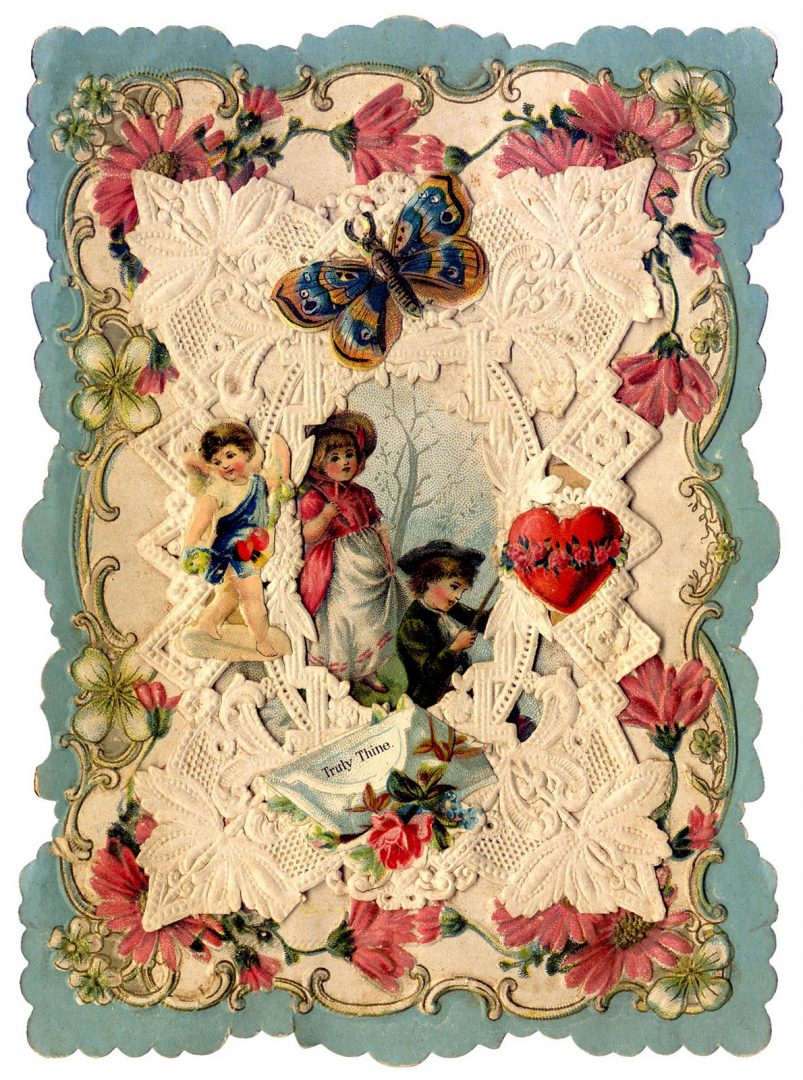
The stationary firm of Joseph Addenbourke of London is often cited as the main contributor in the transformation of penned love tokens to the commercially produced Valentine beginning in the 1830’s.
It was Addenbourke who found that a lacy look could be created by filing off the raised relief of embossed paper borders. This technique of creating lace paper, now known as doilies, became a huge fashion in the Victorian age.
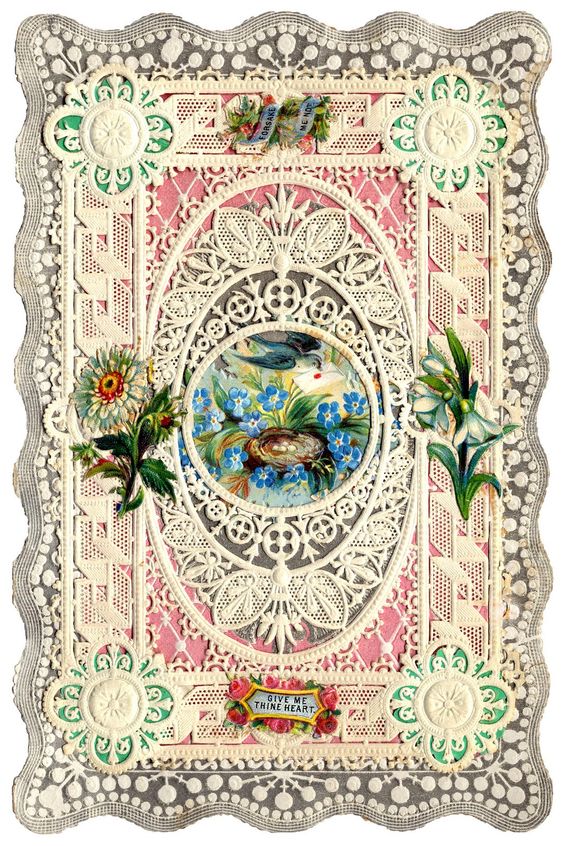
The golden era of Valentine’s occurred between the 1840’s and 60’s. The process of chromolithography (gorgeous decorative design) was developed. It was faster and less expensive that its predecessors, woodcuts and metal engravings. A much larger consumer audience could afford to purchase Valentine cards and they were smartly marketed to go beyond the idea of cards reserved just for sweethearts and became tokens of friendship.
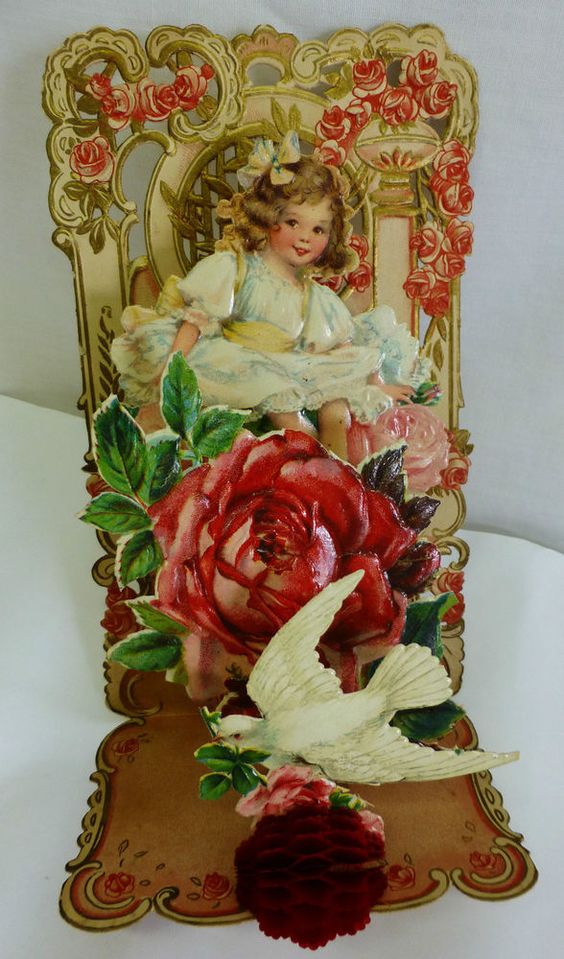
From there elaborate honeycomb designs were added. It was often a secret element that was not revealed until the recipient opened the card revealing the surprise.
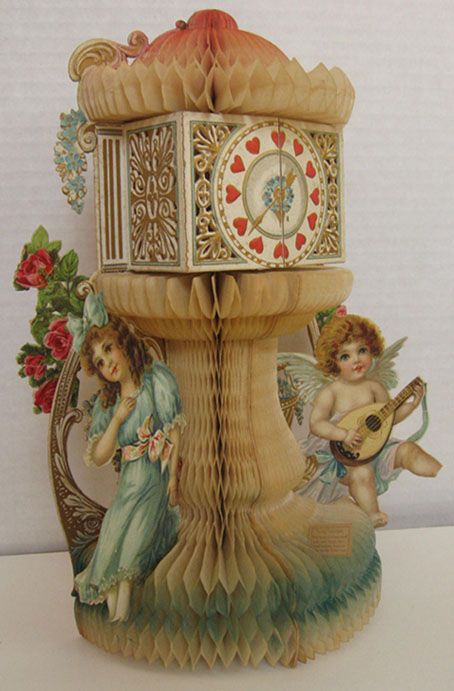
All of the elements combined resulted in spectacular works of art.
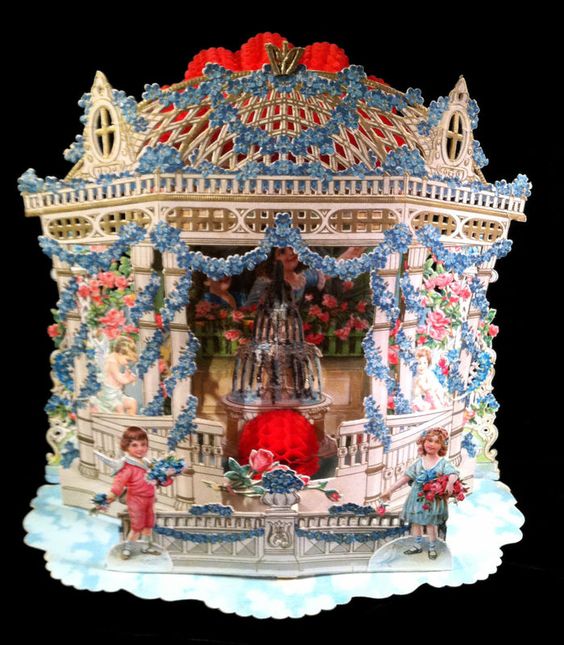
While honeycomb tissue can still be readily purchased in all shapes, colors, and sizes I was looking to create cards of a simpler style, such as this one.
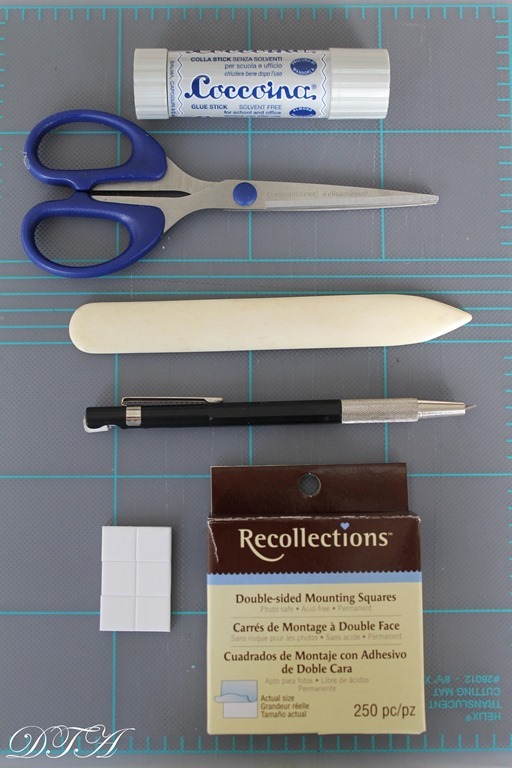
The tools you will need to create your own Victorian-inspired pop-up Valentines
Cutting mat~you can find them in a variety of shapes and sizes HERE.
A good paper glue. I like Coccoina.
Paper scissors
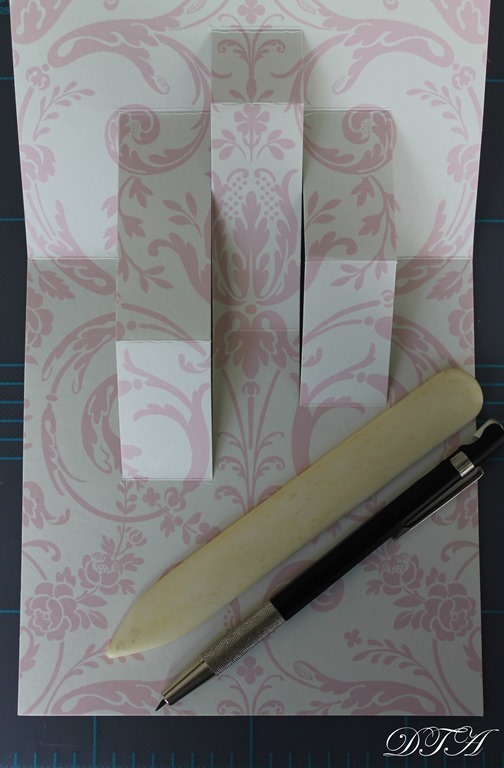
A bone folder ~ to create sharp creases in the paper.
An Exacto knife for interior or delicate paper cuts.
To elevate paper on paper I use pop dots.
For quick paper application double~sided mounting squares work brilliantly.
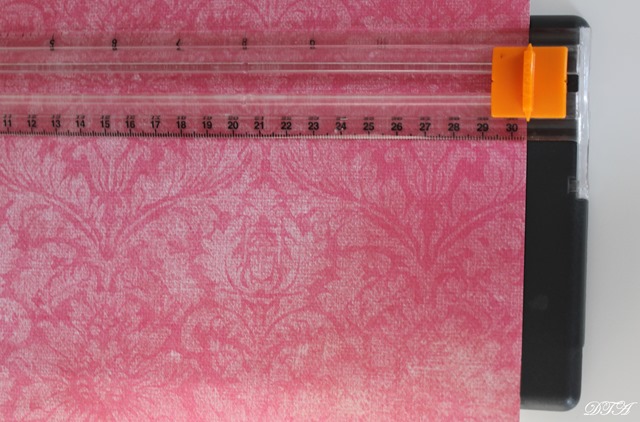
A paper cutter is also an amazing time-saving tool.
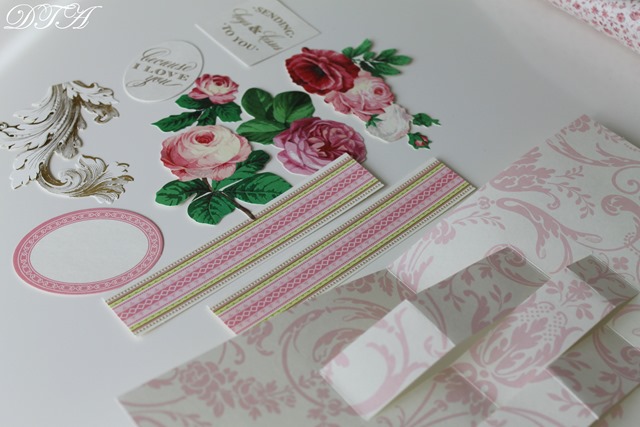
Then, of course, you will need scrapbook paper, die cuts and embellishments. You can purchase paper making kits or collect various elements in the scrapbooking section of most hobby stores. Some of the various elements shown here came from various Anna Griffin kits purchased over the years.
A fantastic template for pop up cards, along with step by step instructions, can be seen at Extreme Papercrafting.
TIP: I printed the template on the back side of the scrapbooking paper and then made my cuts with a straight edge and an Exacto knife. You then can make folds with a sharp crease with a bone folder.
Creating The Cards
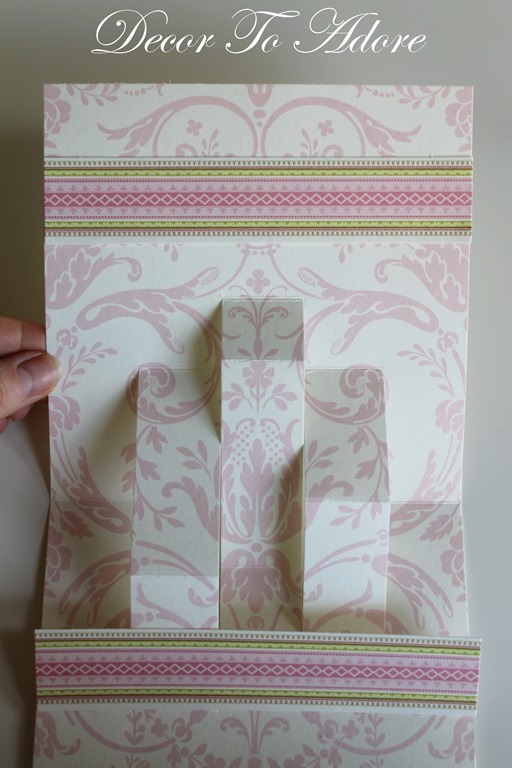
Layer your background elements first. I applied the top strip of paper with glue. The bottom strip was applied to the left-hand side pop out column with a double~sided mounting square.
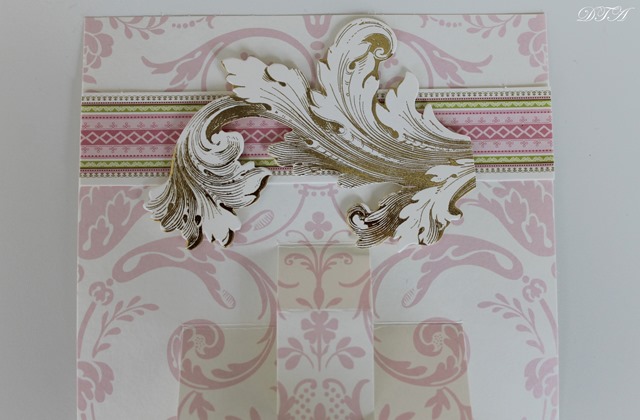
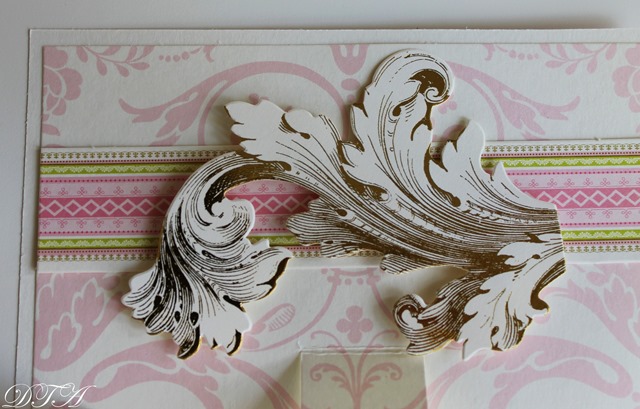
A second layer is then added at the top with a decorative flourish. To add a bit of definition and interest I used pop dots to lift the scroll.
I chose to add the decorative front layer of my card to the back of the interior section of the card at this point using double~sided mounting squares. I made sure to carefully avoid the areas where the pop out columns were.
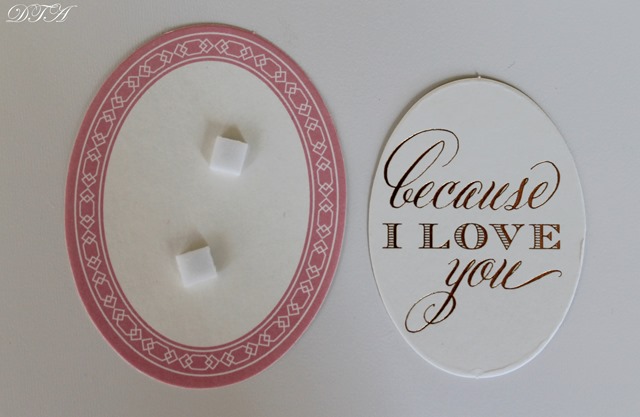
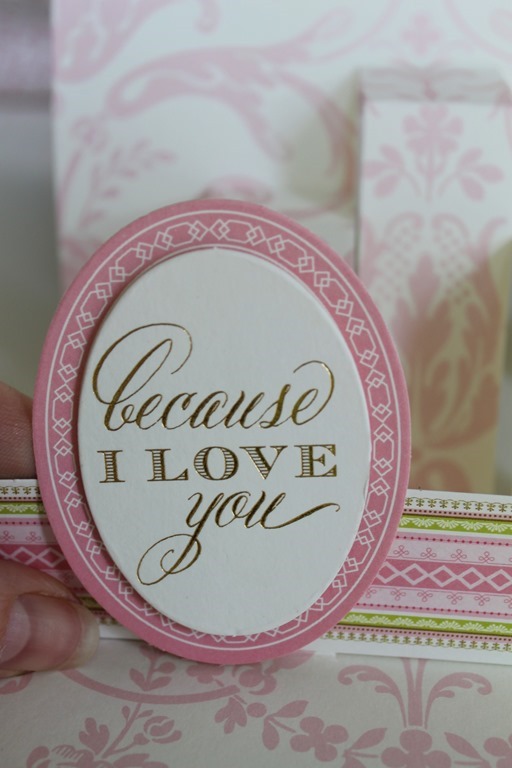
Then comes adding all of the fun pretty bits. Some were joined together with pop dots.
This was also applied to the left-hand pop out column with a double~sided mounting square.
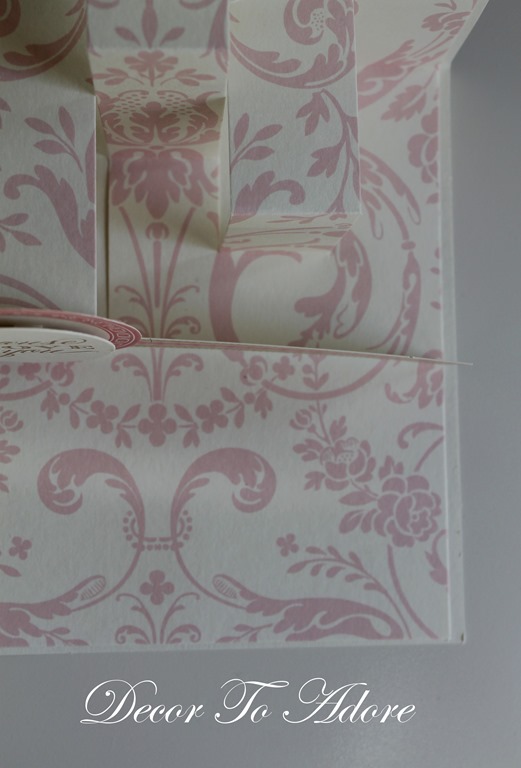
Here is a bird’s eye view of the three pop out columns.
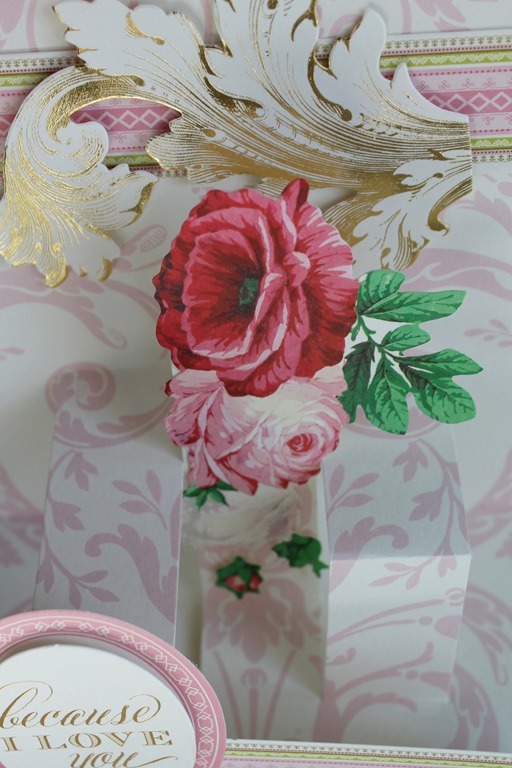
Then a German scrap paper rose was added to the middle and right columns.
TIP: German foil Dresden paper trims also work beautifully to decorate cards.
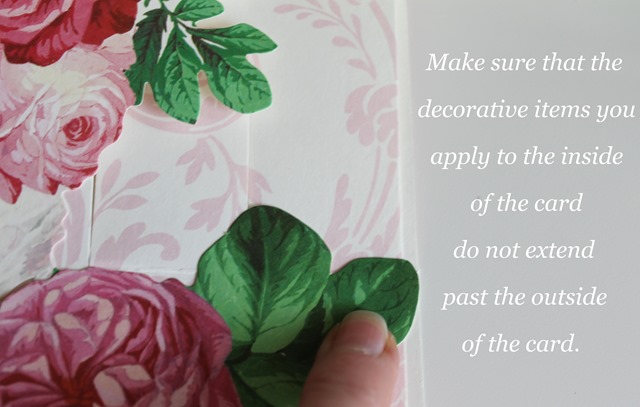
TIP: Make sure that all of the decorative elements you apply fit the card when it is closed.
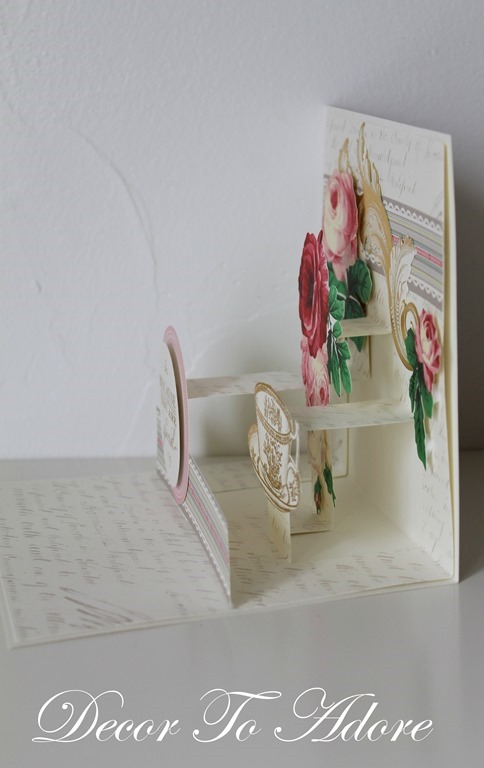
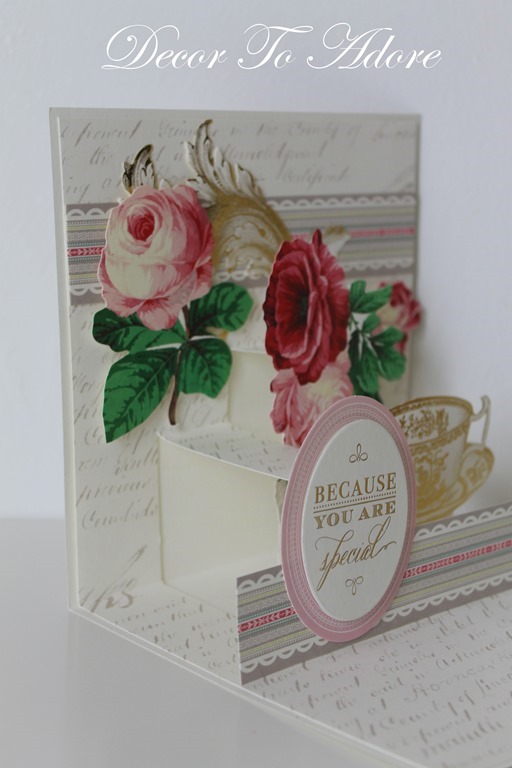
Here is the finished card viewed from the right-hand side.
You can see why you do not want to attach the front of the card to the interior of the card in the areas where the pop-outs are.
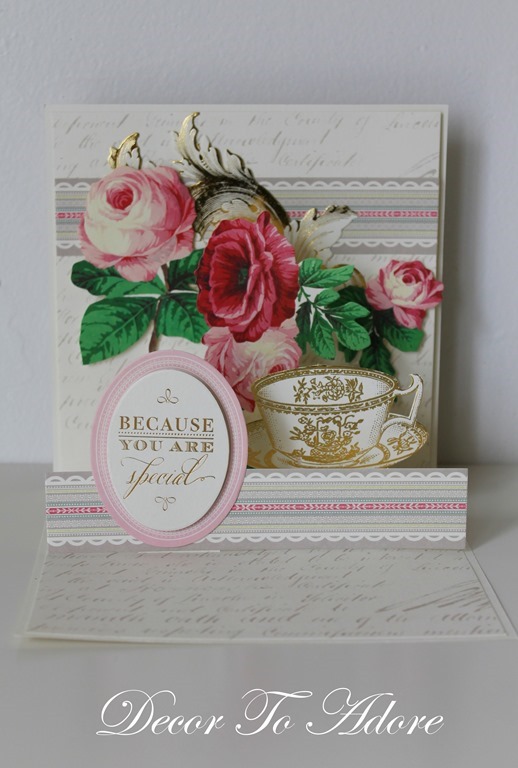
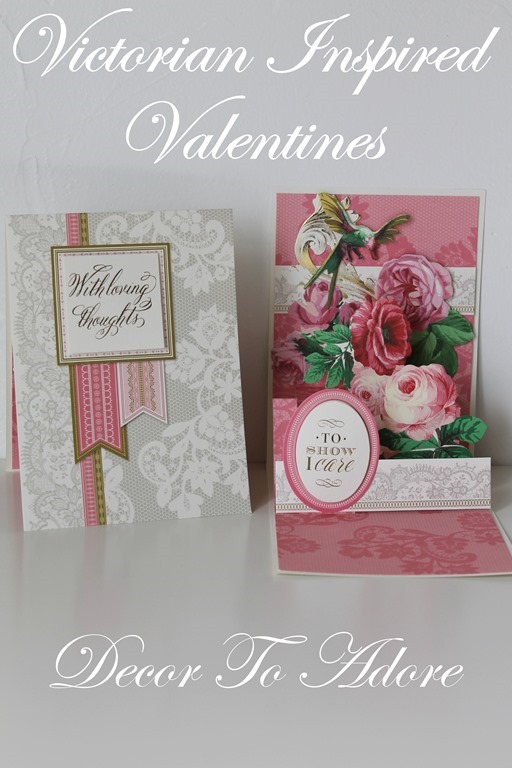
This is what the card looks like straight on. It is a pretty surprise for the viewer.
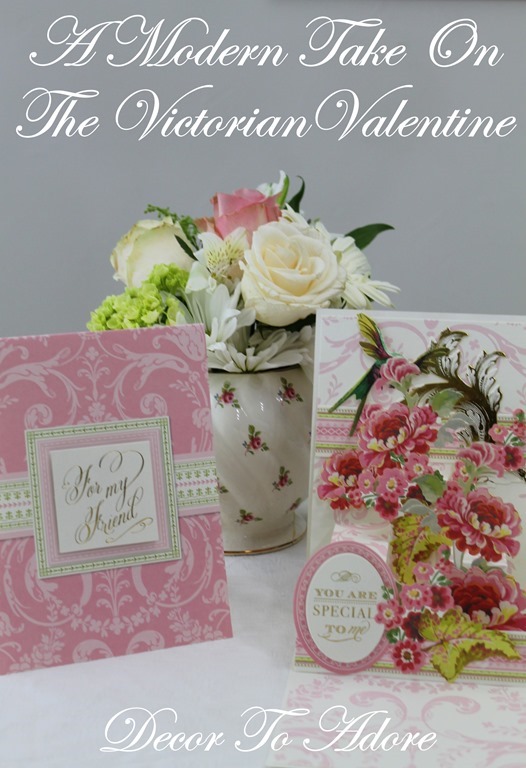
A Modern Take on a Victorian Valentine
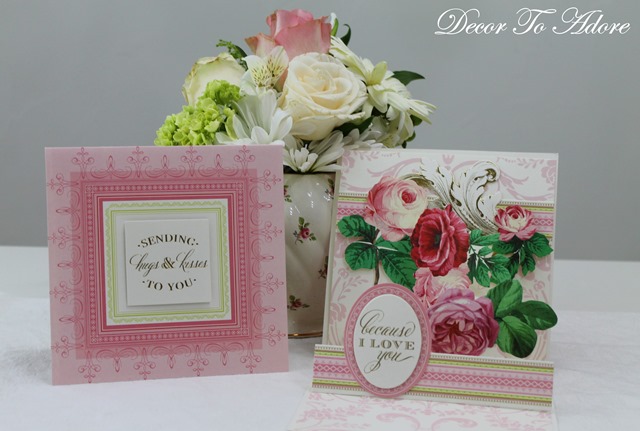
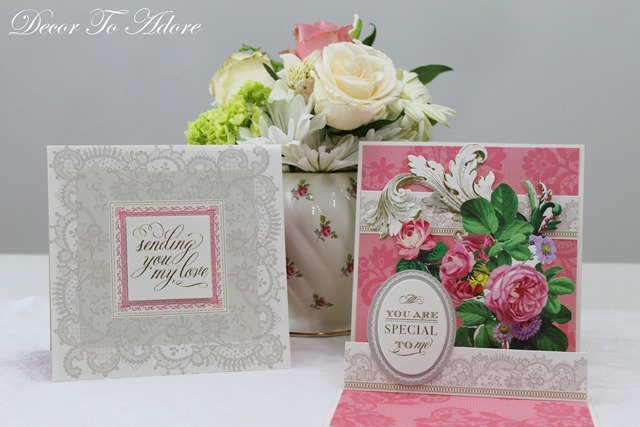
I created two cards of the same design so you could see the front of the card and the interior at the same time.
The cards were created in an assembly line fashion to make the process flow more quickly and smoothly.
I hope you have enjoyed these Victorian-inspired Valentines.
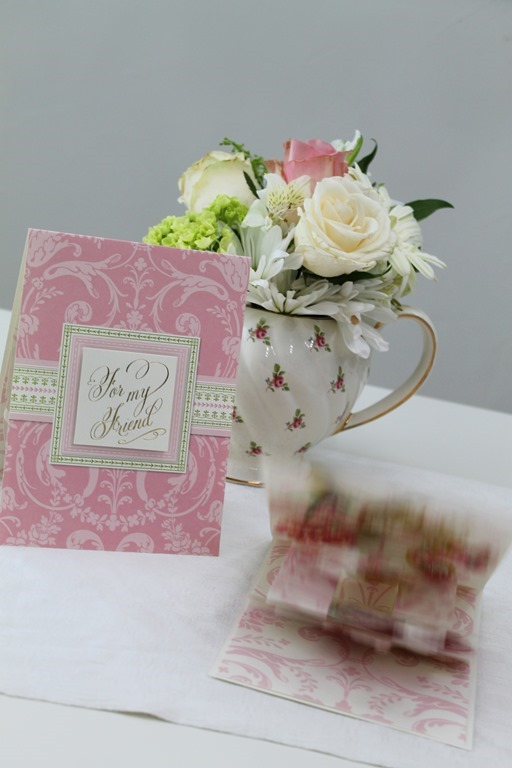
Because it’s Monday, let’s also end with a photo blooper. This happened several times (it felt like a million) during the photo shoot. #goodtimes #nopatiencefornonsense
Will you be sending out cards this Valentine’s Day?
Laura
So So Pretty! This was a great tutorial and learned a lot. I have been thinking about trying my hand at paper crafts and you have given me some beautiful ideas. Thank you for sharing! Now I am off to the craft store!
What a pretty way to share someone that you care!
Beautiful! You are always very creative.
I have always loved anything Victorian and these cards are gorgeous. As a child, I always enjoyed making and giving Valentine cards.
I won't.. but if I did those lace cards are beautiful
Your hands are having magic. Your art looks amazing 🙂
Exquisite, Laura, just exquisite!
Laura, You are so talented with all of your tiny paper creations! The details are always exquisite! I am impressed!
Laura, Laura, Laura! You are amazing. (If you think to bring a show and tell, I'd love to see this in person!) For all the crafting and carding I do, I am abysmal at making pop ups. I made Rick an entire valentine poetry book of experiences from our year back maybe 10 years ago using our photos to pop and I really thought I'd plunge the exacto through my heart.
This is gorgeous and your instructions are outstanding. I think I might print this one out so I can keep it at hand and try again. Thanks!
Laura, This card is beautiful and thank you for the tutorial. I also enjoyed the lovely, vintage cards. Joan-My Cookie Clinic
These are absolutely beautiful, handmade they are a lovely Valentine
oh I love these!!! I love the old Valentine's and I like your modern take on them!
Laura how sweet is that card with the teacup! Thanks for joining Home Sweet Home!
Love your beautiful Valentine's and the vintage touch you've given to them! Just popping in from the Thursday Favorite Things Blog Hop at Katherine's Corner to let you know I'm featuring your Valentine's on my blog post for this week's hop. Hope you'll stop by for a visit at Vintage Mama's Cottage. See you at the hop tomorrow! Nina @ Vintage Mama's Cottage
Your cards are so romantic! Anna Griffin's products are so much fun to work with. Great tutorial. Thank you for sharing 🙂