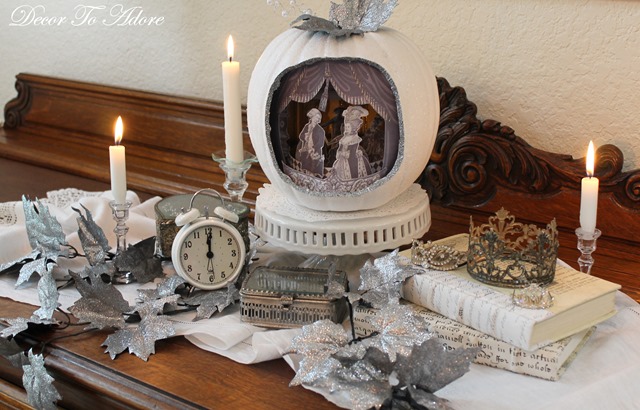
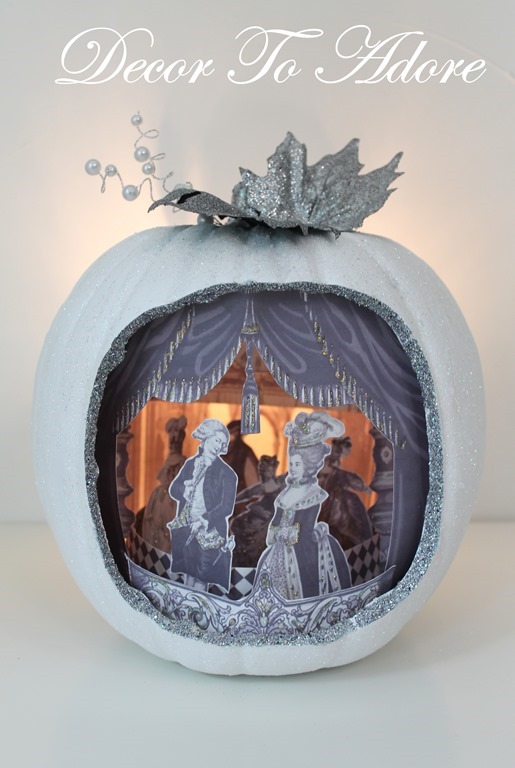
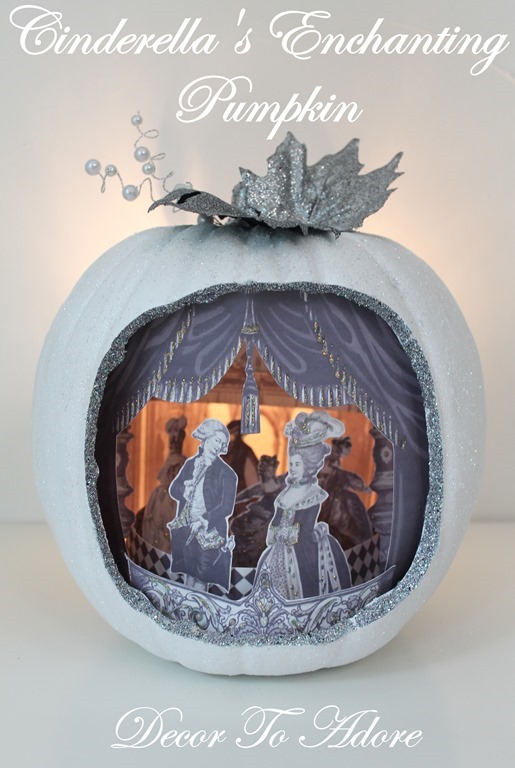
Welcome to the first part of the 2016 Decor To Adore Halloween Tablescape theme: “Cinderella and the Ugly Stepsisters Soirée”. Today’s post is Cinderella’s Enchanting Pumpkin.
Cinderella’s Enchanting Pumpkin
When planning this year’s theme I pondered stories that included pumpkins. Cinderella, of course, was my first thought. But she didn’t exactly scream “HALLOWEEN!”.
That is until I envisioned her in black and white.
So how did I create this?
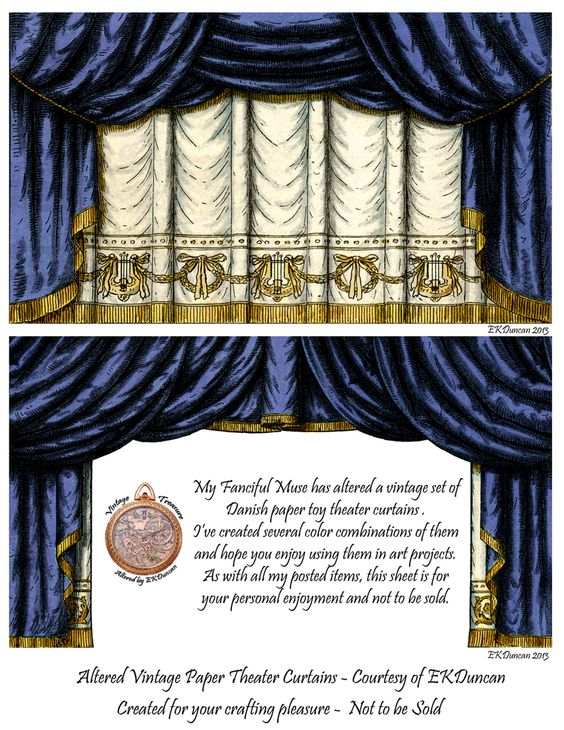
I have long been a fan of artist EK Duncan who pens the blog “My Fanciful Muse”.
Ms. Duncan designs virtual scenes using images of antique children’s toy theaters. You can go to my Pinterest page Scrapbook and Paper Crafts to find direct links to all of her images that I used for this project.
Note: I printed all of the images out in black and white.
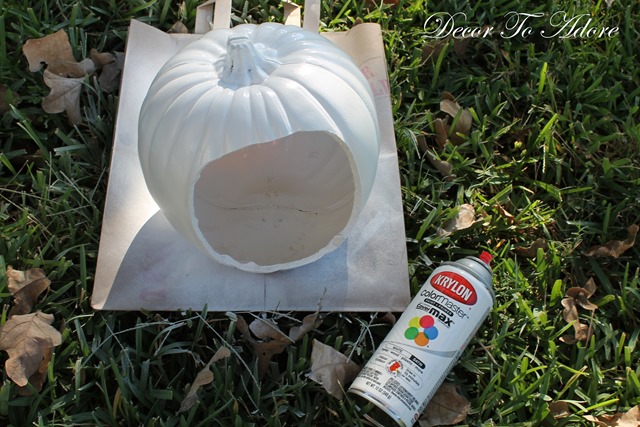
Step 1. Find a foam pumpkin to alter by cutting a hole into it and spray painting it white.
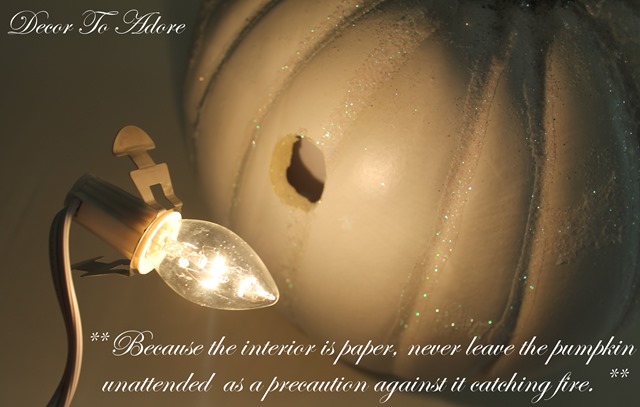
Step 2. Cut a small hole in the back of the pumpkin if you wish to have a light source.
NOTE: Because the interior is made of paper you will never want to leave the lit pumpkin unattended as a precaution against it catching fire.
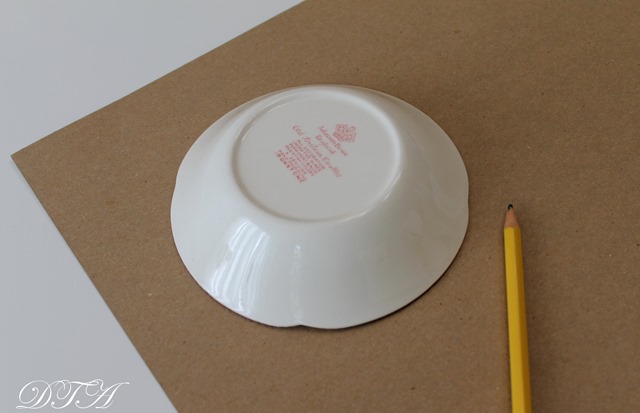
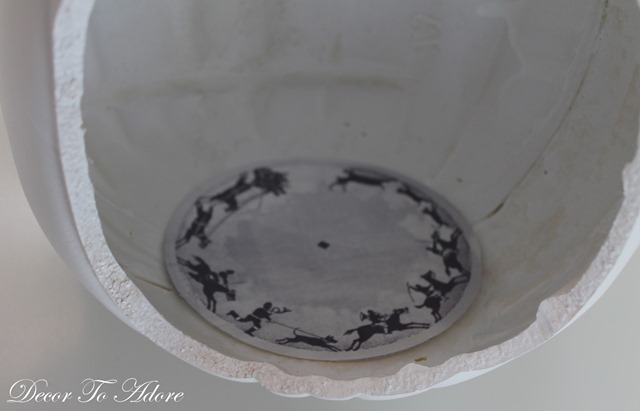
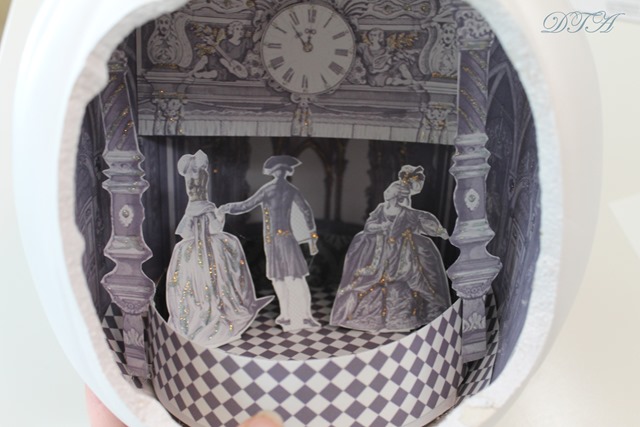
Step 3. Use a small dish or saucer to cut a thin cardboard round. This will become the base for your “dance floor”. I am not listing specific sizes as each pumpkin is a different size and you will need to individually fit it.
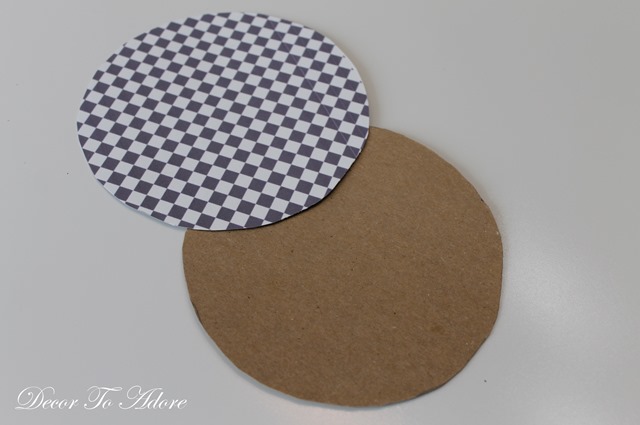
Step 4. Cut a piece of decorative paper for the dance floor. I choose a traditional black and white check. Glue it on to the thin cardboard. (I used a glue stick made for scrapbooking.) Place the circles under a stack of books to dry.
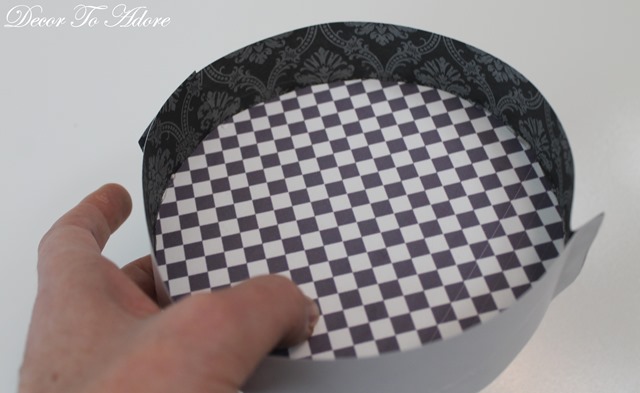
Step 5. Once your floor is dry cut a piece of decorative paper to wrap around the dance floor. I used a hot glue gun.
Note: You can absolutely use white craft glue for all of the pieces it will just require a longer drying time.
Adding The Pretty
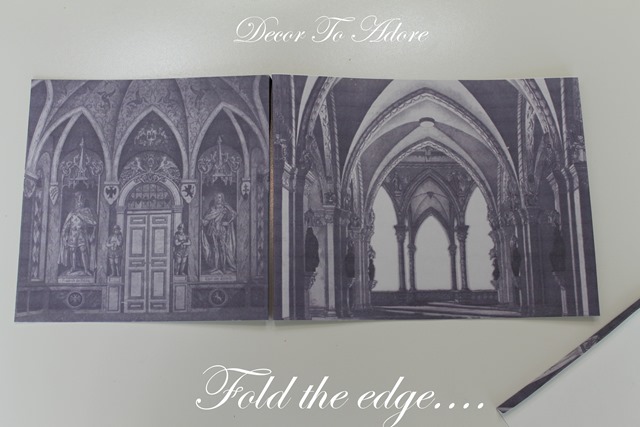
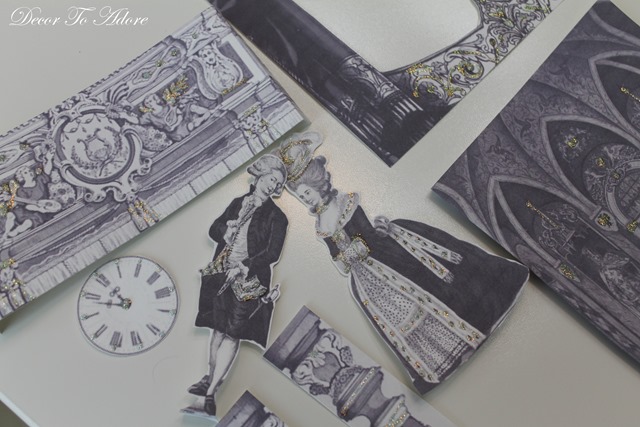
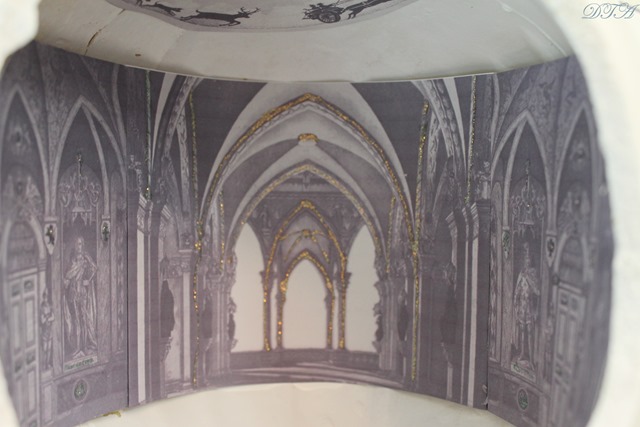
Step 6. Print out your background and side panels. Fold the edges on both sides of the background and one side of each panel then join together with glue.
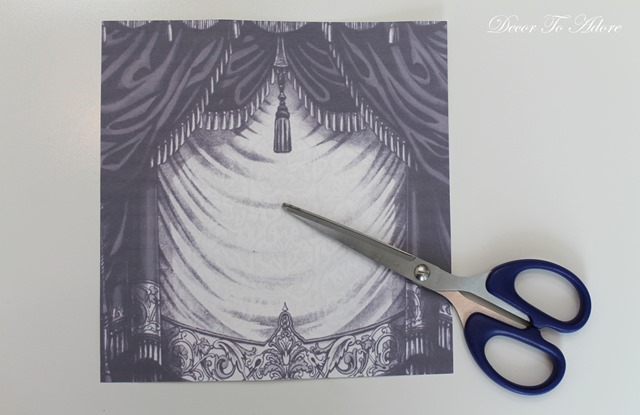
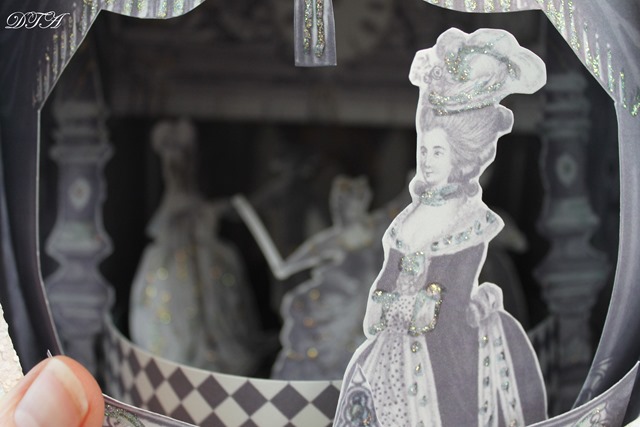
Step 7. Print out a curtain panel and cut out the white center.
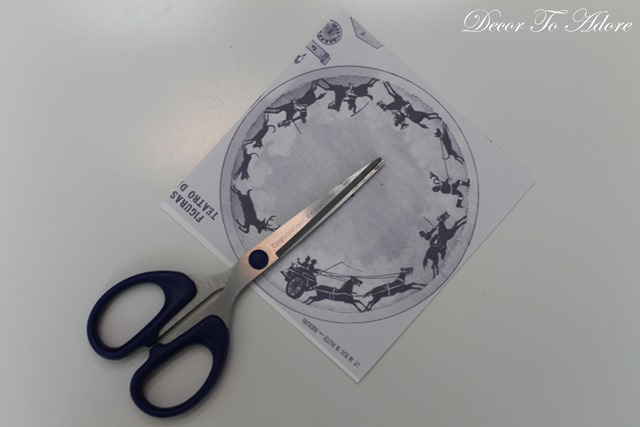
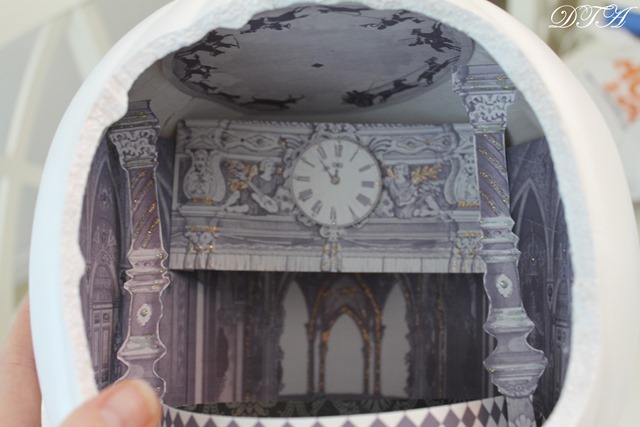
Step 8. Print and cut out a circular decorative image for the ceiling.
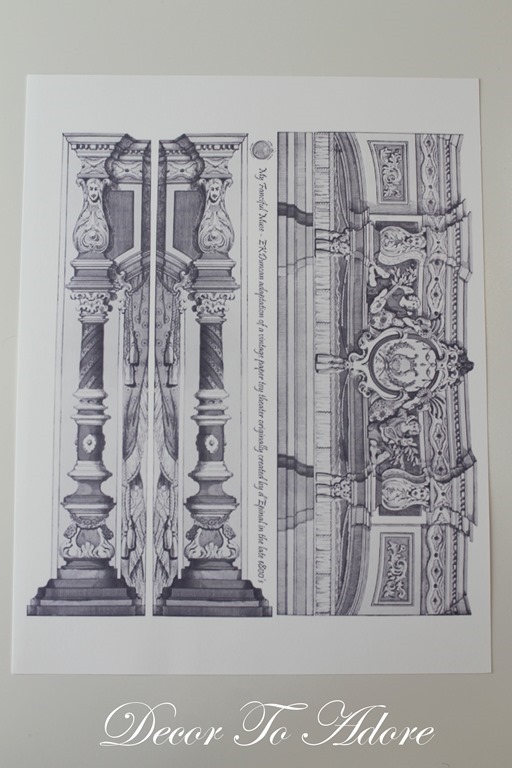
Step 9. Print and cut out a pair of columns and a detailed cornice.
Glitter
Step 10. Print and cut out various figures. Then apply touches of glitter here and there to all of your paper elements. This will aid in creating the “sparkle factor” of the pumpkin. I used this glitter glue.
Step 11. Glue the ceiling medallion to your pumpkin. I used a hot glue gun.
Step 12. Add in your background and side panels.
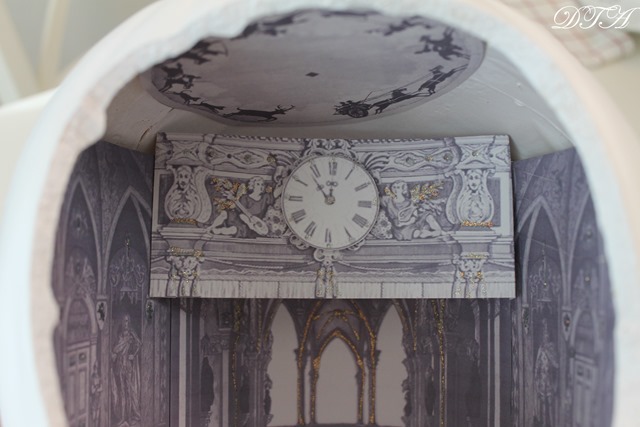
Step 13. Add in your cornice. I attached it with hot glue via folded ends.
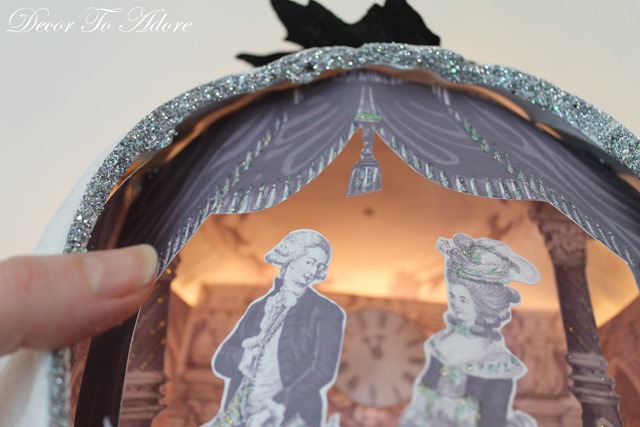
Note: I added a clock face to the center of the piece. Cinderella better get ready to run, it’s almost midnight.
Step 14. Glue down your dance floor and add in the columns on either side.
Figurines
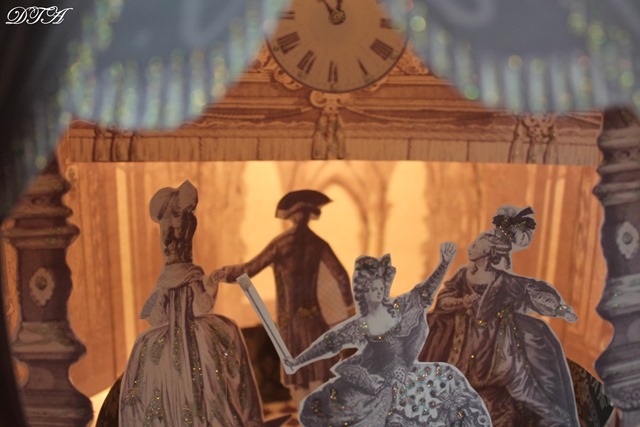
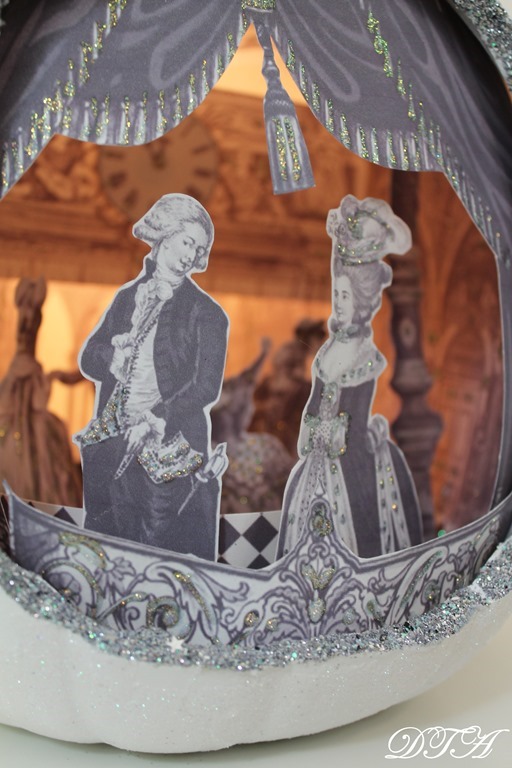
Step 15. Next, add in some dance figures. I selected two ugly stepsisters being escorted off of the floor due to their unruly behavior.
Step 16. The Fairy Godmother (See her wand?) is placed front and center of the previous figures.
Step 17: Add in your curtains and then Cinderella.
Step 18. Add in Prince Charming. Then glitter the edge of your pumpkin entrance.
Note: You can absolutely glitter the pumpkin edge prior to adding the inserts. I personally did not want to continually scrape my arm while positioning and gluing down all of the various elements.
Step 19. I also added glitter to the pumpkin itself for extra sparkle.
The Stem
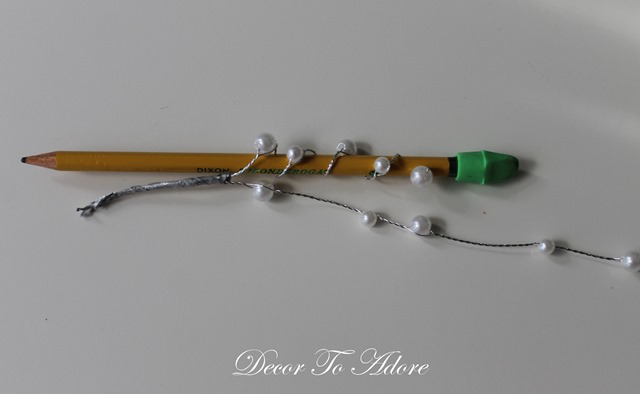
Step 20. Glitter the stem, let dry. To create the curling vines I took wired pearls and wrapped them around a pencil. Glue on the vines and add a few sparkly leaves to cover the vine stem.
Reality check: This pumpkin took about 4 hours to create with drying time.
Please send me an image if you are crazy enough to make one. (smile)
Part II ~ “Cinderella and the Ugly Stepsisters Soirée” tablescape can be seen HERE.
Bibbidi Bobbidi Boo!
Laura
Incredible attention to detail, and it shows, Laura! Amazing.
Laura, I wish I had one tiny little bit of your creativity!
How gorgeous! Thanks for the detailed tutorial and link to your sources! I'll dream about making one!
This is so unique and pretty!!
I'm so impressed that you did this in 4 hours! It would have taken me 4 months – I'm a slow worker. Can't wait to see the rest.
Laura leave it to you to take Halloween tablescaping to the next level! It's breathtaking! Excited to see the whole table!
Wow oh wow! So very beautiful! I haven't seen your blog before. I will have to follow you.
I love it!
Wow! That is so creative.
Your crafting skills are way beyond mine! This is a gorgeous piece, Laura. I'm eager to see the entire soiree tablescape. Thanks for sharing the detailed directions. I know I won't get one made, but I can dream. '-)
You make it seem so easy, but it takes time, effort, and skill to put this together. As Rita comment…..DETAILS.
Absolutely gorgeous! I'm in the middle of making a pumpkin like this for fall and this makes me want to redo my entire scenery. Thanks for sharing this on Merry Monday. Pinned.
Laura, this is just beautiful and creative! Pam @ Everyday Living
Hi Laura, I love this. Just gorgeous with all the details. Love seeing your process. You are so talented. This is a special treasure. xo
Stunning, Laura, stunning, imaginative, a tiny view into another life.
Dare I say it — one of the best tutorials ever! This is a fabulous project and your finished piece is exquisite. What a centerpiece not only for this time of year, but any when hearts are turning to fairy tales and happy endings. (Unless you see “Into the Woods” and then it all goes haywire!)
WOW! Girl, you are creative beyond creativity. I love, love, love this! Hugs and blessings, Cindy
What a beautiful, creative pumpkin! I absolutely LOVE it! I'll be pinning this to make. Thank you for sharing the process.
Oh my, I love this! I'm going to have to make one. 😀
Laura this is so neat! Thanks for sharing at Home Sweet Home!
LOVE your enchanting pumpkin, Laura, and I'm featuring it tomorrow at Vintage Charm!
Love it- so cute!